How to Draw a Volcano
Volcanoes are one of the most dramatic features you could include on your fantasy maps, not only for their destructive power but also for their unique beauty. It’s not surprising many historical cultures viewed them as a place to commune or appease their deity. Adding a volcano to your maps can open up many storytelling possibilities, but how do you go about drawing one? In this tutorial, I will break down my process so you can start mapping!
All of the brushes I will be using for this tutorial are available in The Cartographer’s Liner Brush Field Kit for Procreate & Photoshop

1: Sketching the Shape
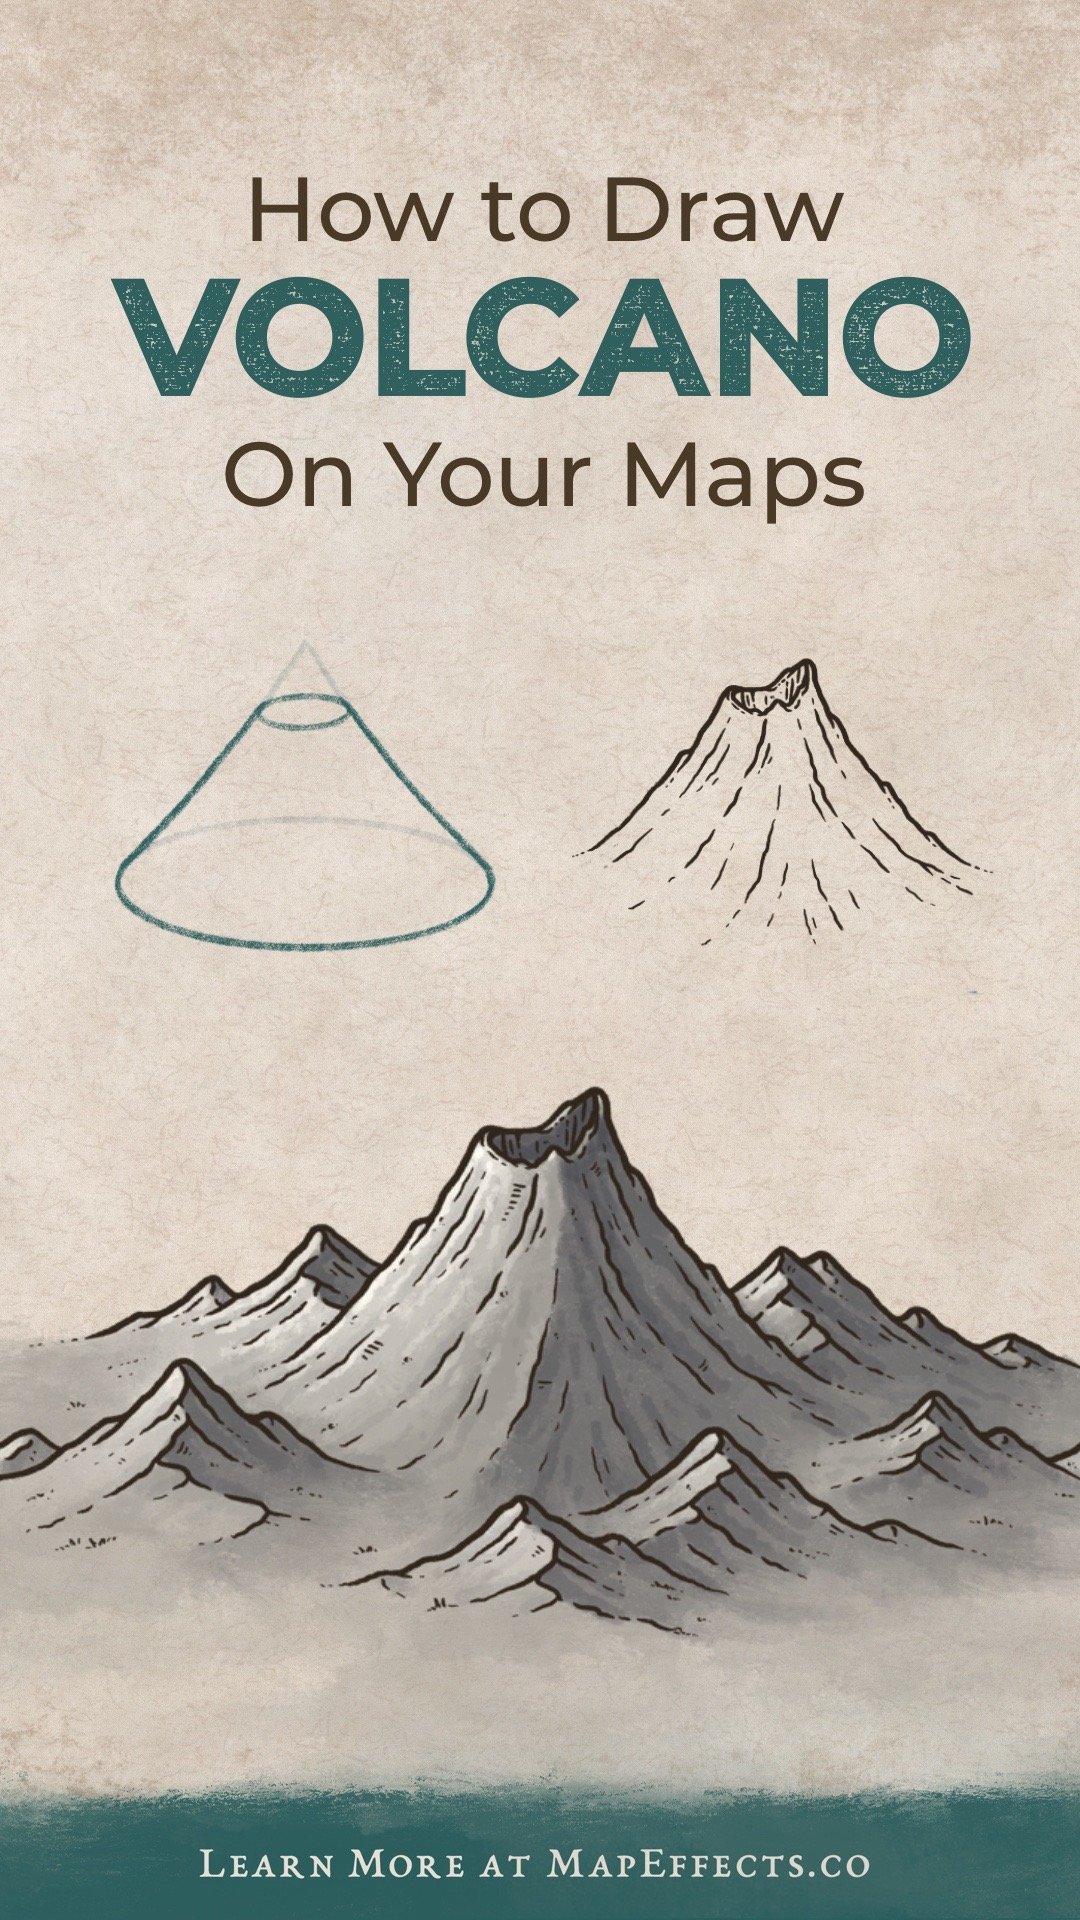
The first thing you’ll want to do is determine the size of the volcano and where you want to place it on your map. Sketch a simple cone shape where you want to place the volcano. Now imagine that you are going to slice off the top to get your base volcano shape.
It helps to begin with simple shapes to help you focus on placement and perspective. This can save you time later on from having to make major revisions.

2: Draw the Main Shape
Keeping that cone shape in mind, you can now ink the silhouette of your volcano. Make sure you don’t make your lines too smooth though because you’ll want some variations to make the volcano look rocky.
The other thing you can do is make one side of the mouth of the volcano higher than the other. This gives a little more personality to your illustration as asymmetry is often more visually interesting.

3: Add the Top Opening
Remember the simple base shape of the cone, and draw in the the mouth of the volcano. It doesn’t need to follow the shape perfectly; you have a lot of freedom to include peaks and other variations.
More Tutorials You May Enjoy


4: Draw Surrounding Mountains
Now, you can add some mountains surrounding the volcano to help blend it into the surrounding landscape. While it is possible to see a volcano emerging from relatively flat surroundings, it’s more common to find them in a mountain range.
Be sure to layer the mountains in front of and behind the volcano to give it more depth.

5: Draw Main Ridgelines
Add ridges down the volcano, making sure to follow the contours of the original cone shape. You can then use more sweeping, horizontal strokes to draw ridges on the surrounding mountains.
Using broken lines like this is one of my favorite was to give a more natural, textured look. A little secret here is that it’s also easier to draw broken lines with little imperfections because you don’t have to worry as much about drawing each line “perfect.”

6: Add Contour Lines
Now go back through and draw in some more detail lines down the sides of the mountains to help define their shape. Then give the mouth of the volcano a bit of a rim using broken lines once again.
You want the mountains to taper into the landscape so everything feels connected and part of the map, rather than mountains sitting on top of a map.

7: Finish Adding Detailing
Let’s go through one more time and add some other subtle details to help bring this illustration to life. Just adding some pen strokes to convey tufts of grass or rock can go a long way.
I also added a few vertical hatching lines on the inside of the volcano to not only darken the area but to give the impression the lines are partly obscured and going into the volcano.

8: Block in Color
If you are working digitally, create a new layer under your line art and block in some color. The color you choose will depend greatly on the color palette of your map, as well as if the volcano is more rocky, or covered in vegetation. By default, I would go with a less saturated color than the main background of your map.
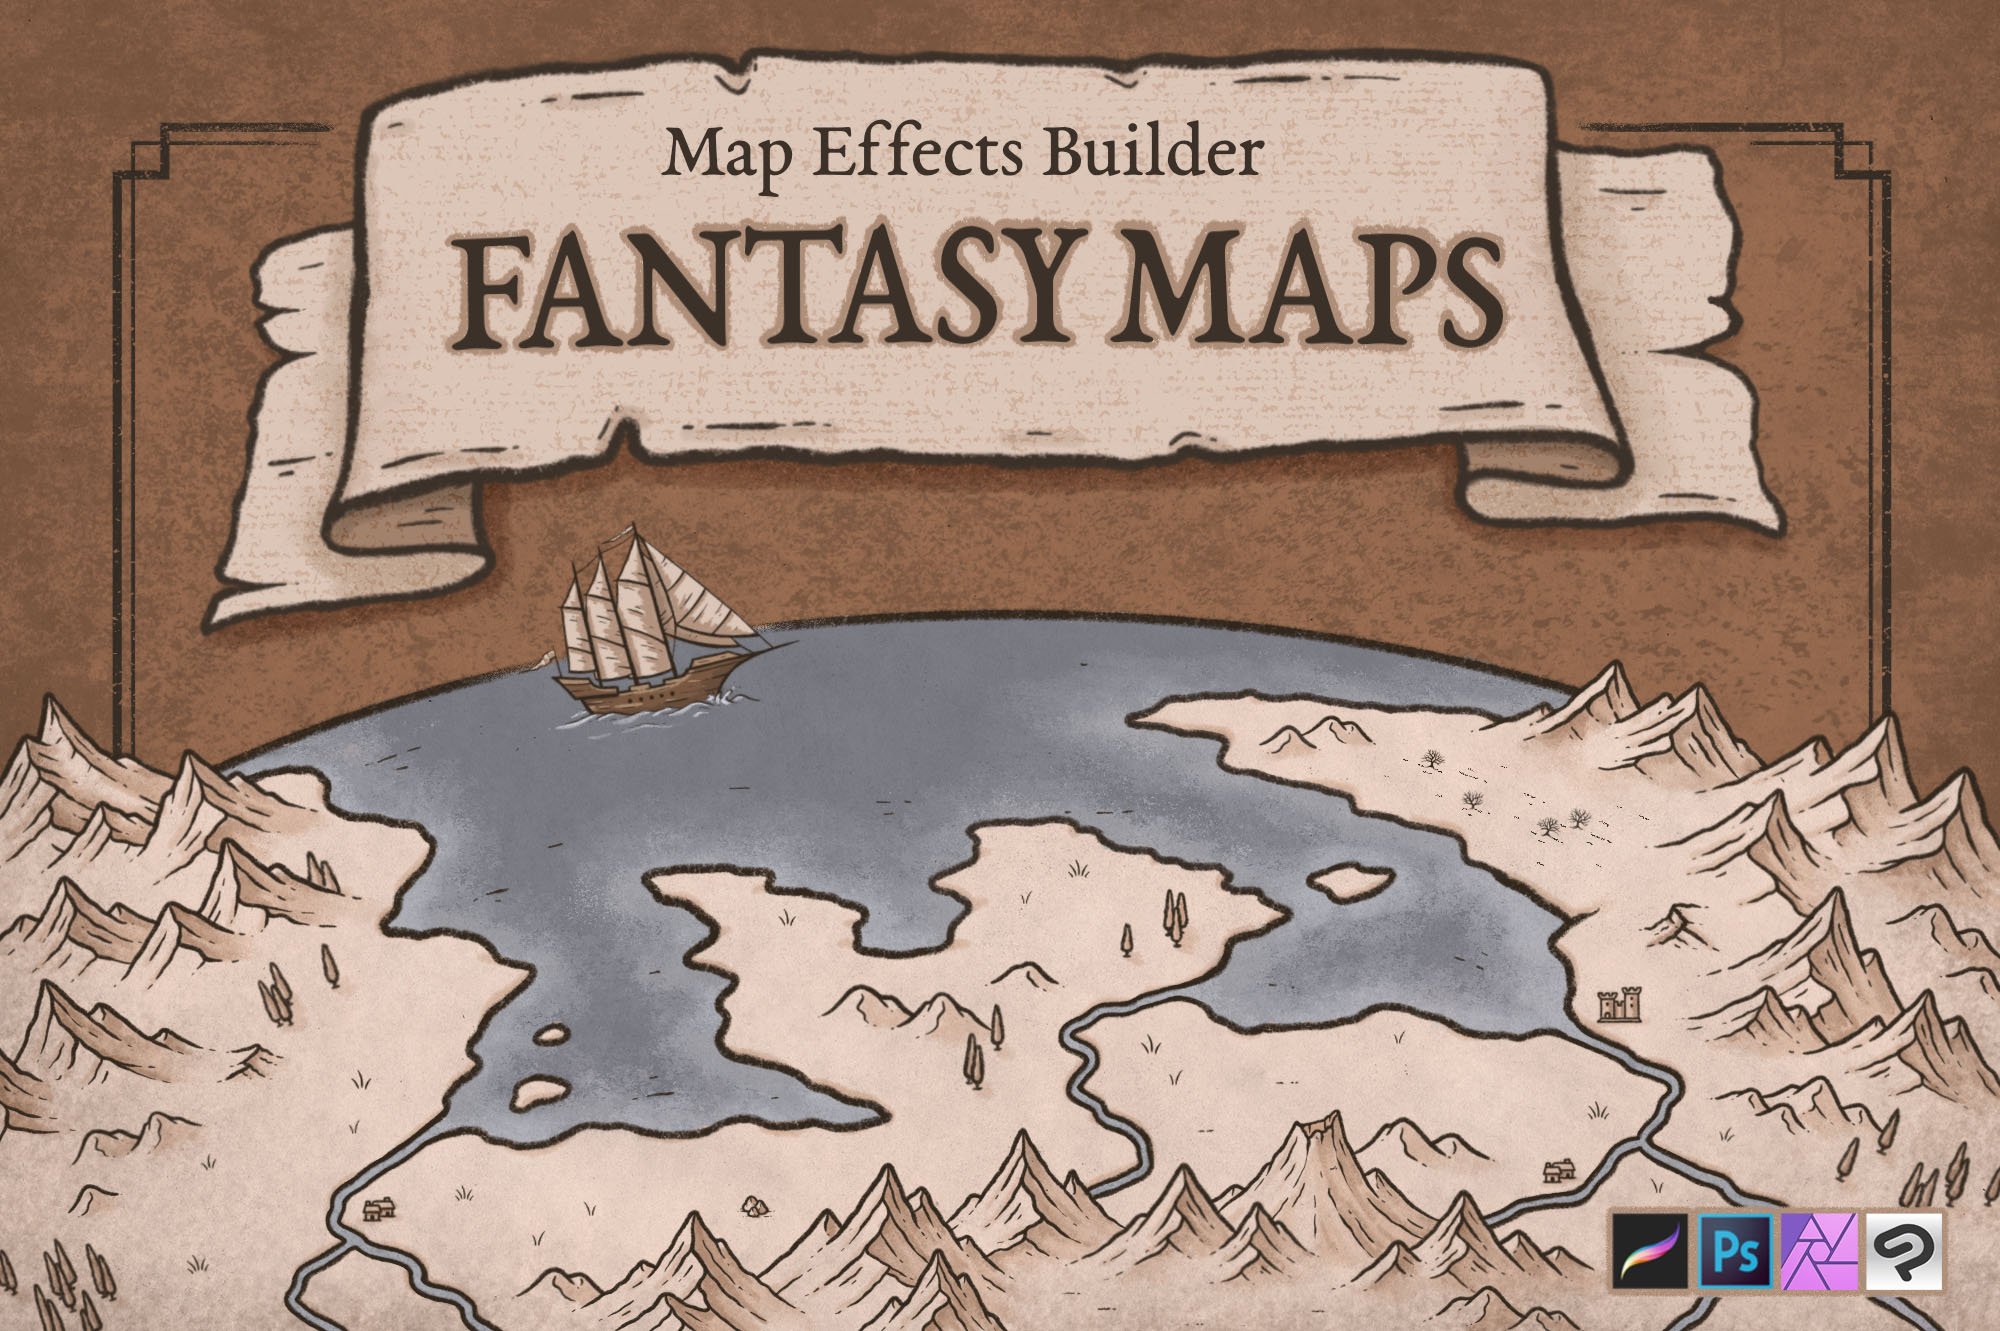
The Fantasy Map Builder
$34 | Now Compatible with Procreate, Photoshop, Affinity, & Clip Studio Paint
Easily create hand-drawn fantasy maps for your upcoming fantasy novel or next role playing campaign without learning how to draw! Whether you want a map for the fantasy book you’re writing or want to make your role playing campaign more immersive, this has you covered. Includes 300+ hand-drawn features to help you map your story!

9: Paint the Base Shadows
Choose a light direction and block in some simple shadows just to give some form. I recommend painting your shadows on their own layer so you can easily make subtle adjustments layer if you find you need to tone them back a little.
For this example, I am using a desaturated blue for the shadows to create a bit of color contrast with the warmer gray in the rest of the rocks. Using blue also reflects the ambient color that the sky is casting into the shadows. This is why in a typical outdoor setting you’ll notice the shadows are relatively cooler in color temperature.
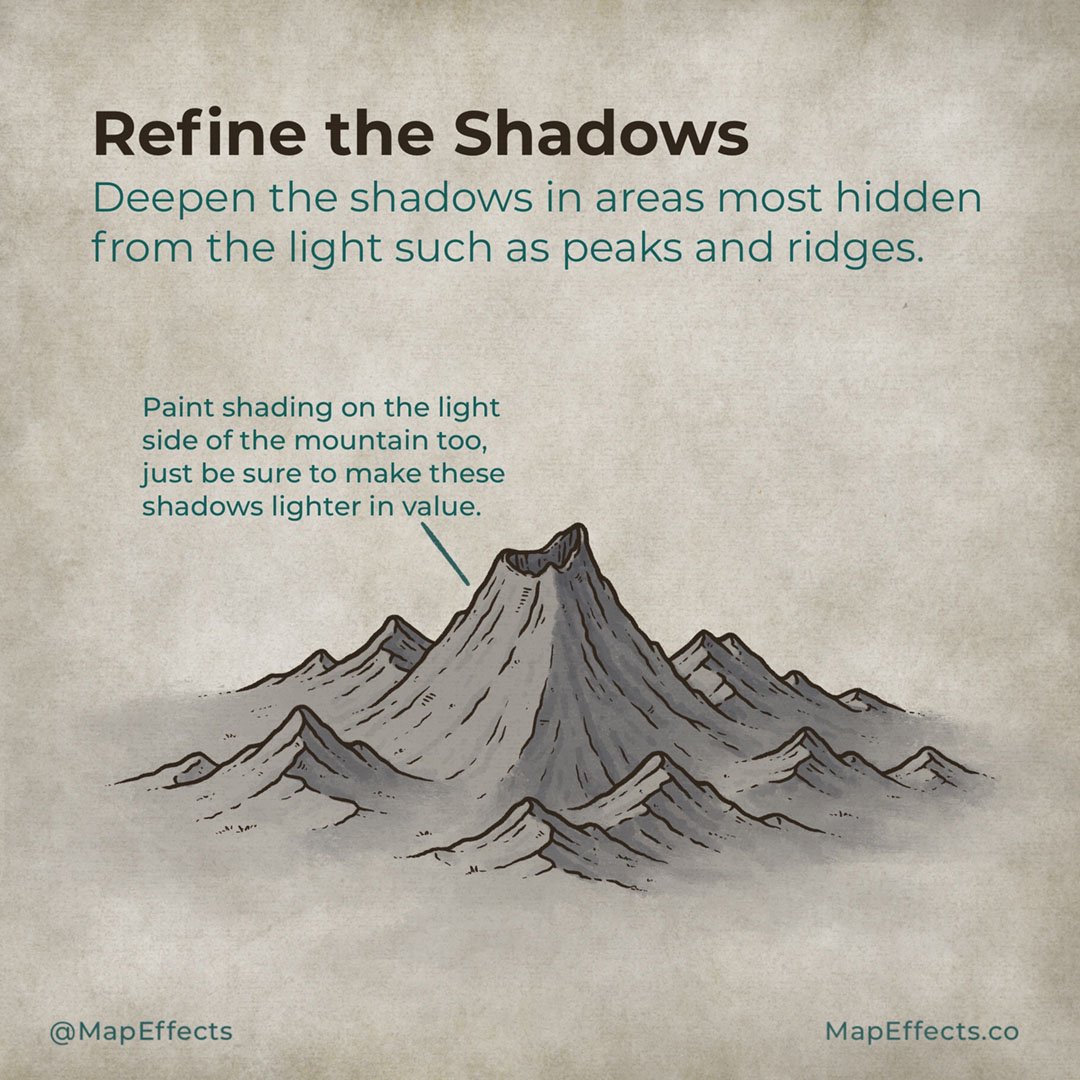
10: Refine the Shadows
I find it best to do shading in several passes rather than trying to make everything “perfect” the first time through. Now that you have your base shadows you can go back through and deepen the shadows in areas most hidden from the light source. In this case, you’ll want to look at the different peaks and ridges, as well as the inside of the volcano.
You can also paint some subtle shading on the light side of the mountain so it doesn’t appear too flat. Just make sure these shadows are a lighter value than anything on the shadow side.

11: Paint in the Highlights
You can build up the highlights in the same way you did for the shadows. Start big and work smaller as you add more detail and refine.
For this step, you will want to create another new layer and set the blend mode to either “Screen” or “Add”. I have found it will depend a bit on the app you’re using to achieve the look you want. Using a low-opacity brush can help this process so you can build the highlights up gradually.
How Do You Draw a Volcanic Eruption?
Your dormant volcano is done, but what if you want to make things a little more explosive? If you want to learn how to draw an erupting volcano on your fantasy maps, click the button below!