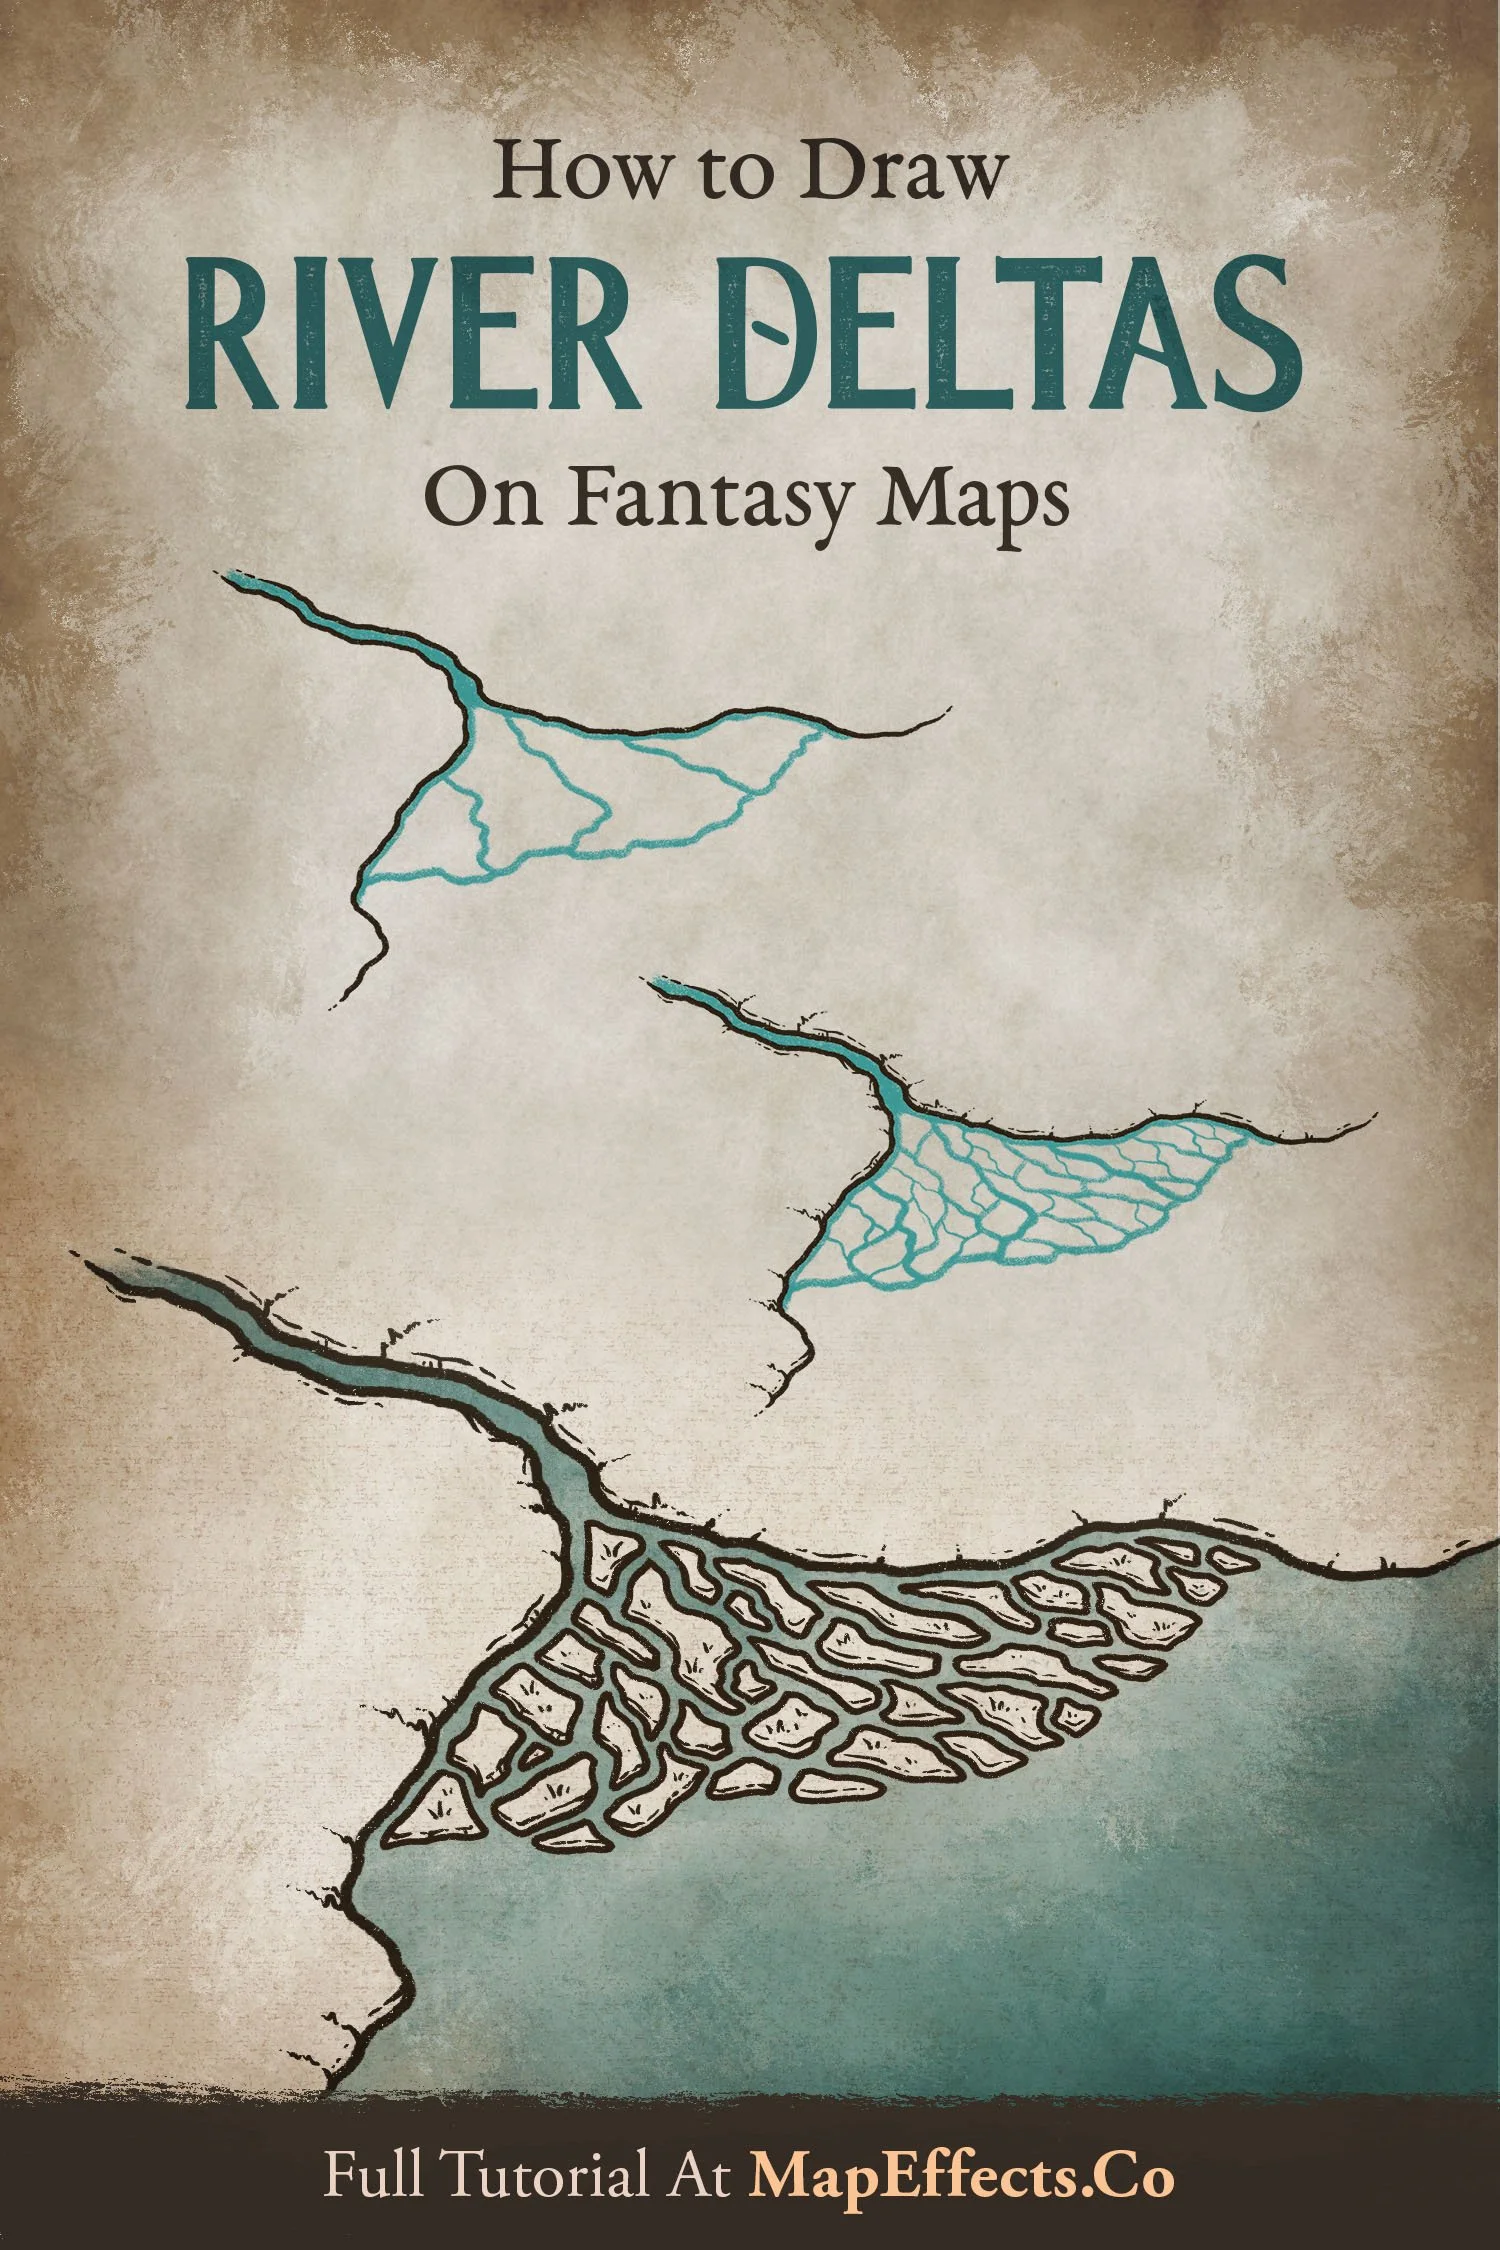
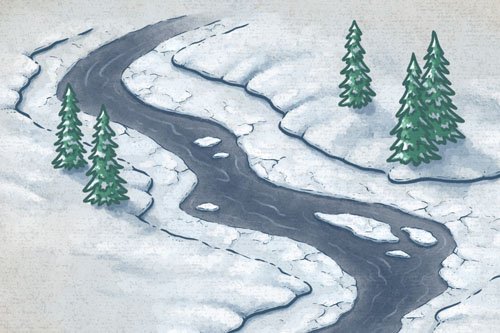
How to Draw River Deltas

The air is heavy with the scent of salt as you trace the winding river to its end. Here, the waters split into countless streams spreading like the roots of a tree into the sea. The soils are rich, teeming with life. A place where civilizations might rise, or secrets might sink beneath the silt.
In this tutorial, I’ll guide you through drawing river deltas that look as though they belong on ancient charts and treasure maps. Features that not only shape the land, but hint at the stories and mysteries flowing through it.
Want some free brushes to draw your maps? Get The Free Apprentice Brush Pack HERE
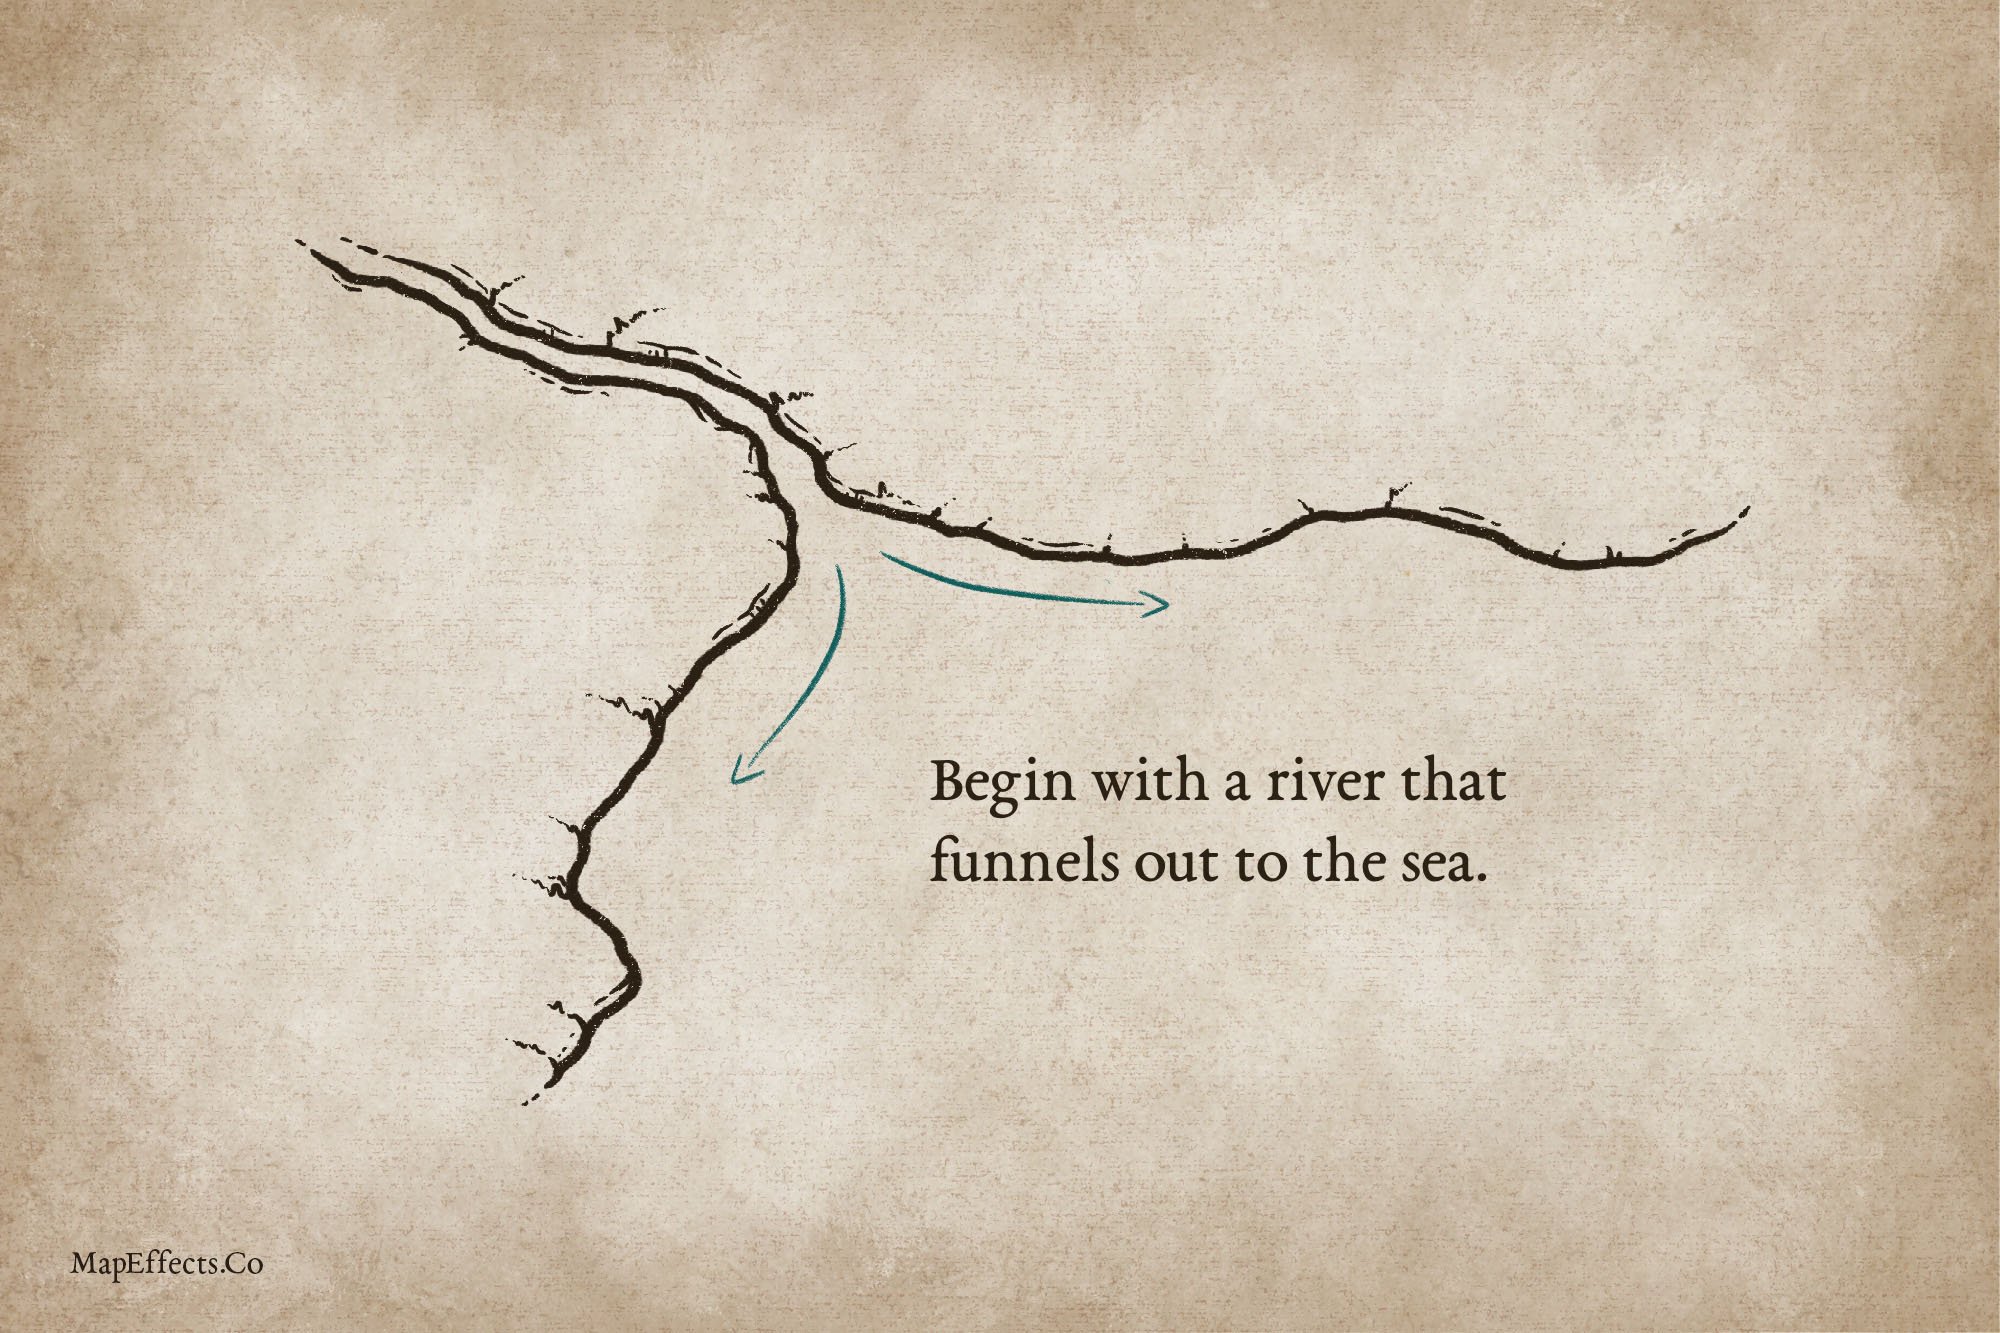
Begin with a River & Coastline
Draw a river that forms a funnel into the sea or ocean. For a delta to form it needs to be semi-protected from the currents of the ocean washing the silt that will form the delta out to sea. For this reason, it makes more sense to start with a river outlet that is inset and protected within the landscape.
Before we continue, it may be helpful to examine a Map Tip I did that gives a really simple breakdown of how Deltas form.
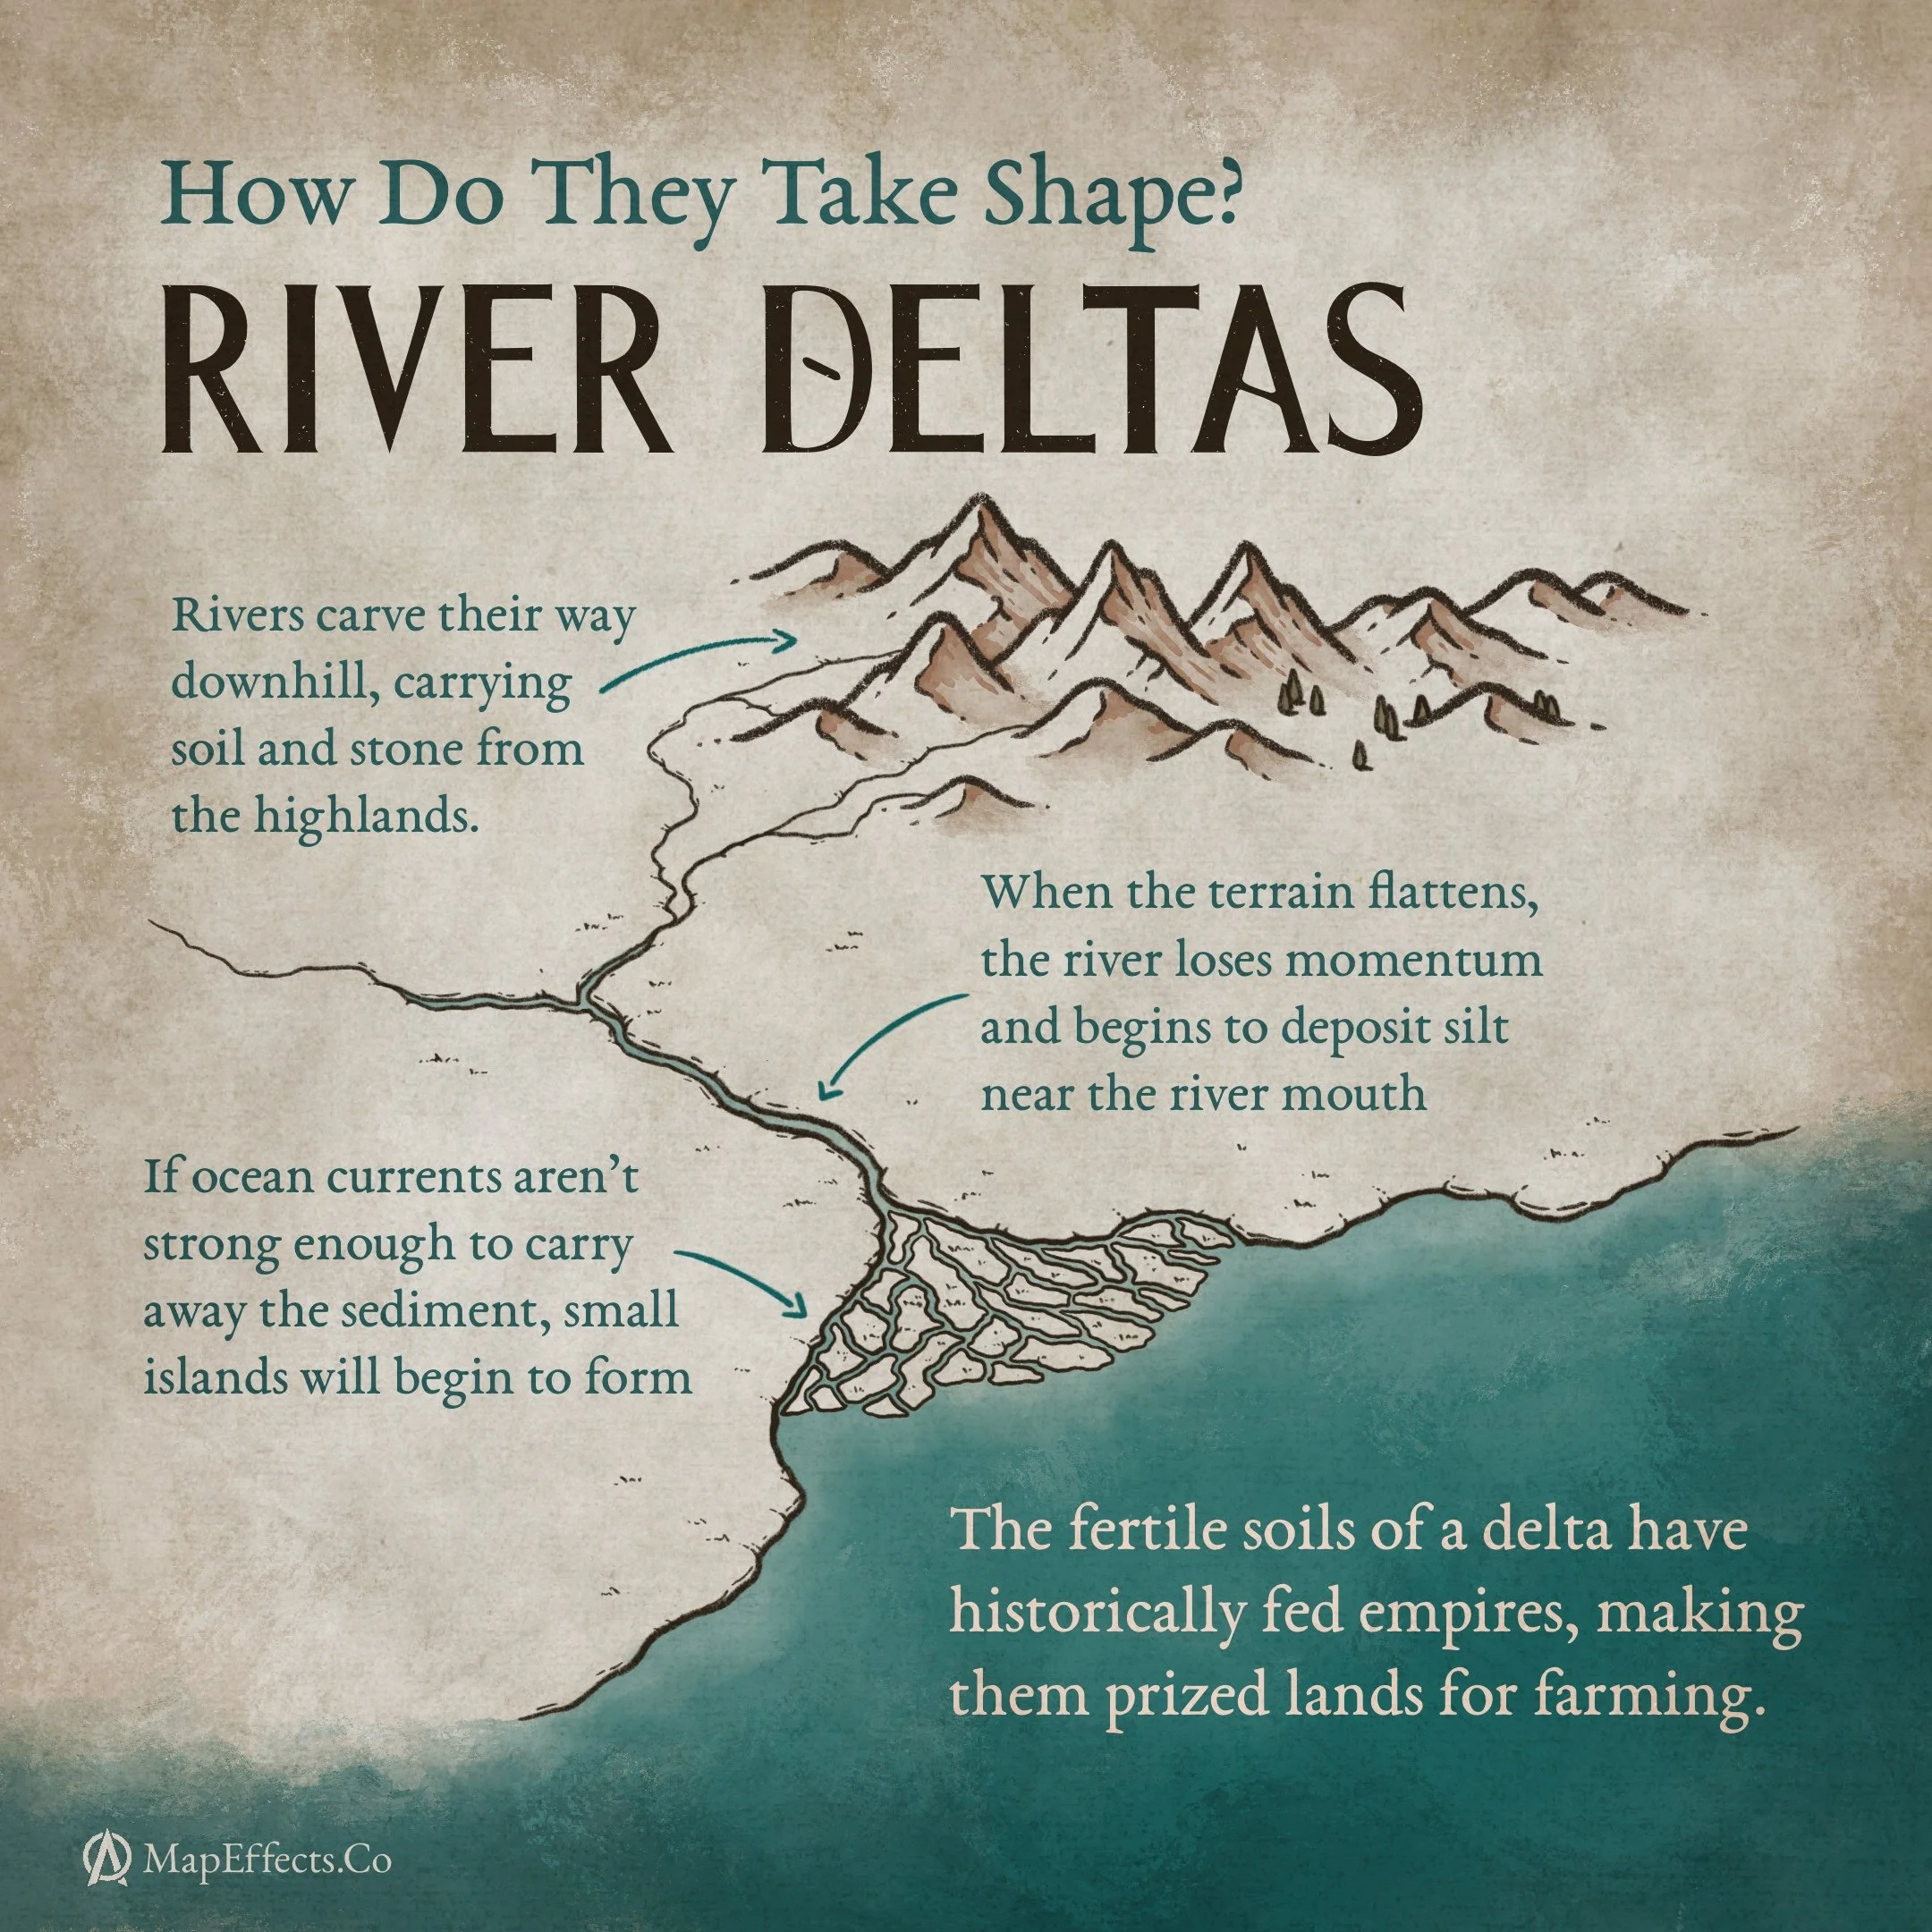
How Do River Deltas Form?
Rivers carve their way downhill, carrying soil and stone from the highlands
When the terrain flattens, the river loses momentum and begins to deposit silt near the river mouth.
If the ocean currents aren’t strong enough to carry away the sediment, small islands will form.

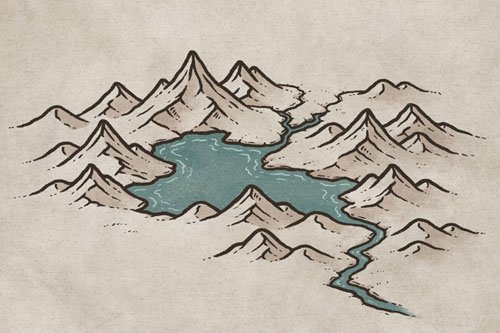
Sketch the Main Shape of the Delta
Sketch the main shape of the delta by imagining the water carrying silt down the river, and how it would deposit where the river meets the sea. Draw in a few main streams that will flow through the delta and form islands.

Draw Additional Rivers and Connect Them Together
Make your brush slightly smaller, and start to connect some of those main rivers like pieces of a puzzle. Deltas are one of the unique places where rivers consistently split because of the high water table.
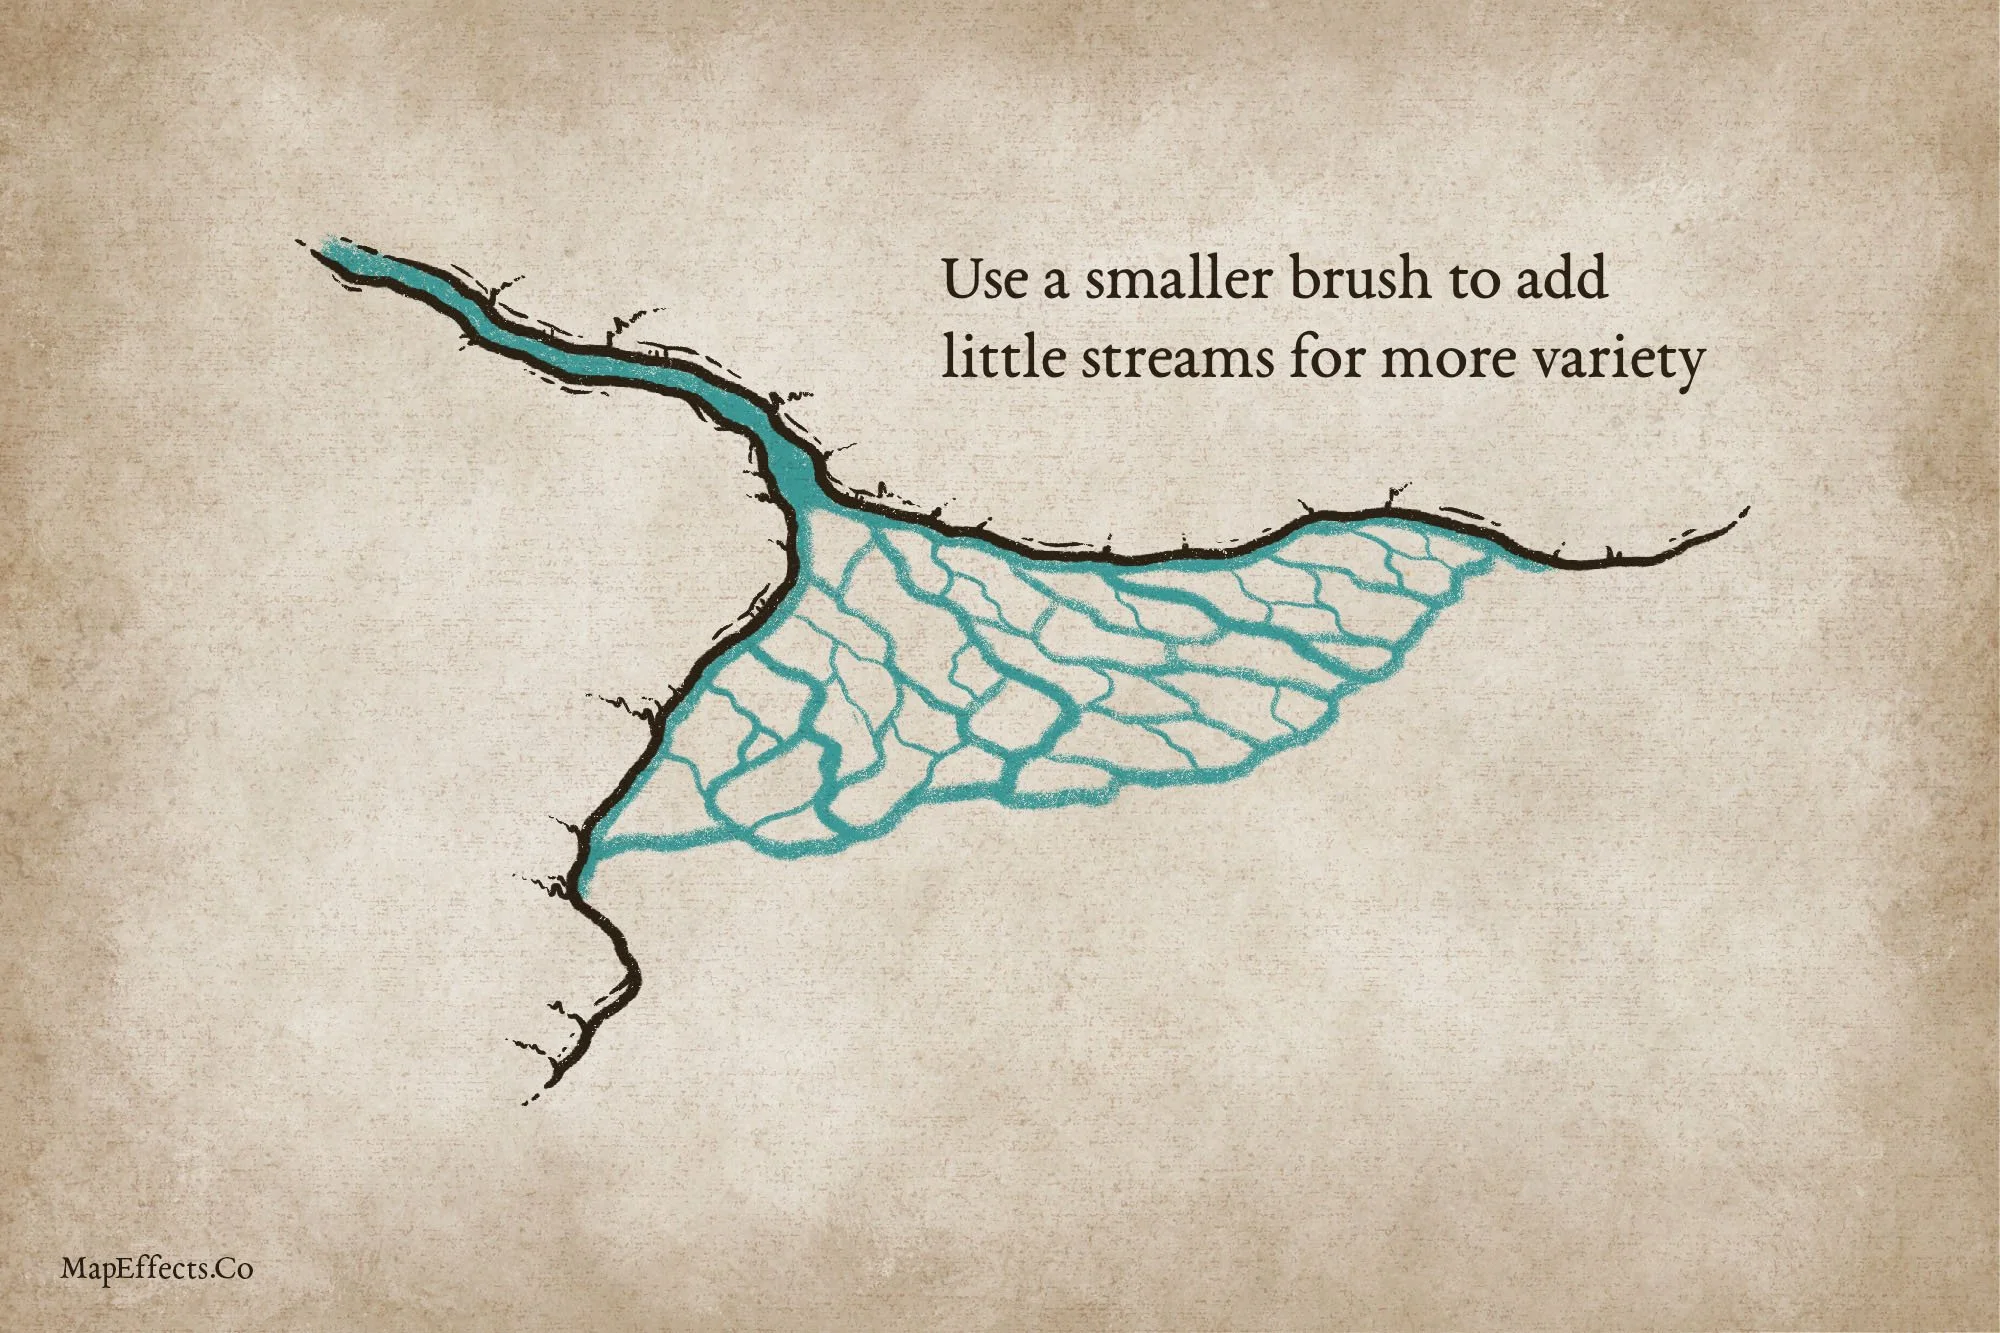
Fill Out with Smaller Streams
Use an even smaller brush to draw in a few small streams that fill out the rest of the marshland. Allowing some variety in the line width helps to create visual interest on your map.
More Mapping Tutorials

Outline the Islands with Ink
Switch to your inking brush now and outline each of the islands. Remember, you’re using the original sketch to show where the streams are, and you are drawing islands in the negative space.

Detail the Islands of the Delta
Switch to a brush pen or a pressure-sensitive brush and draw some broken lines on the bottom part of the little islands to give them some depth. You can then draw some tufts of grass scattered throughout the delta to just give a bit of texture.
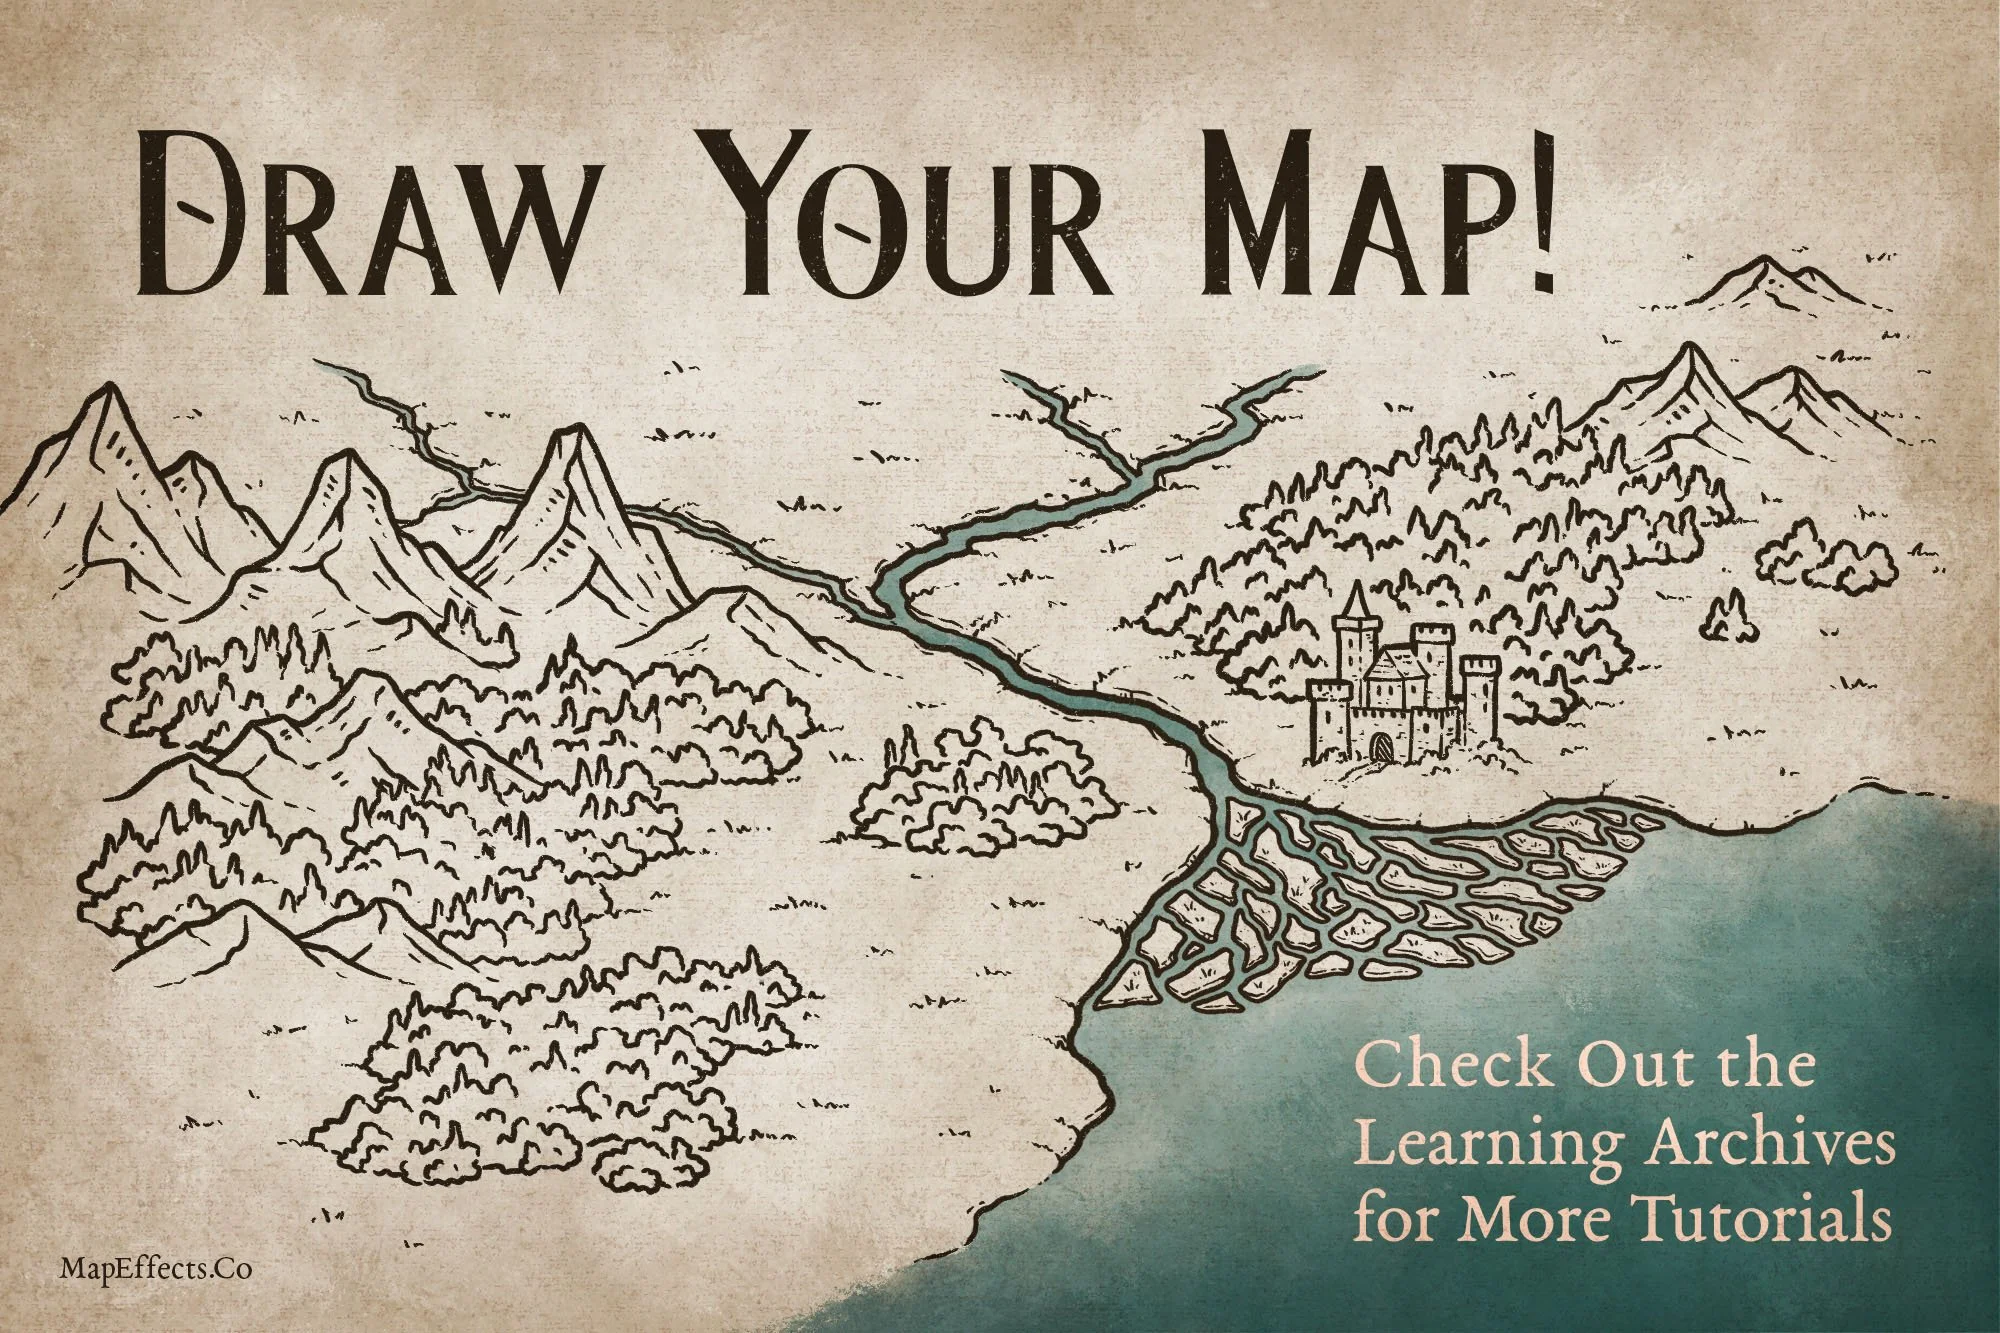
Draw Your Map!
You’re done! I hope you found this helpful, so you can draw a delta on your next fantasy map! Be sure to check out some of the other tutorials below to help you in your map-making journey.
Happy Mapping!
Josh