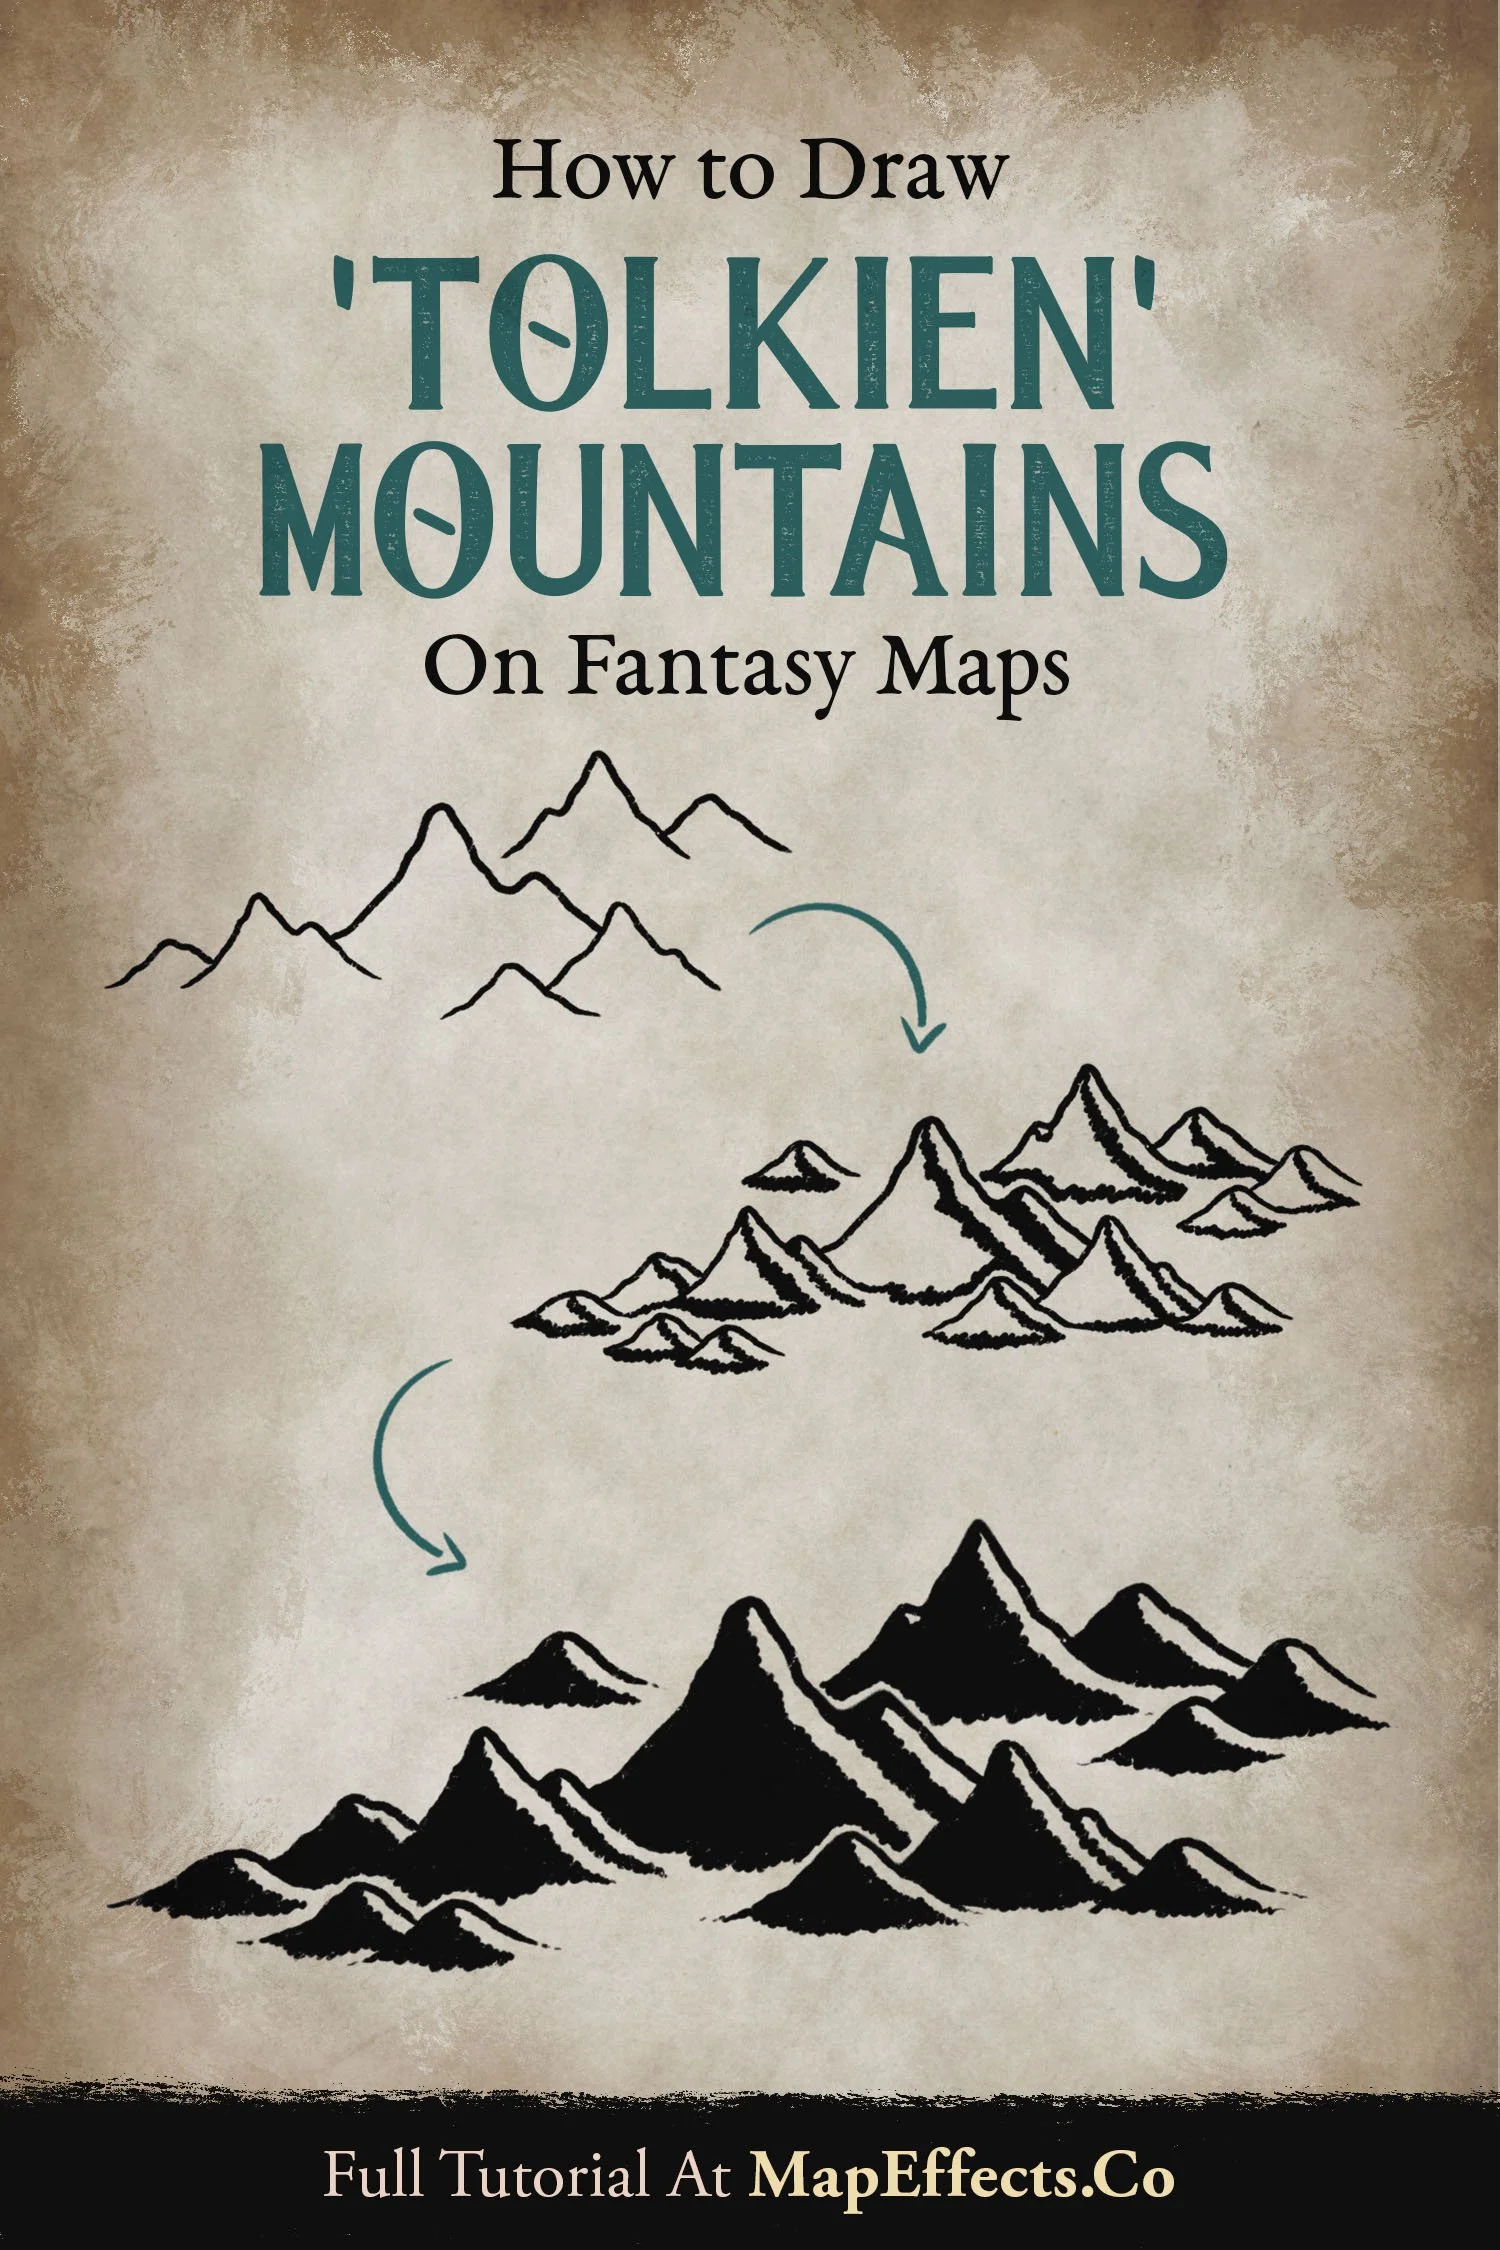
How to Draw ‘Tolkien’ Mountains

Many of us first fell in love with maps and fantasy while gazing at J.R.R. Tolkien’s map of Middle-earth. Something stirred our imagination as we stared at the Misty Mountains and searched for the entrance to Moria. Inevitably, this led us to want to pick up a pen and draw a map of our own. But where to begin?
In this tutorial, I’ll walk you through how to draw the classic Tolkien-style mountains!
Want some free brushes to draw your maps? Get The Free Apprentice Brush Pack HERE
Draw the Central Mountains
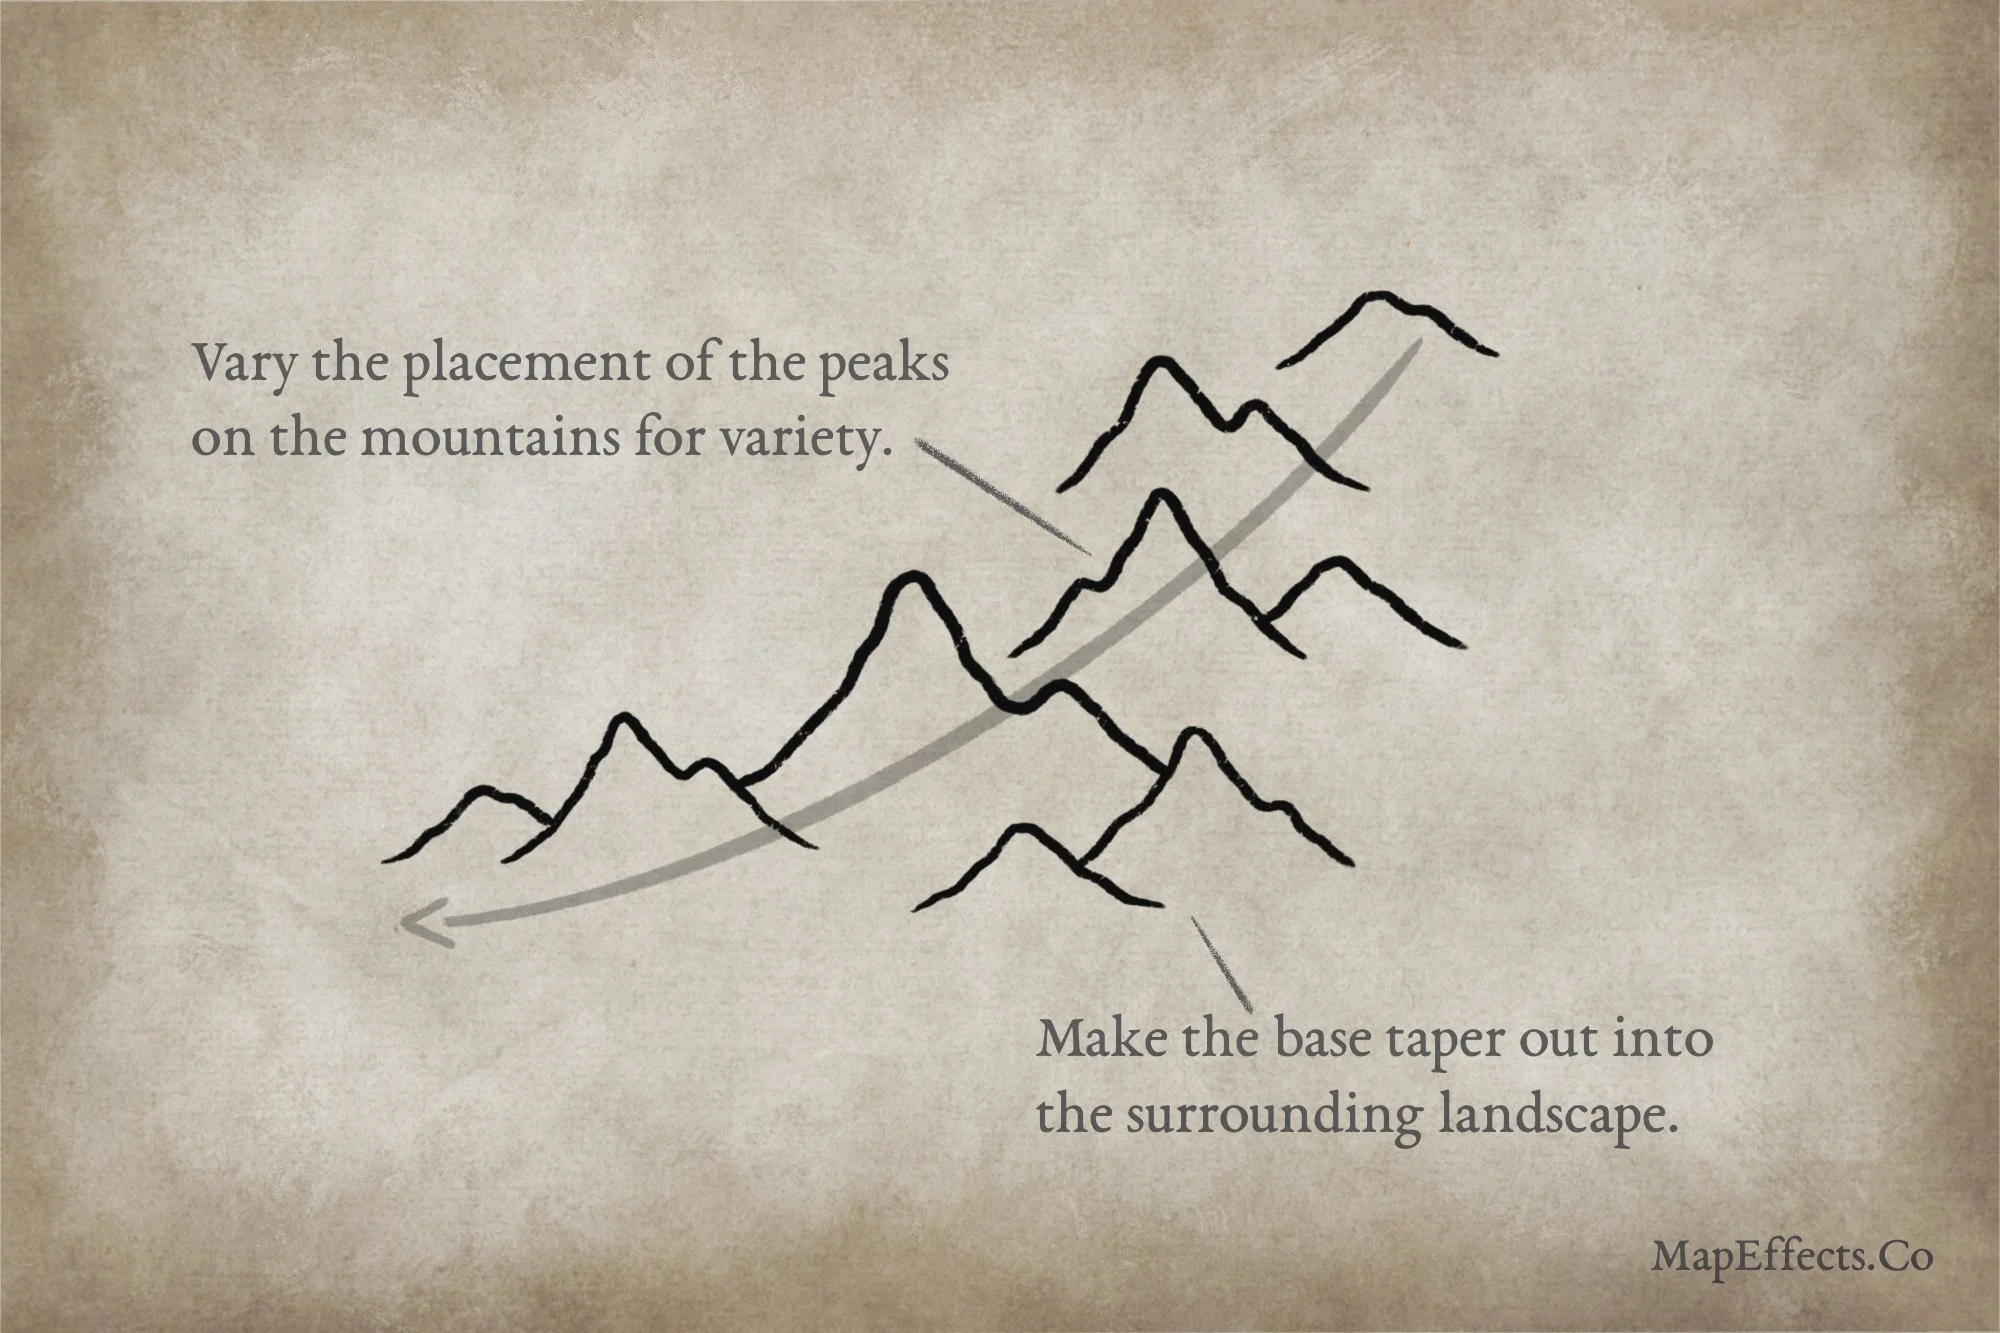
Sketch an arrow on your map where you want your mountain range to appear. This will help you focus on the shape and placement before you draw anything more permanent. Then you can draw a few simple mountains that follow that line. Try to vary he placement of the peaks ont’t he mountains, as well as the size. Try to keep the tallest mountains near the center of the range.
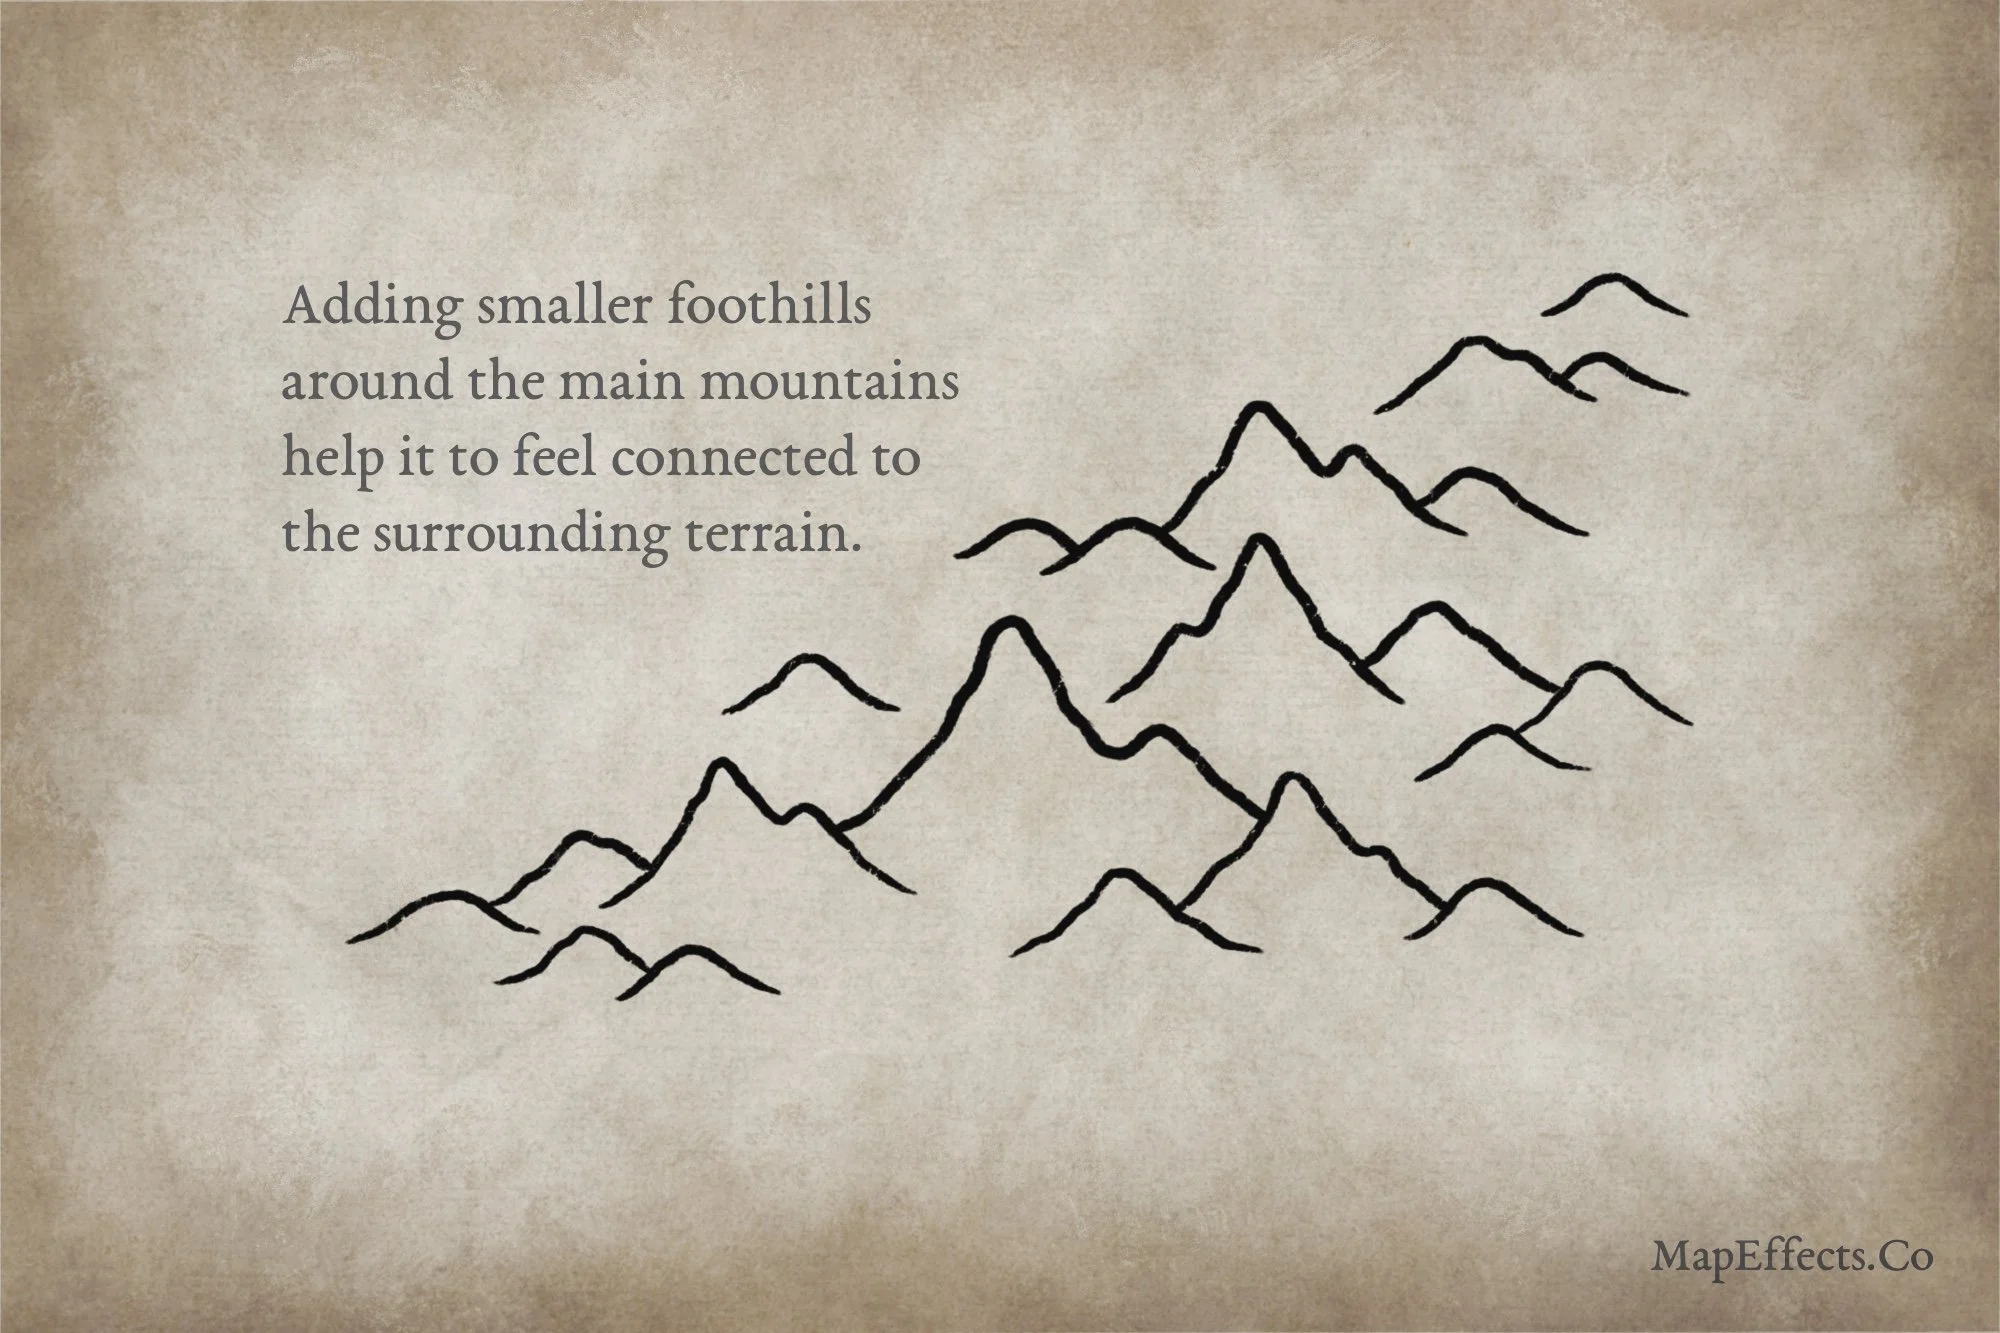
Draw the Foothills
Circle back now and add some smaller mountains and foothills. This will give the appearance of the mountains tapering into the surrounding landscape rather than just sitting on top of the page.
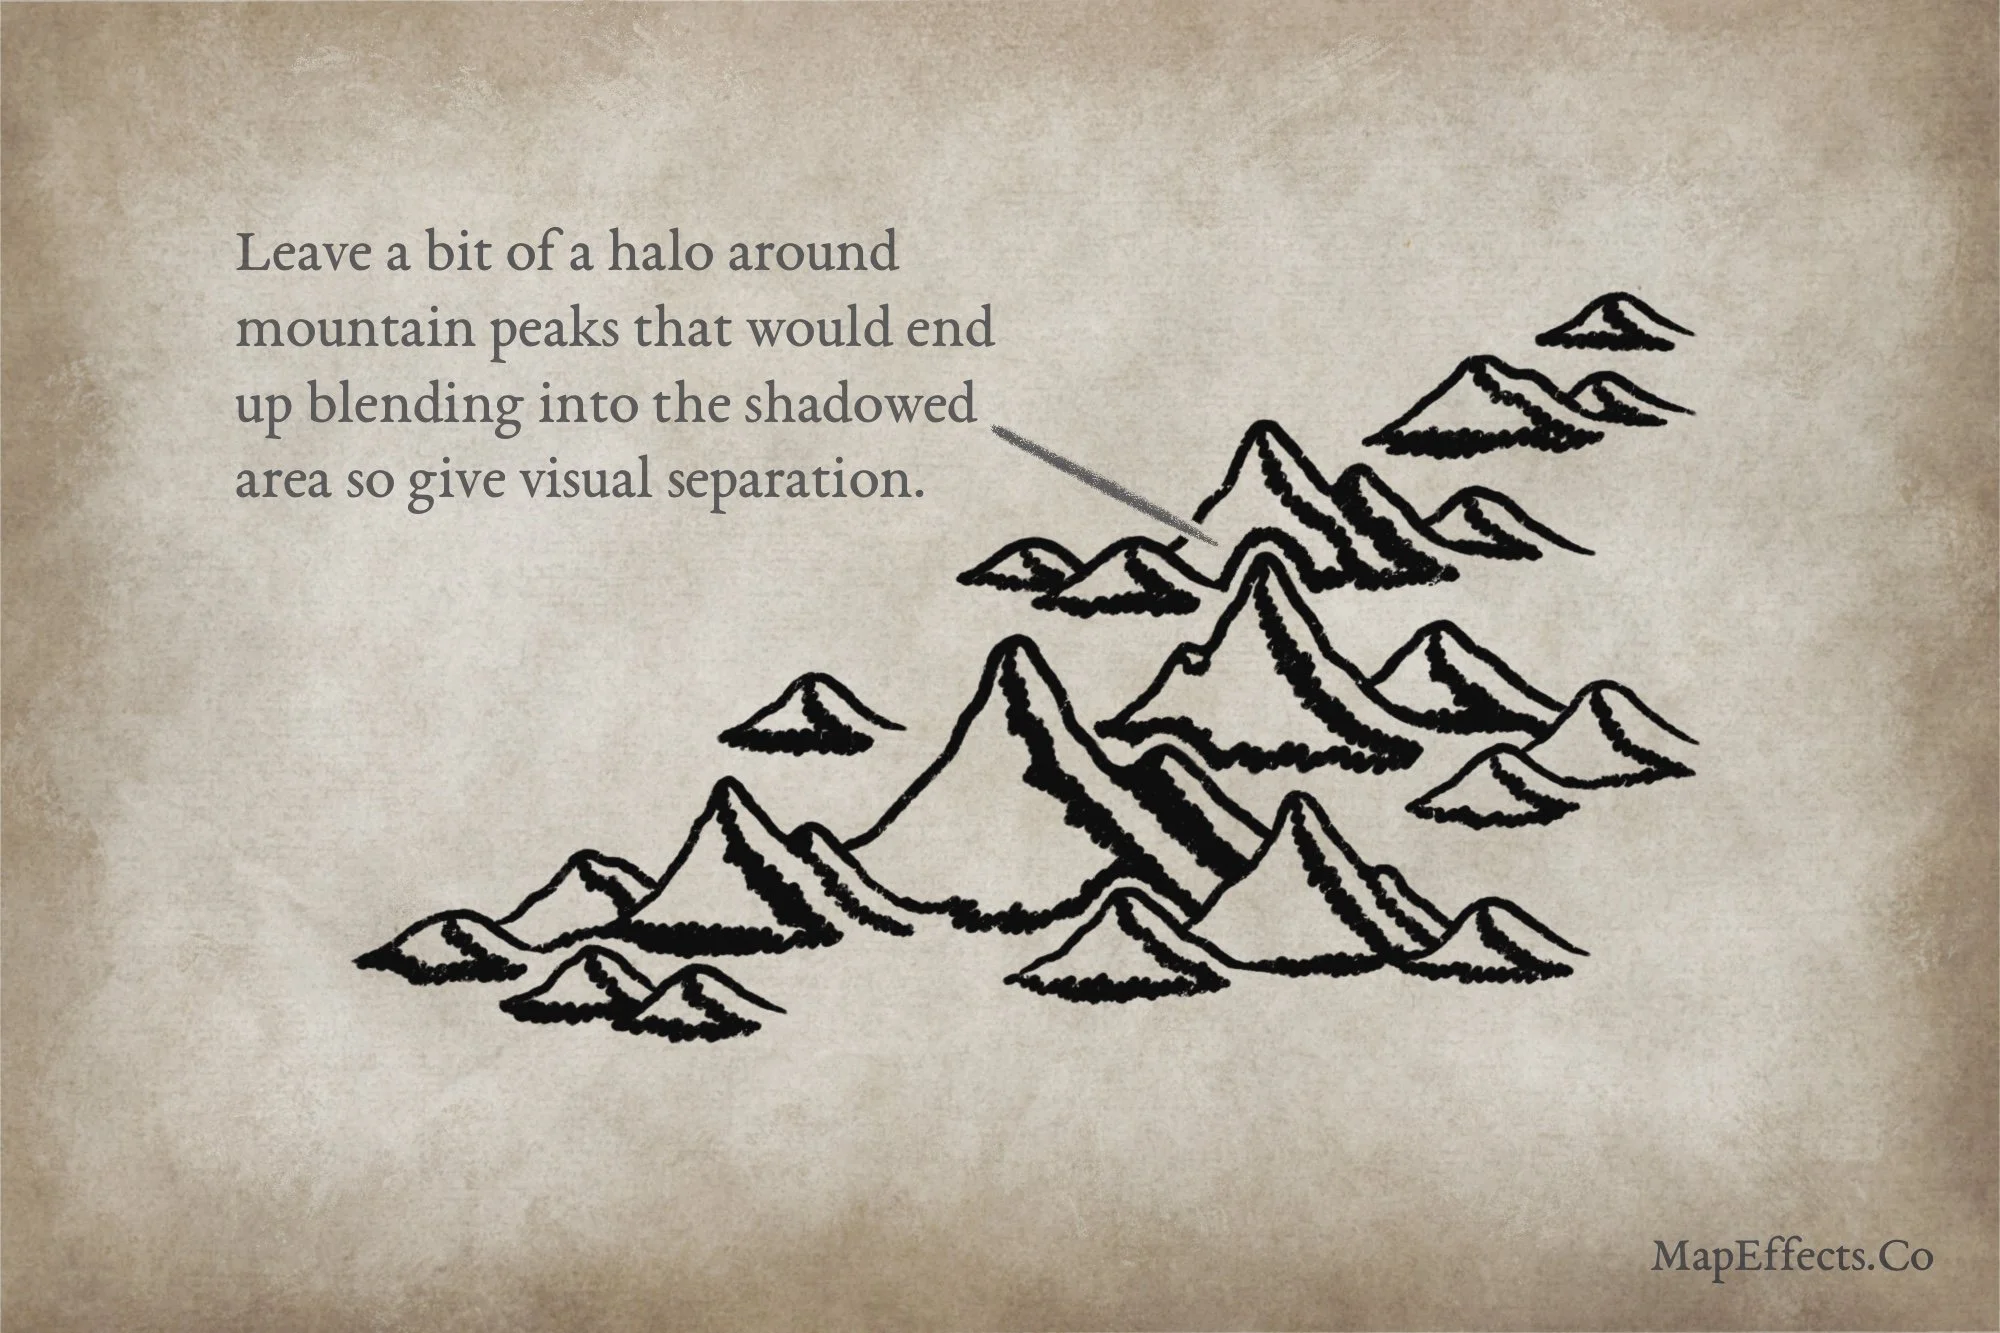
Outline the Shadows
The key with this ‘Tolkien’ style that you see on the classic Middle Earth map, is that the highlight is rather narrow. In this case, the light is coming from the right. Another thing to point out is that I like to leave a bit of halo around mountain peaks that would end up blending into the shadowed area of the mountain behind it. If you don’t do this, the mountains can end up looking visually muddied.
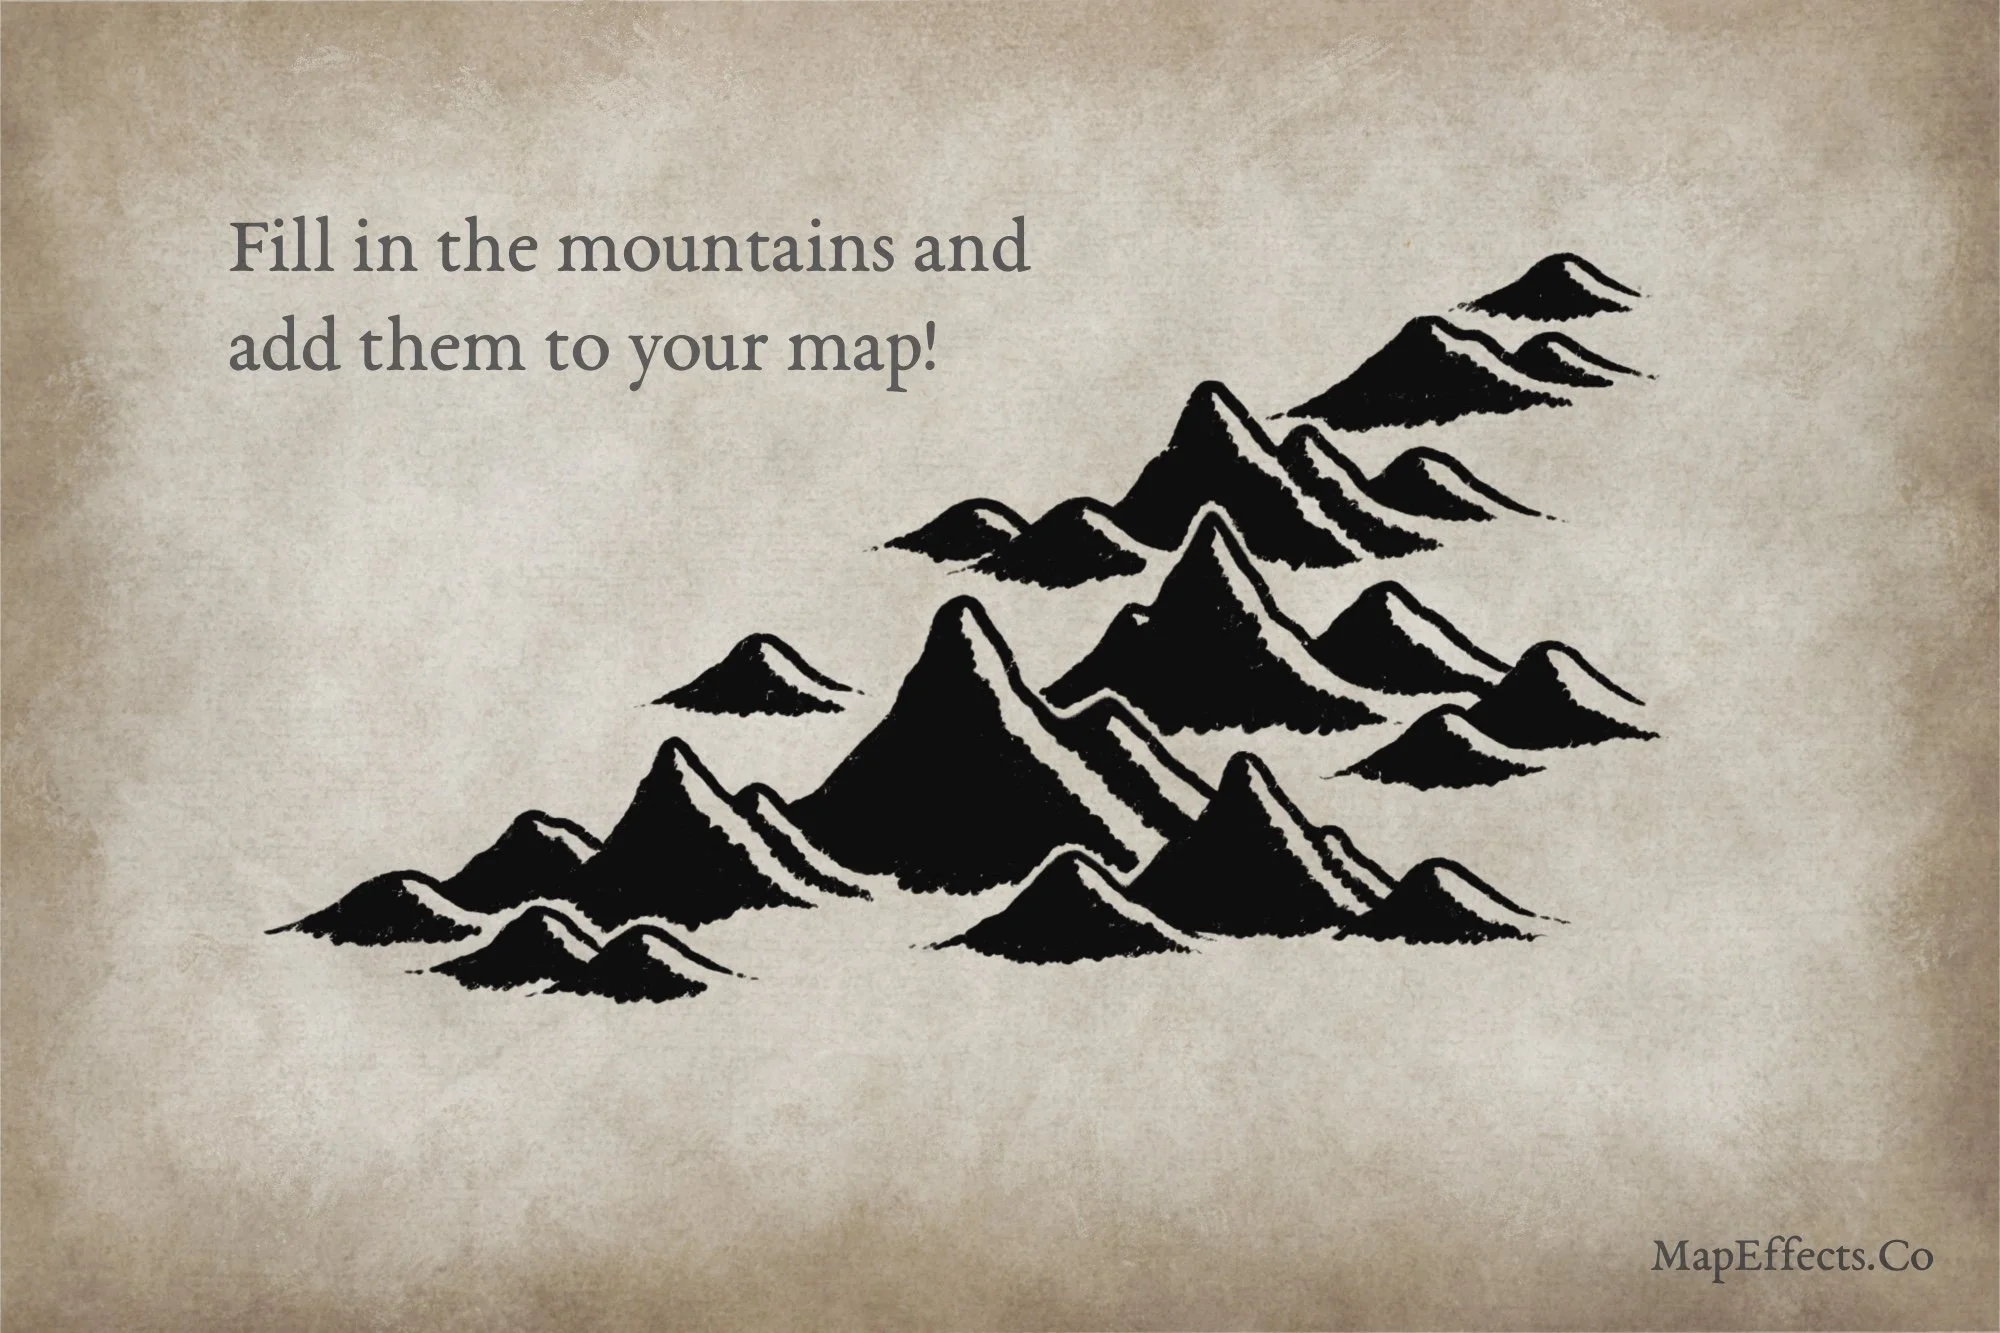
Fill in the Shadows!
Now it’s as simple as filling in the rest of the shadows with your pen and you’re pretty much done. One thing I’ll highlight is that with this style the shadow really stops at the case of the mountain and is relatively flat compared to how I normally would draw mountains. It’s all a stylistic choice in the end, but I think this accurately reflects what you see on Tolkien’s map of Middle Earth.
If you want to watch a video demonstration for this tutorial, I’ve included it below.
Happy Mapping!
- Josh