
How to Draw Mountains

Mountains are perhaps the most important natural feature you can draw on a map. They impact weather patterns, where rivers flow, and ultimately where cities and nations arise. But, how do you draw them so they don’t just look like squiggly triangles on your map? In this tutorial, I will walk through one of my favorite methods to draw mountains on your fantasy maps!
All of the brushes I will be using for this tutorial are available in the Map Maker Essential Brushes pack for Procreate & Photoshop.
Sketch Some Simple Triangles
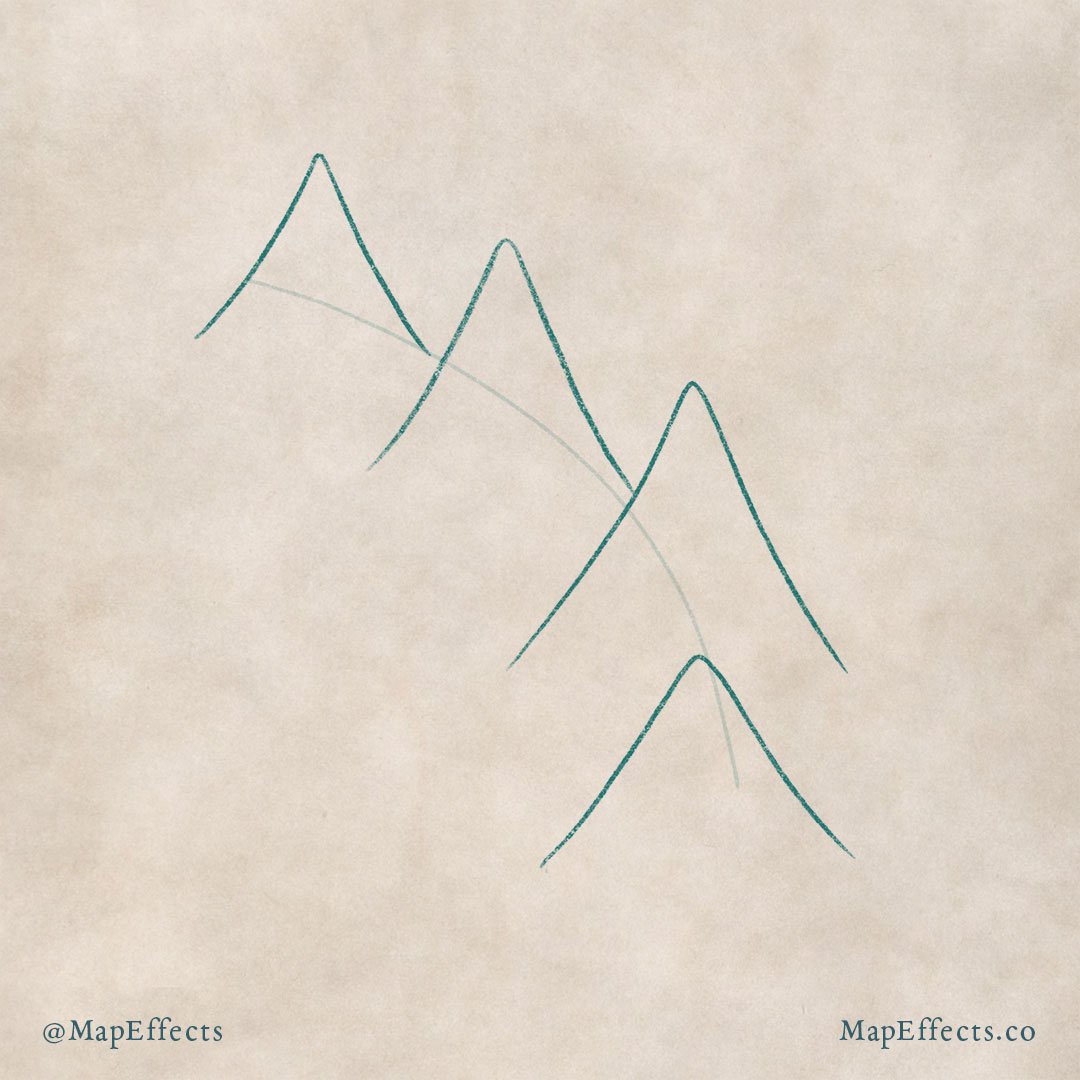
Draw a line to indicate where you would like to place your mountain range. This helps you to focus more on the overall composition of your mountain range so it looks natural on the map. If you draw the actual mountains too soon you’ll often have to redraw them to fix their placement.
Now sketch a few simple triangles to represent the tallest mountains in the range. The main thing you want to focus on here is the general placement and the height.
Refine the Main Mountains
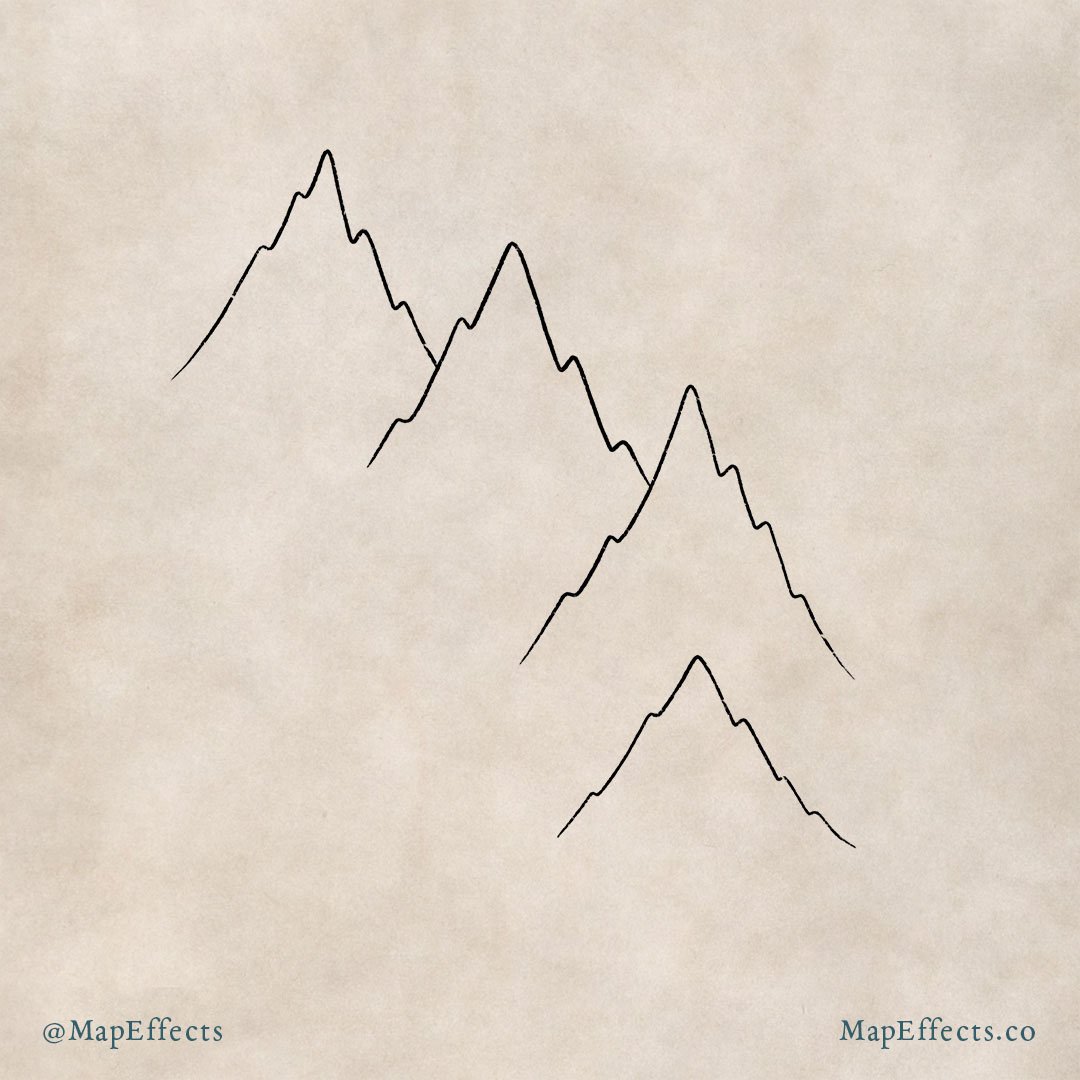
Once you are happy with the placement of your primary mountains, you can create a new layer and ink their shape. For this style of mountains, you'll want to use a jagged step pattern for the silhouette of the mountains. Try to vary the placement and height of these ridges so the mountains don’t appear too similar.
Add Smaller Mountains
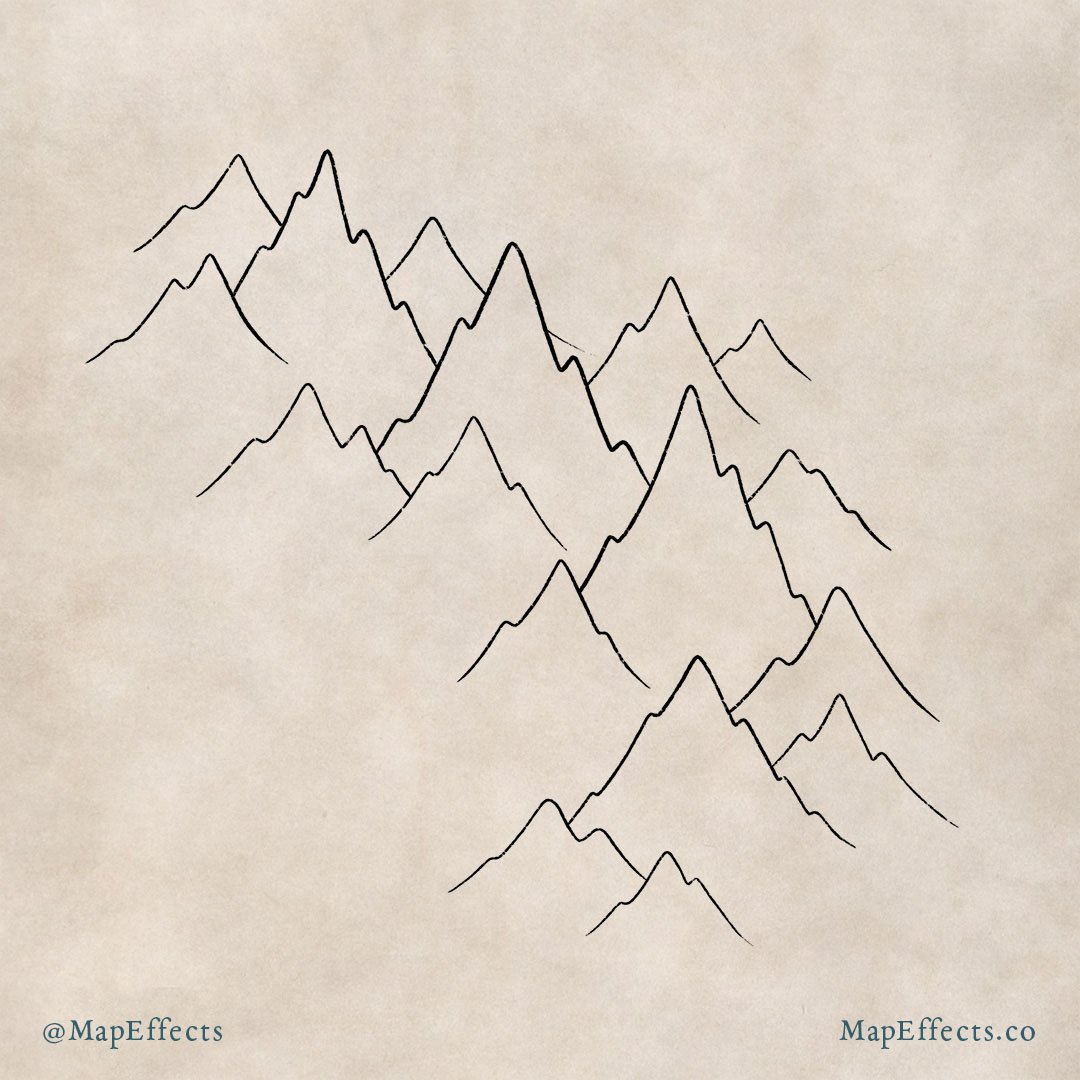
With the tallest mountains in place, you can now draw smaller mountains around them. Use the same method as the previous step, but notice these mountains are a wider in nature.
As you place the smaller mountains, think about the range tapering into the surrounding landscape. Frequently when you are first getting into cartography, it's easy to fall into the trap of making the mountains too similar in height. A little variety can go a long way to improving your maps.
More Tutorials You May Enjoy


Draw in the Foothills
Last but not least, draw in some small rounded hills at the base of the mountains to blend with the terrain.
In the real world it is unusual to encounter massive mountains which emerge from a completely flat landscape. Usually, there is a transitional area made up of rolling foothills. This can go a long way to making your map feel more realistic.
Add the Main Ridge
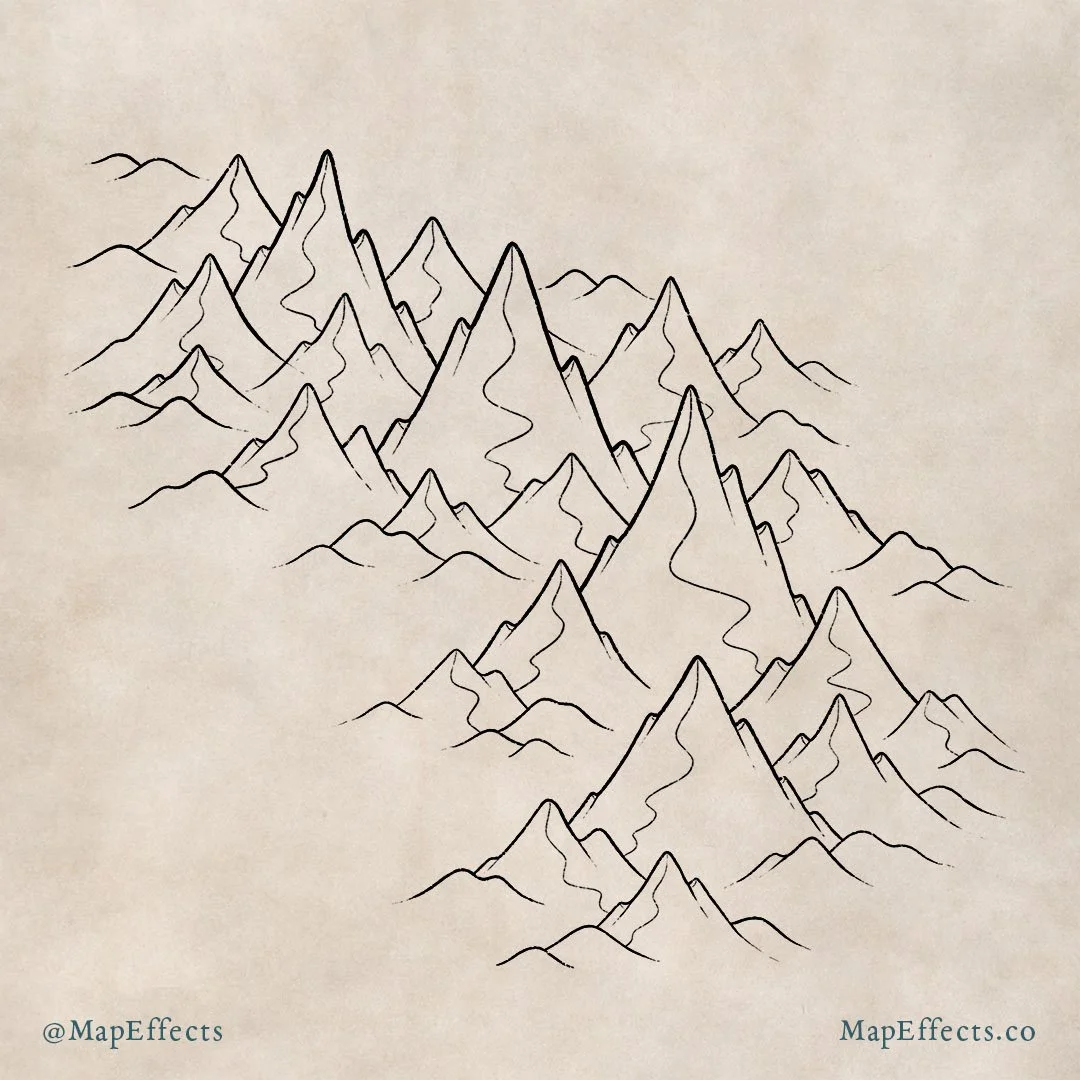
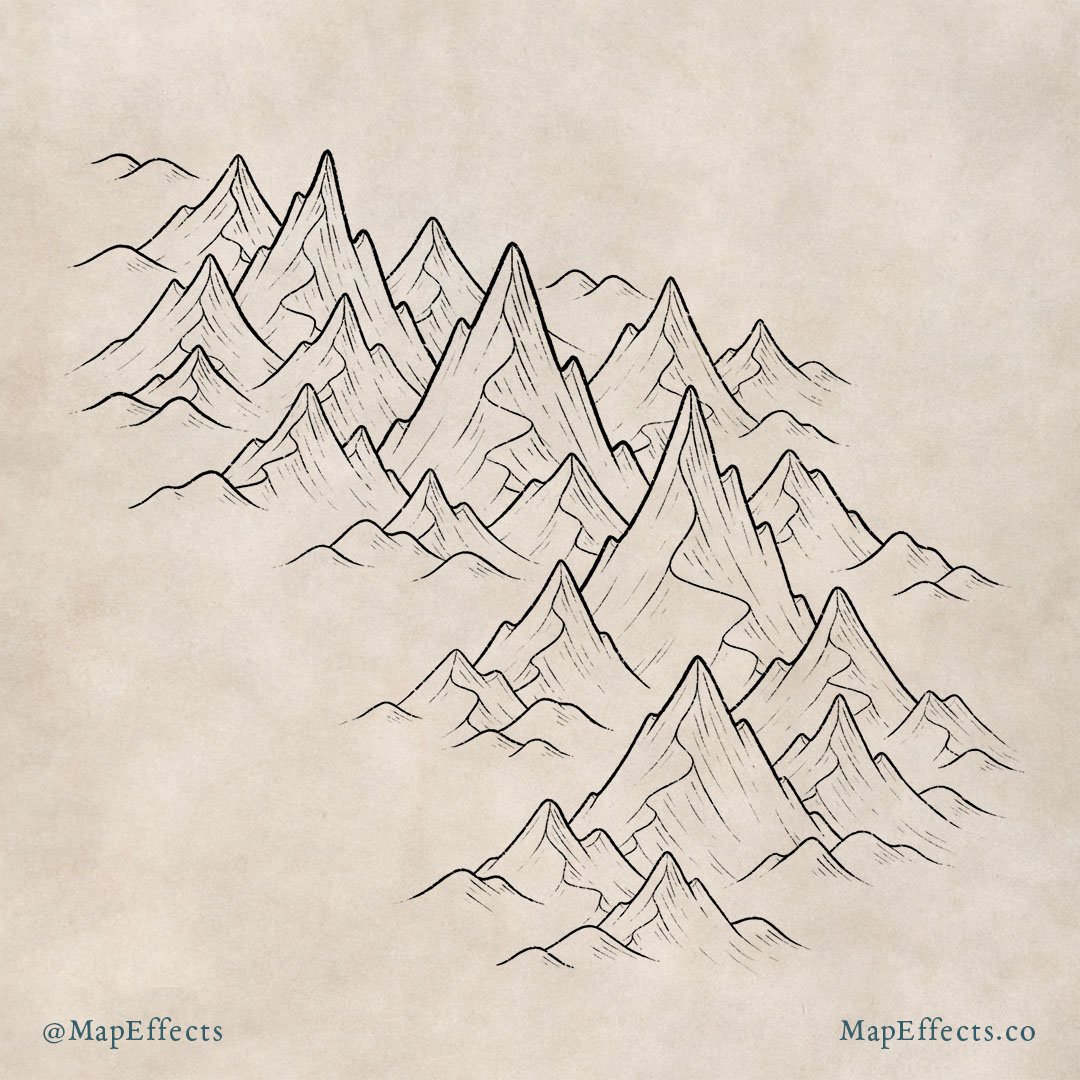
With all your mountains in place, you can now draw in detail. The first thing is to add a ridge line that flows down from the main peak and connects to an adjacent mountain. Try to use a smooth back and forth motion when drawing the ridge.
The other thing is you can draw a line down from each of the little ridges on the outside of the mountain. This helps give a sense of depth.
The astute observer will also notice that I’ve added a couple of medium sized mountains that weren’t there in the previous step. The reason being when I began to draw the ridge on the top two large mountains, I was unhappy with how far the line had to travel before it hit another peak. It just didn’t look right to my eye, and I wanted to leave this in just in case you encounter a similar problem with the spacing of your mountains.

Refine the Ridge
With your ridge is in place, you can draw lines that flow down from each point or curve, this will define more of the form of each mountain.
Really try and imagine each mountain as a three dimensional object in order to make these lines feel like they follow a natural slope.
Finish the Details
The last details to add are some additional lines that follow the contour of the mountain. These also help indicate the direction of the light as you can add more lines to the side of the mountain that will be in shadow.
Continue to follow the natural slope you defined in the previous step. Be sure to use a finer line for this step to make the detail feel subtle.
Paint in the Base Shadows
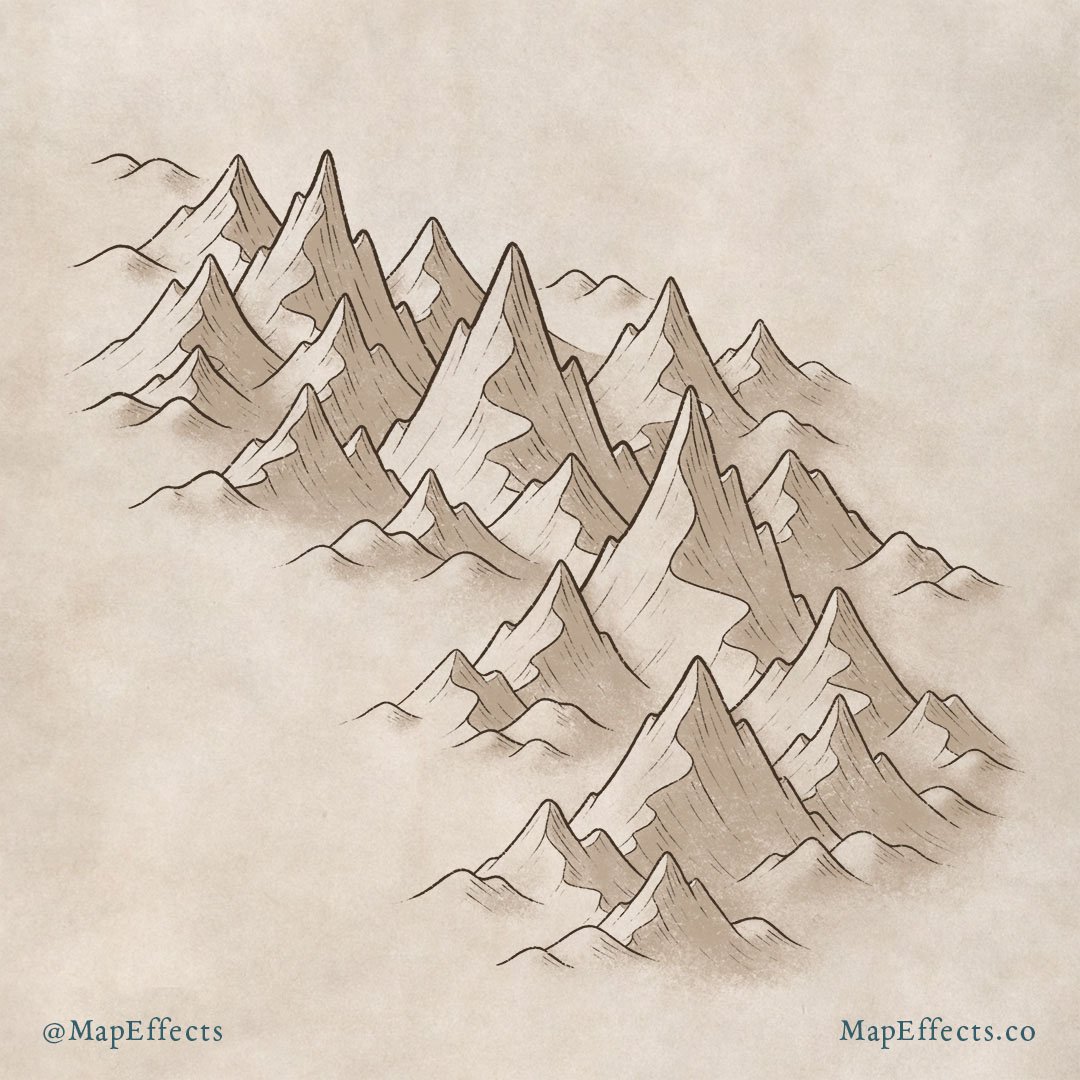
With the linework finished you can begin to paint in some shadows on the right side of each mountain.
If you want the old-world sepia look; select your eyedropper tool and pick the paper background color. Lower the brightness, shift the hue a little more toward red and increase the saturation just a bit. The exact color I used was #b9a48e.
I am using the Rock Climber Filler brush to achieve that nice rocky texture in the shading. Otherwise, the shading can look a bit too smooth and digital.
CLICK HERE to learn more about my Modern Map Maker Essential Brushes for Procreate & Photoshop
Deepen the Shadows and Add Highlights
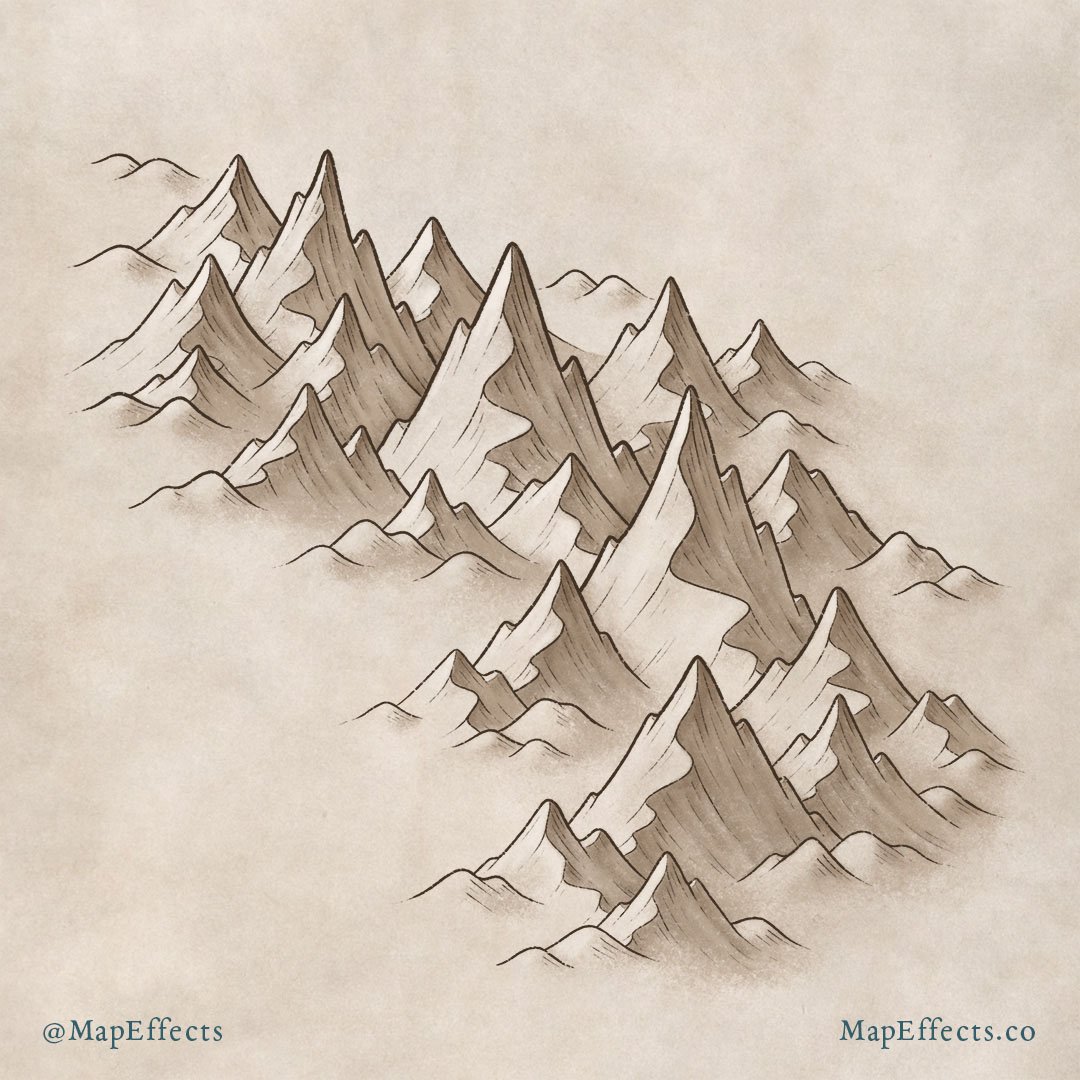
The next thing to do is to deepen some of the shadows to add greater depth. Use a darker shade of brown (#7c644e), particularly near the top of each mountain.
Finally, the last thing to do is paint in some highlights on the opposite side of your mountains. Use a color that is based on your paper background but lightened. In this case, the color I used was #f2eae2.
Just like the shadows, your brightest highlights should be near the top of the mountain where the light hits most directly. I tend to prefer a lighter touch with the highlights so the mountains don’t end up looking too reflective.
Mountains were one of the things that took me the longest to figure out when I began to draw maps. A big part of the problem was seeing them only as individual mountains rather than a cohesive range made up of mountains. The distinction is important! When you see them as unified and connected with the rest of the terrain then with practice your mountains will look less like they are just stuck on top of your map, but part of the landscape.
If You’re Struggling…
Anyone can learn to draw if they have the desire to do so and put in the time. I am convinced that art is 90% skill and only 10% “talent”; the good news is that skills are learned. They aren’t magically born into some people and not others. Even the most talented person still has to put in the time and acquire the skills before they become great.
So if you follow this tutorial and struggle, rest assured that I did too and I never imagined I would be doing a tutorial on this to help others. But if you put in the time and are doggedly determined to figure it out, you’ll get there, I promise.
Josh
