Creating Fantasy Maps Of Your Own With a Few Easy Clicks | Map Effects Photoshop Tutorial
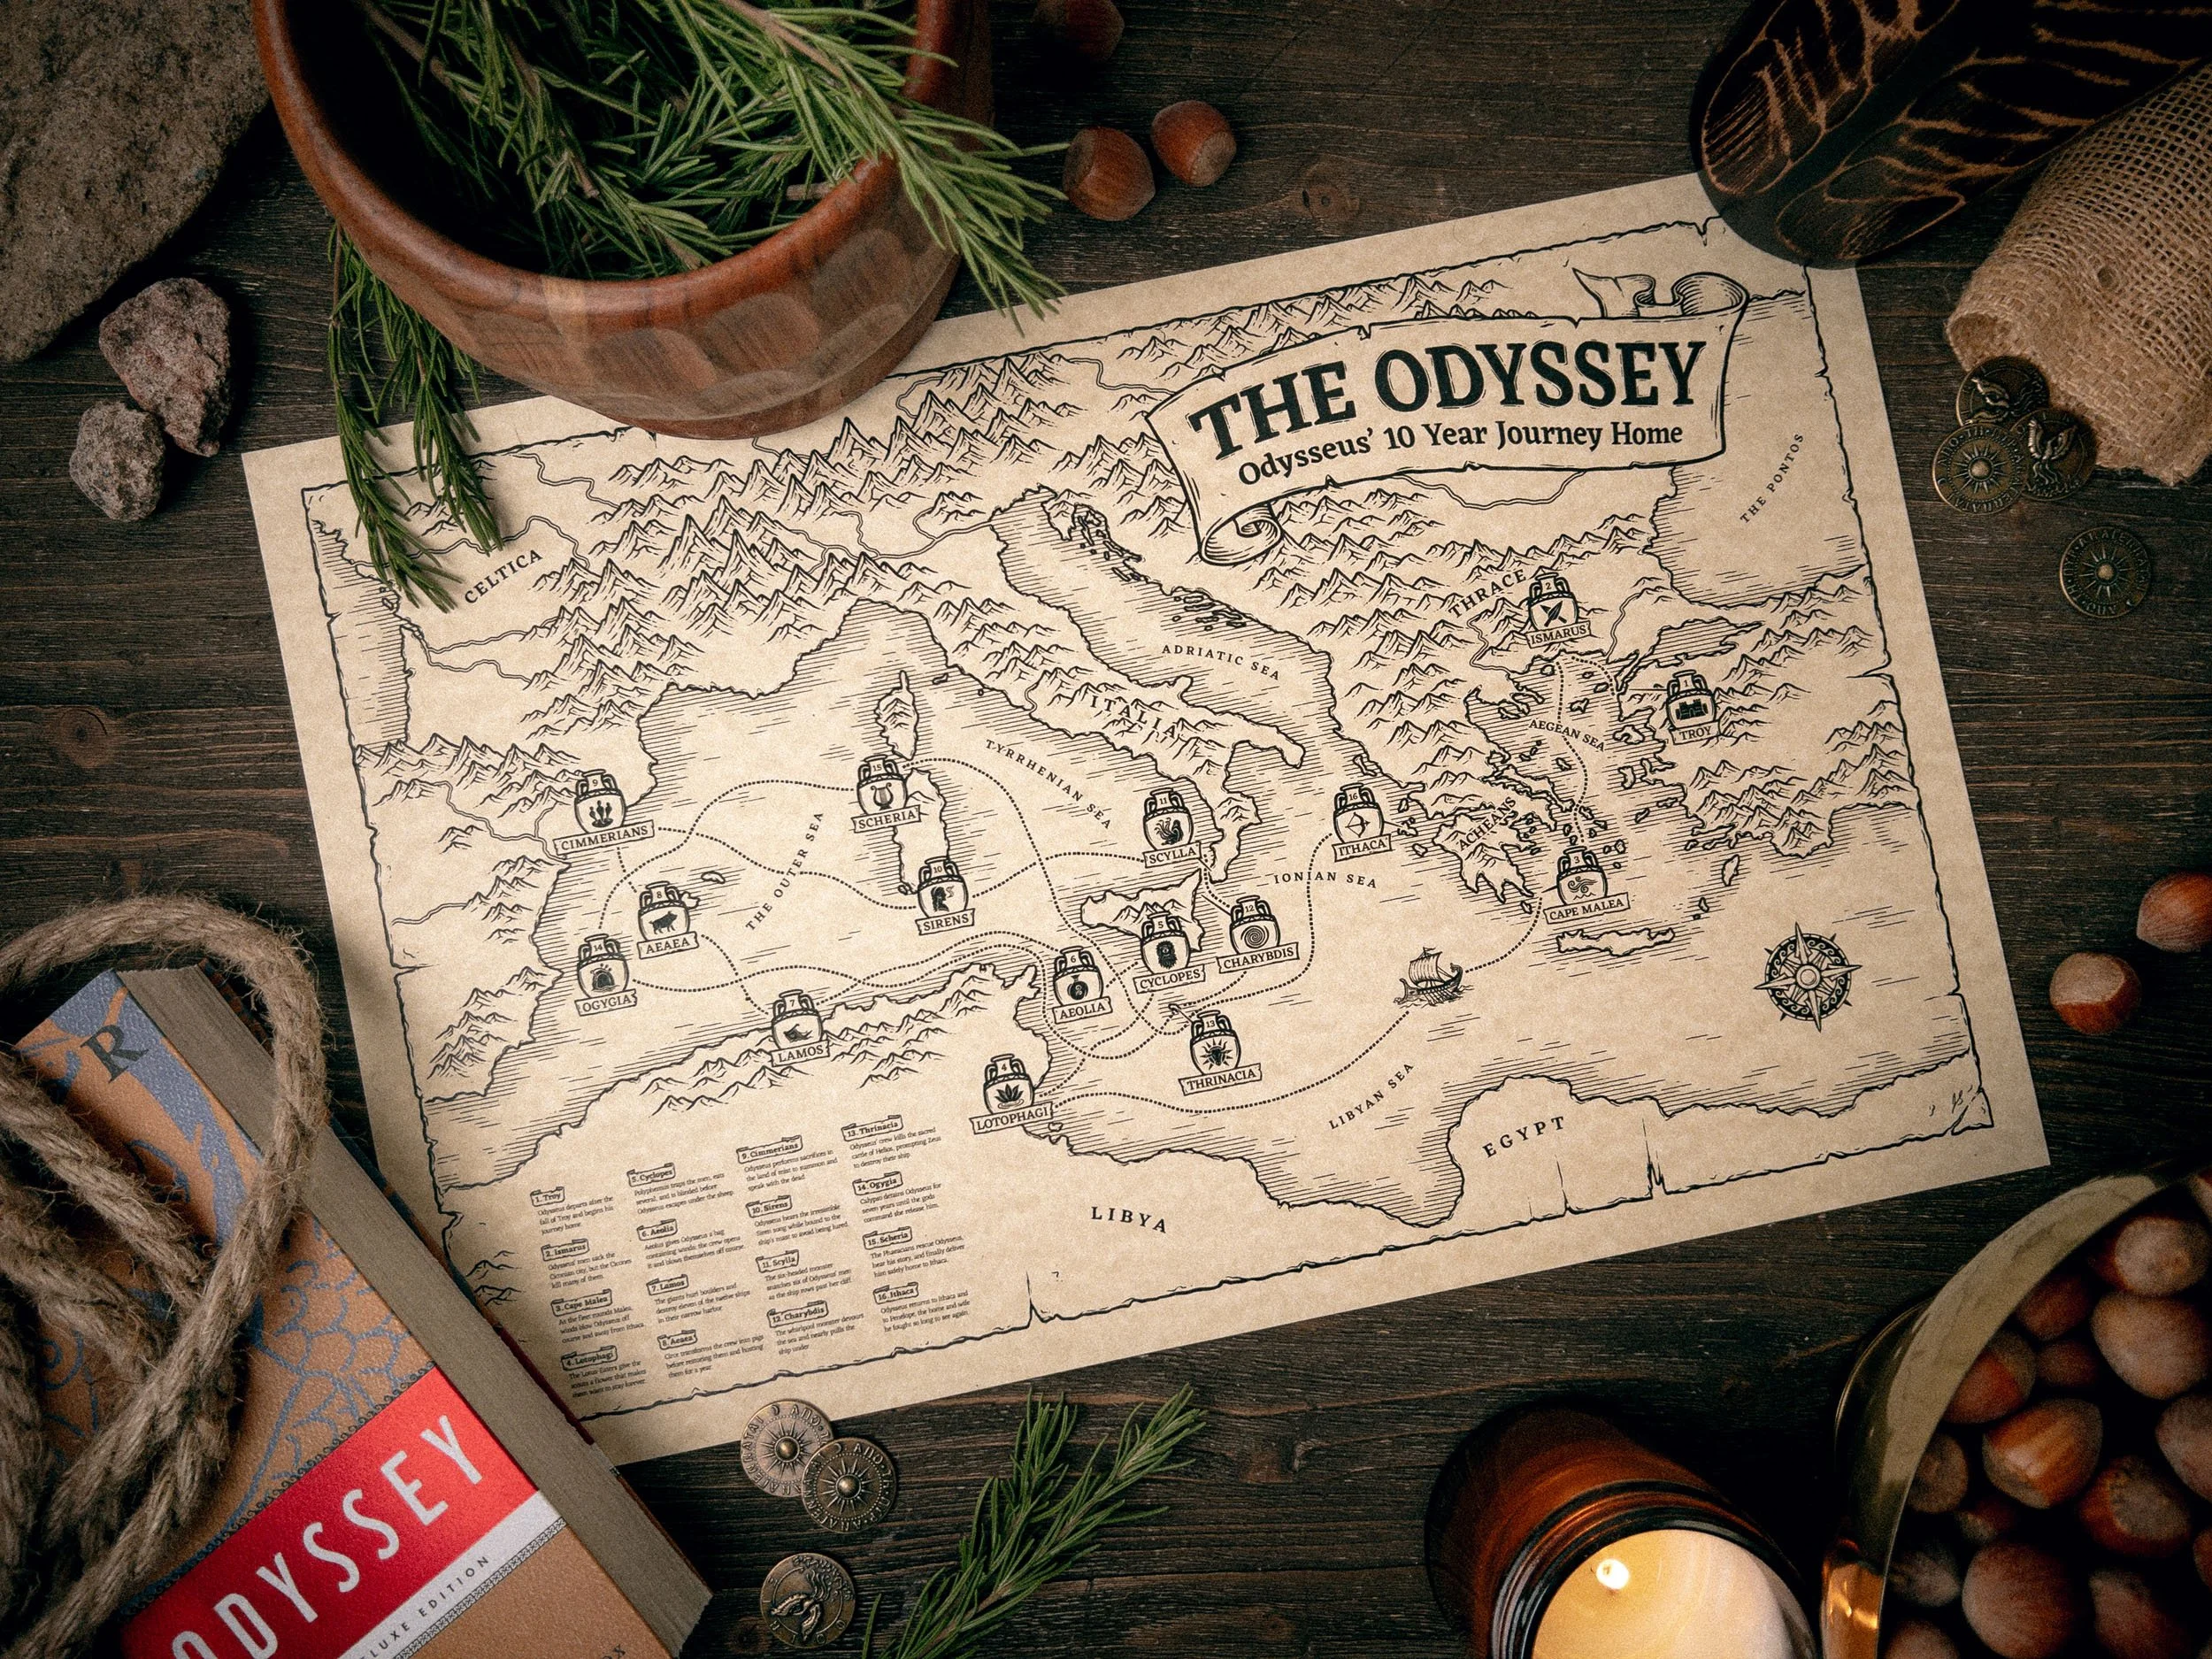
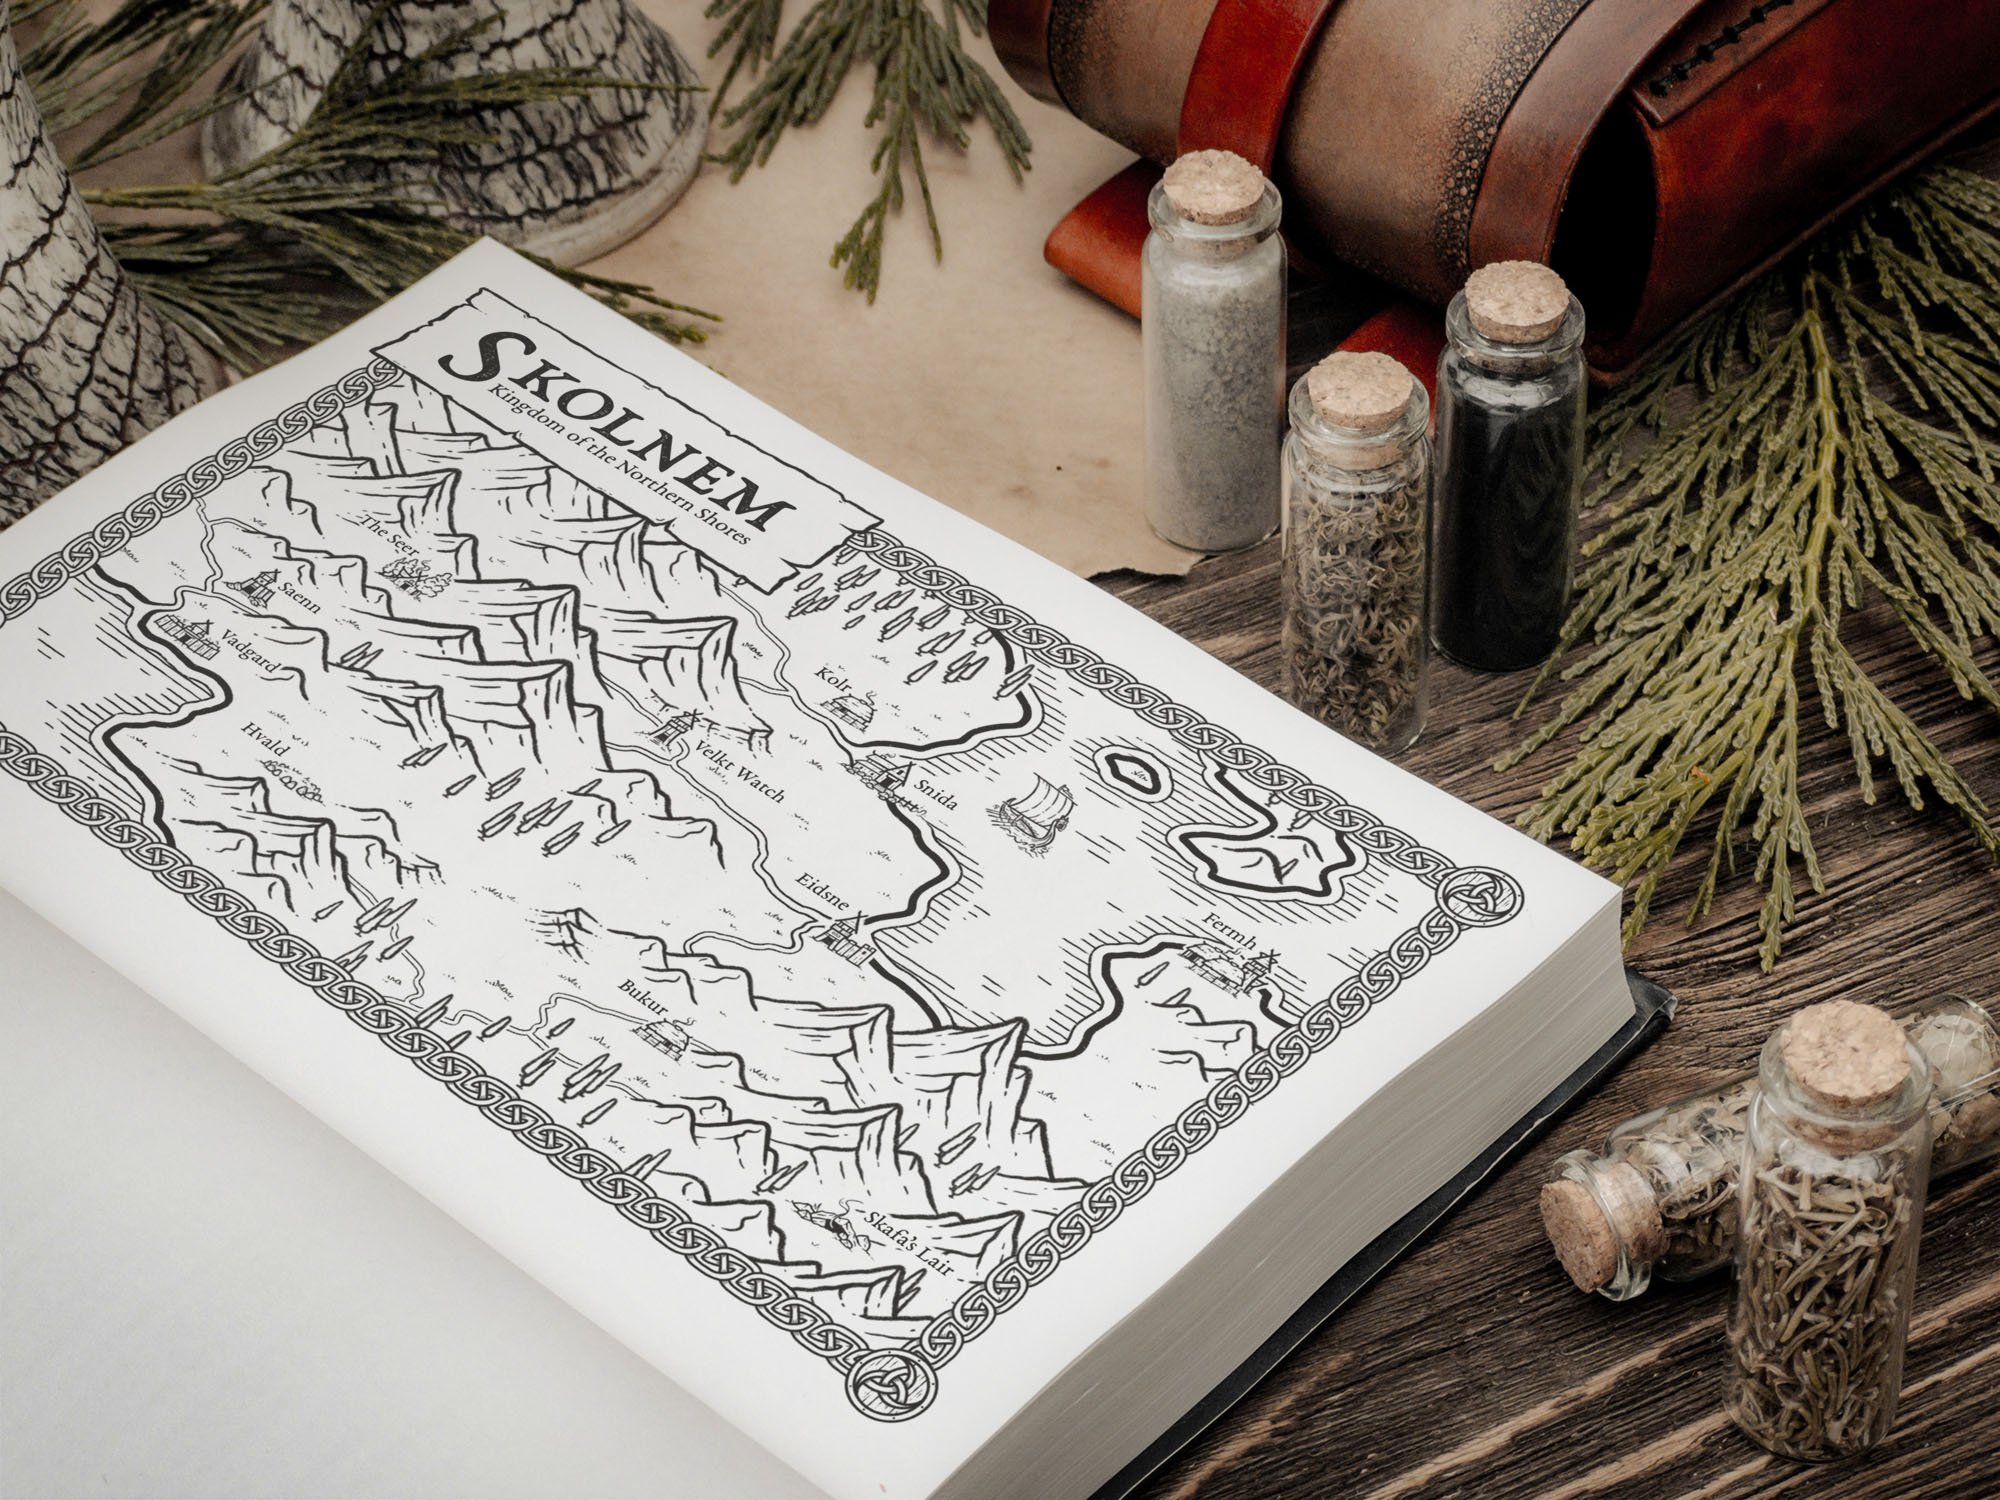
Learn how to use the Map Effects Fantasy Map Builder in Photoshop to create your own maps for your upcoming novel or next role playing campaign. Best of all, you don't even need to know how to draw!
CLICK HERE to learn more about the Map Effects Fantasy Map Builder
Installing Your Brushes
I. Download and unzip your Fantasy Map Builder folder on your Ipad or computer.
II. Open the file and navigate to the folder named “Brushes”.
III. Select either Photoshop, Procreate, Clip Studio Paint, or Affinity, depending on the app you will use.
Photoshop
Simply double-click on the .ABR file, and this will import all the brushes which you can find in it’s own folder in your brush panel.
Procreate
Open each of the .BRUSHSET files which will automatically import into Procreate, each in its own separate folder in your brush library.
Clip Studio Paint
Open CSP and select the Brush tool. On the Sub Tool panel select the three stacked horizontal lines in the upper left corner. In the drop-down menu navigate to Import Sub Tool which will open up your files. Find where you saved your Fantasy Map Builder file and open each of the .ABR brush files included in the Fantasy Builder to import all of your brushes.
Affinity Photo
Double click and open each of the .AFBRUSHES files and this will open and import them automatically into Affinity Photo. You will find each set in its own folder in your brush panel.
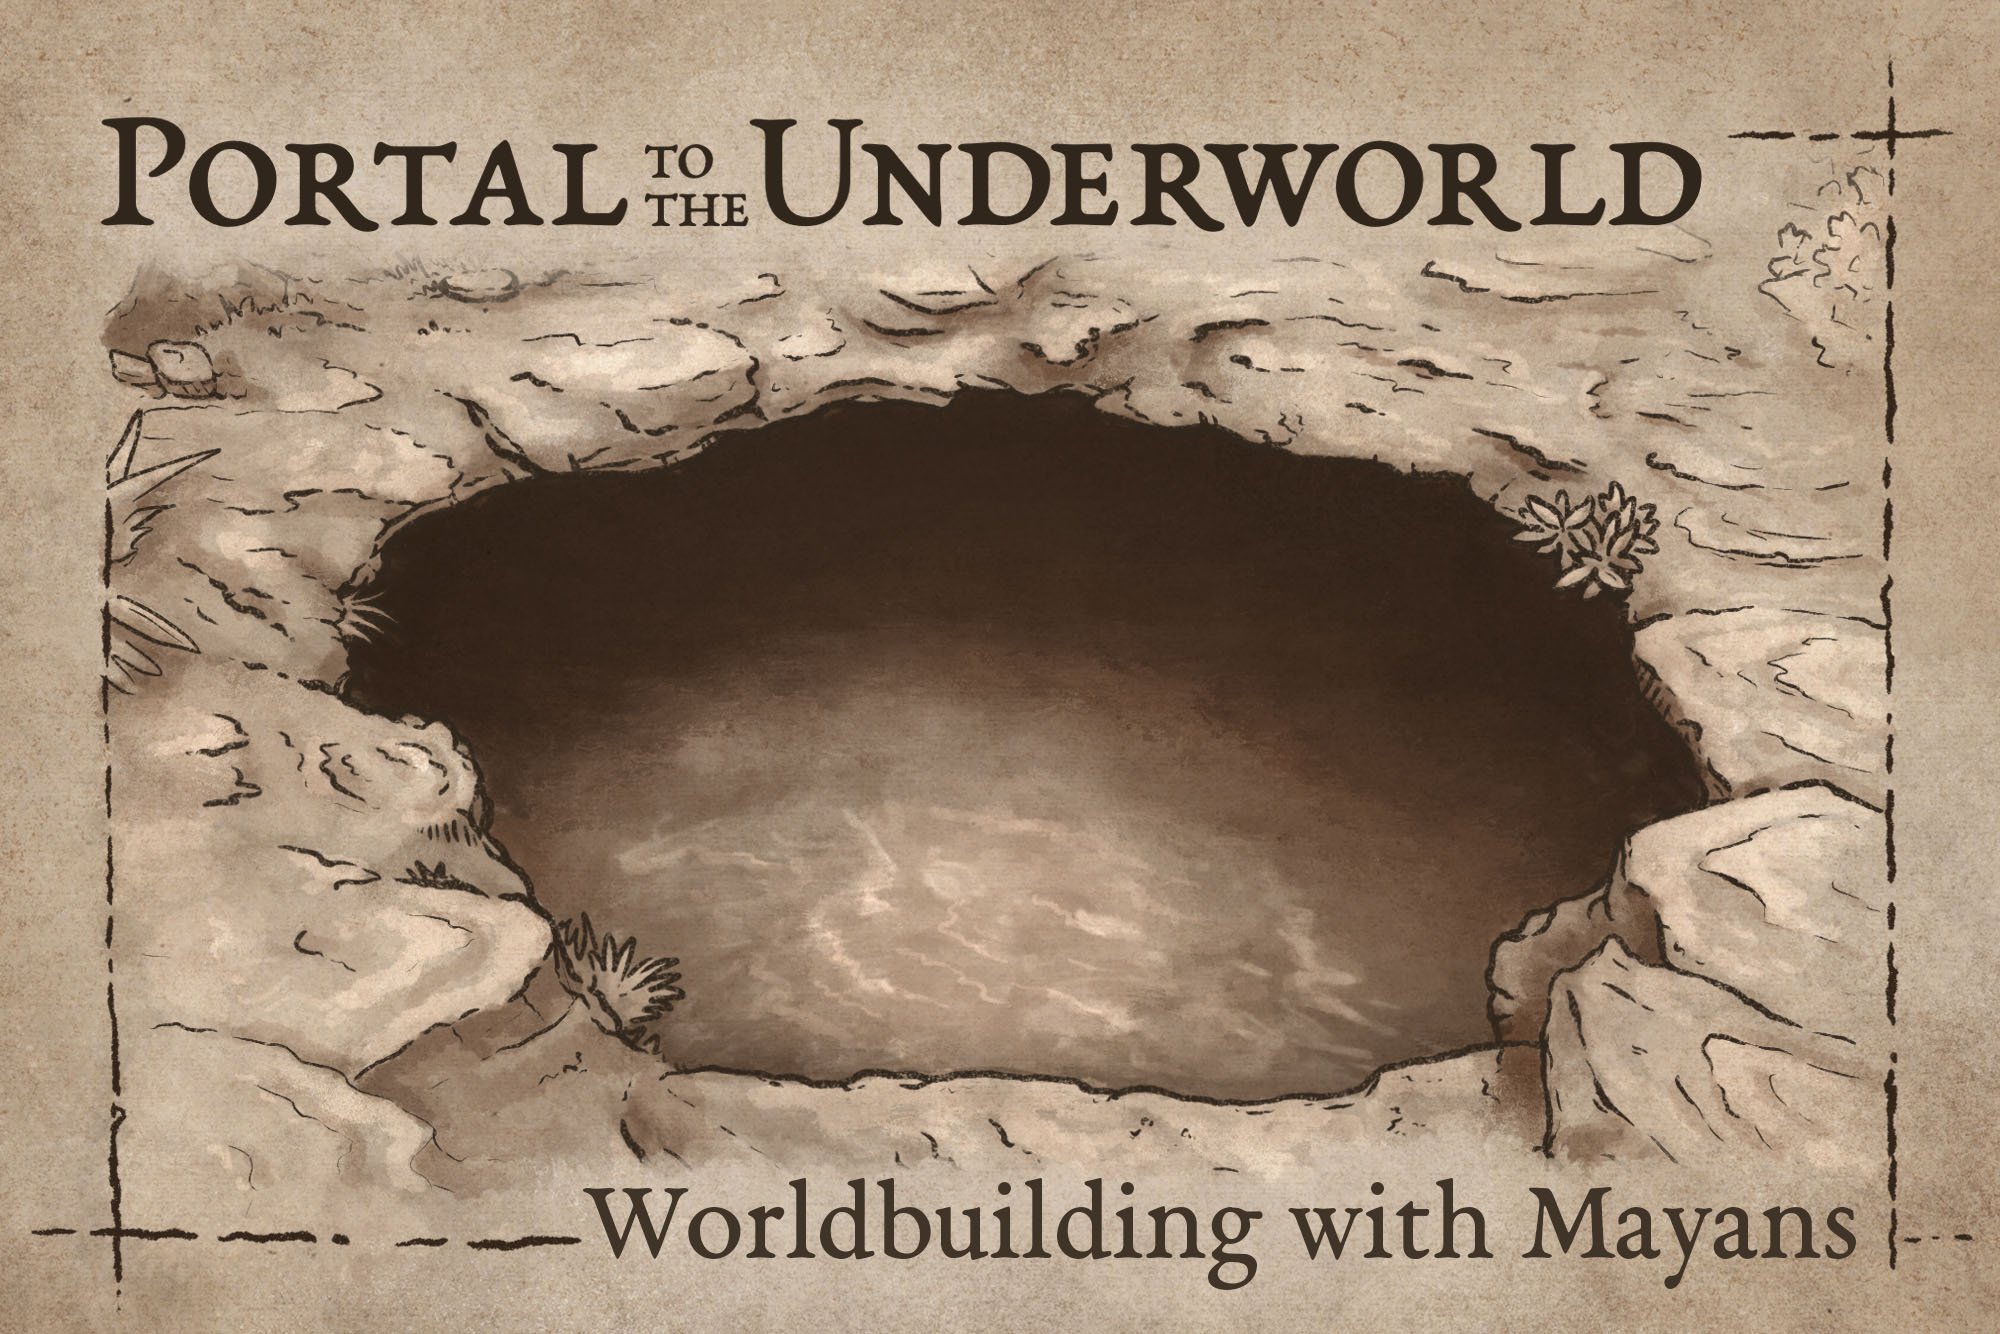
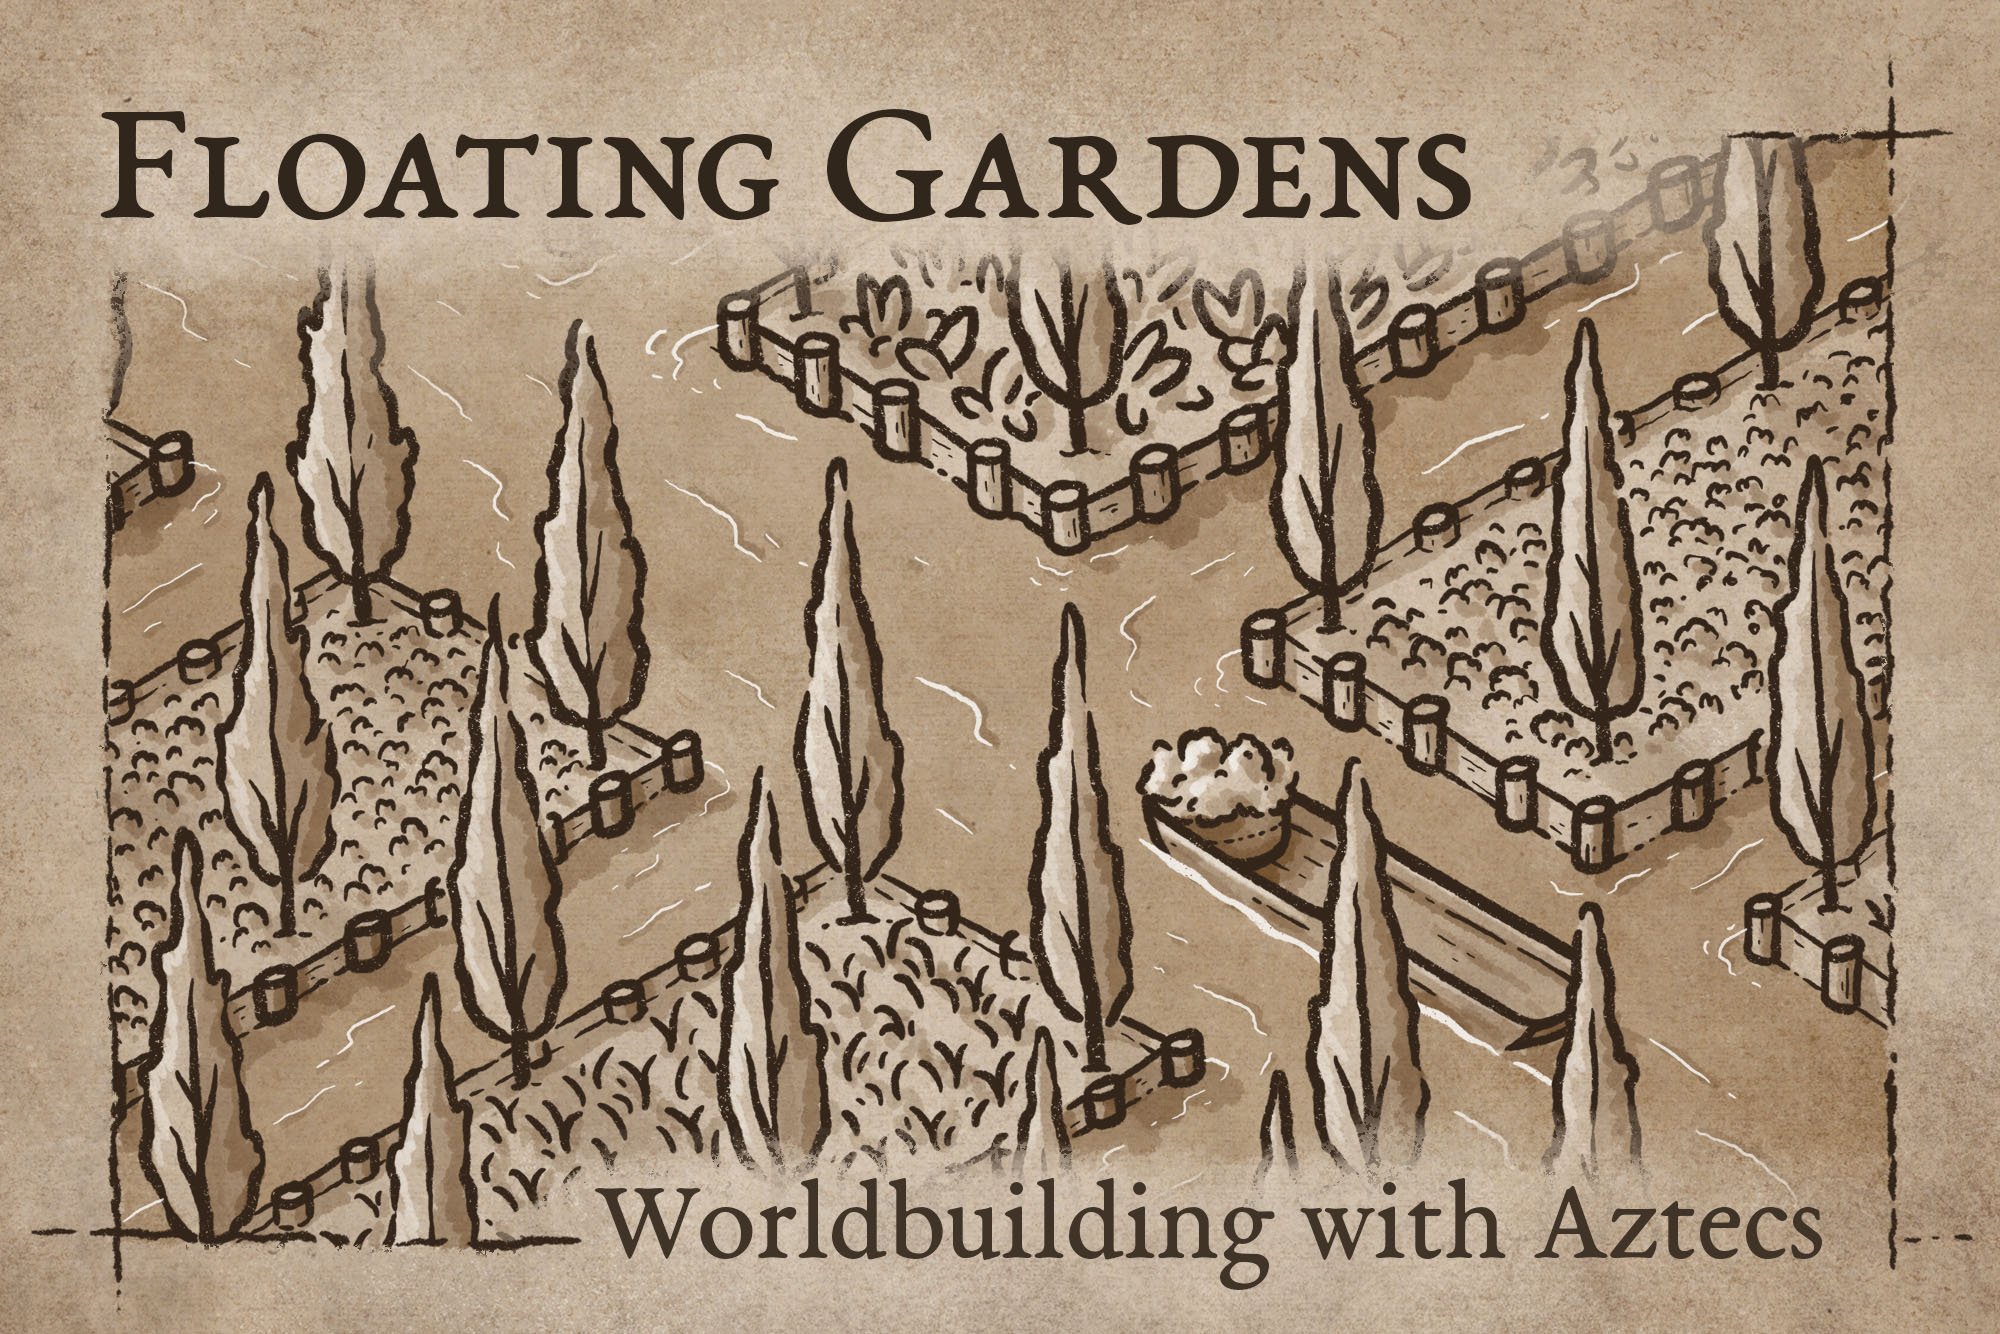
More Mapping Content You May Enjoy