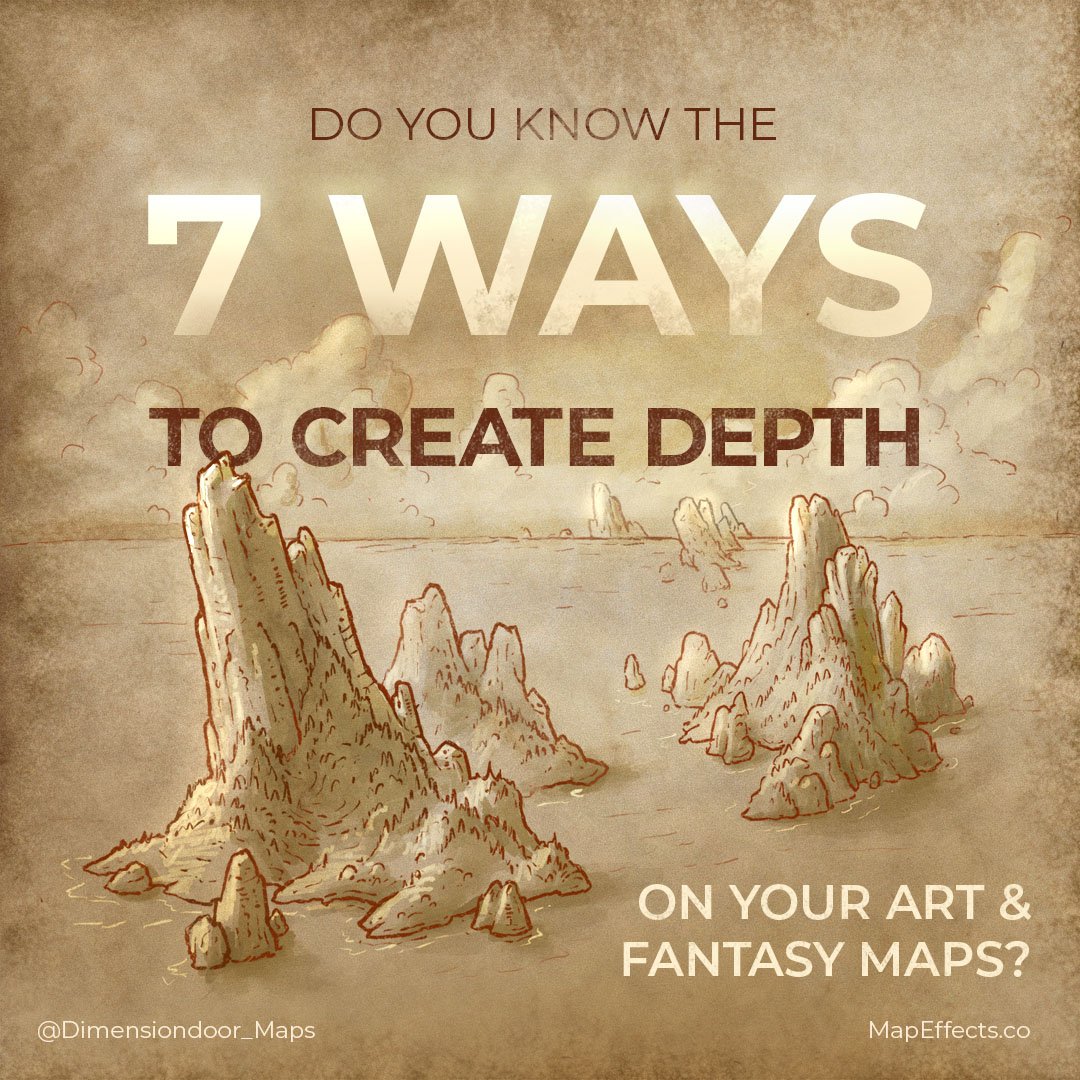
How to Draw Forests on Hills & Mountains

Are you tired of your forests on your fantasy maps looking a little too…flat? This is a common issue and one I know I struggled with for a long time as I was learning. In this Map Tip I’ll give you a couple of simple things you can do to overcome this issue, and draw forests that look like they’re popping off the page just with line art.

Sketch Hills
The first thing to do is just sketch some simple hills that you’ll use as a reference. This is helpful especially in the beginning because it forces your brain to see the underlying terrain.
As you get more comfortable with the technique you’ll find you probably don’t need to sketch the hills every time. But it’s helpful for learning purposes so don’t skip it!
CLICK HERE for a tutorial on how to draw mountains and hills

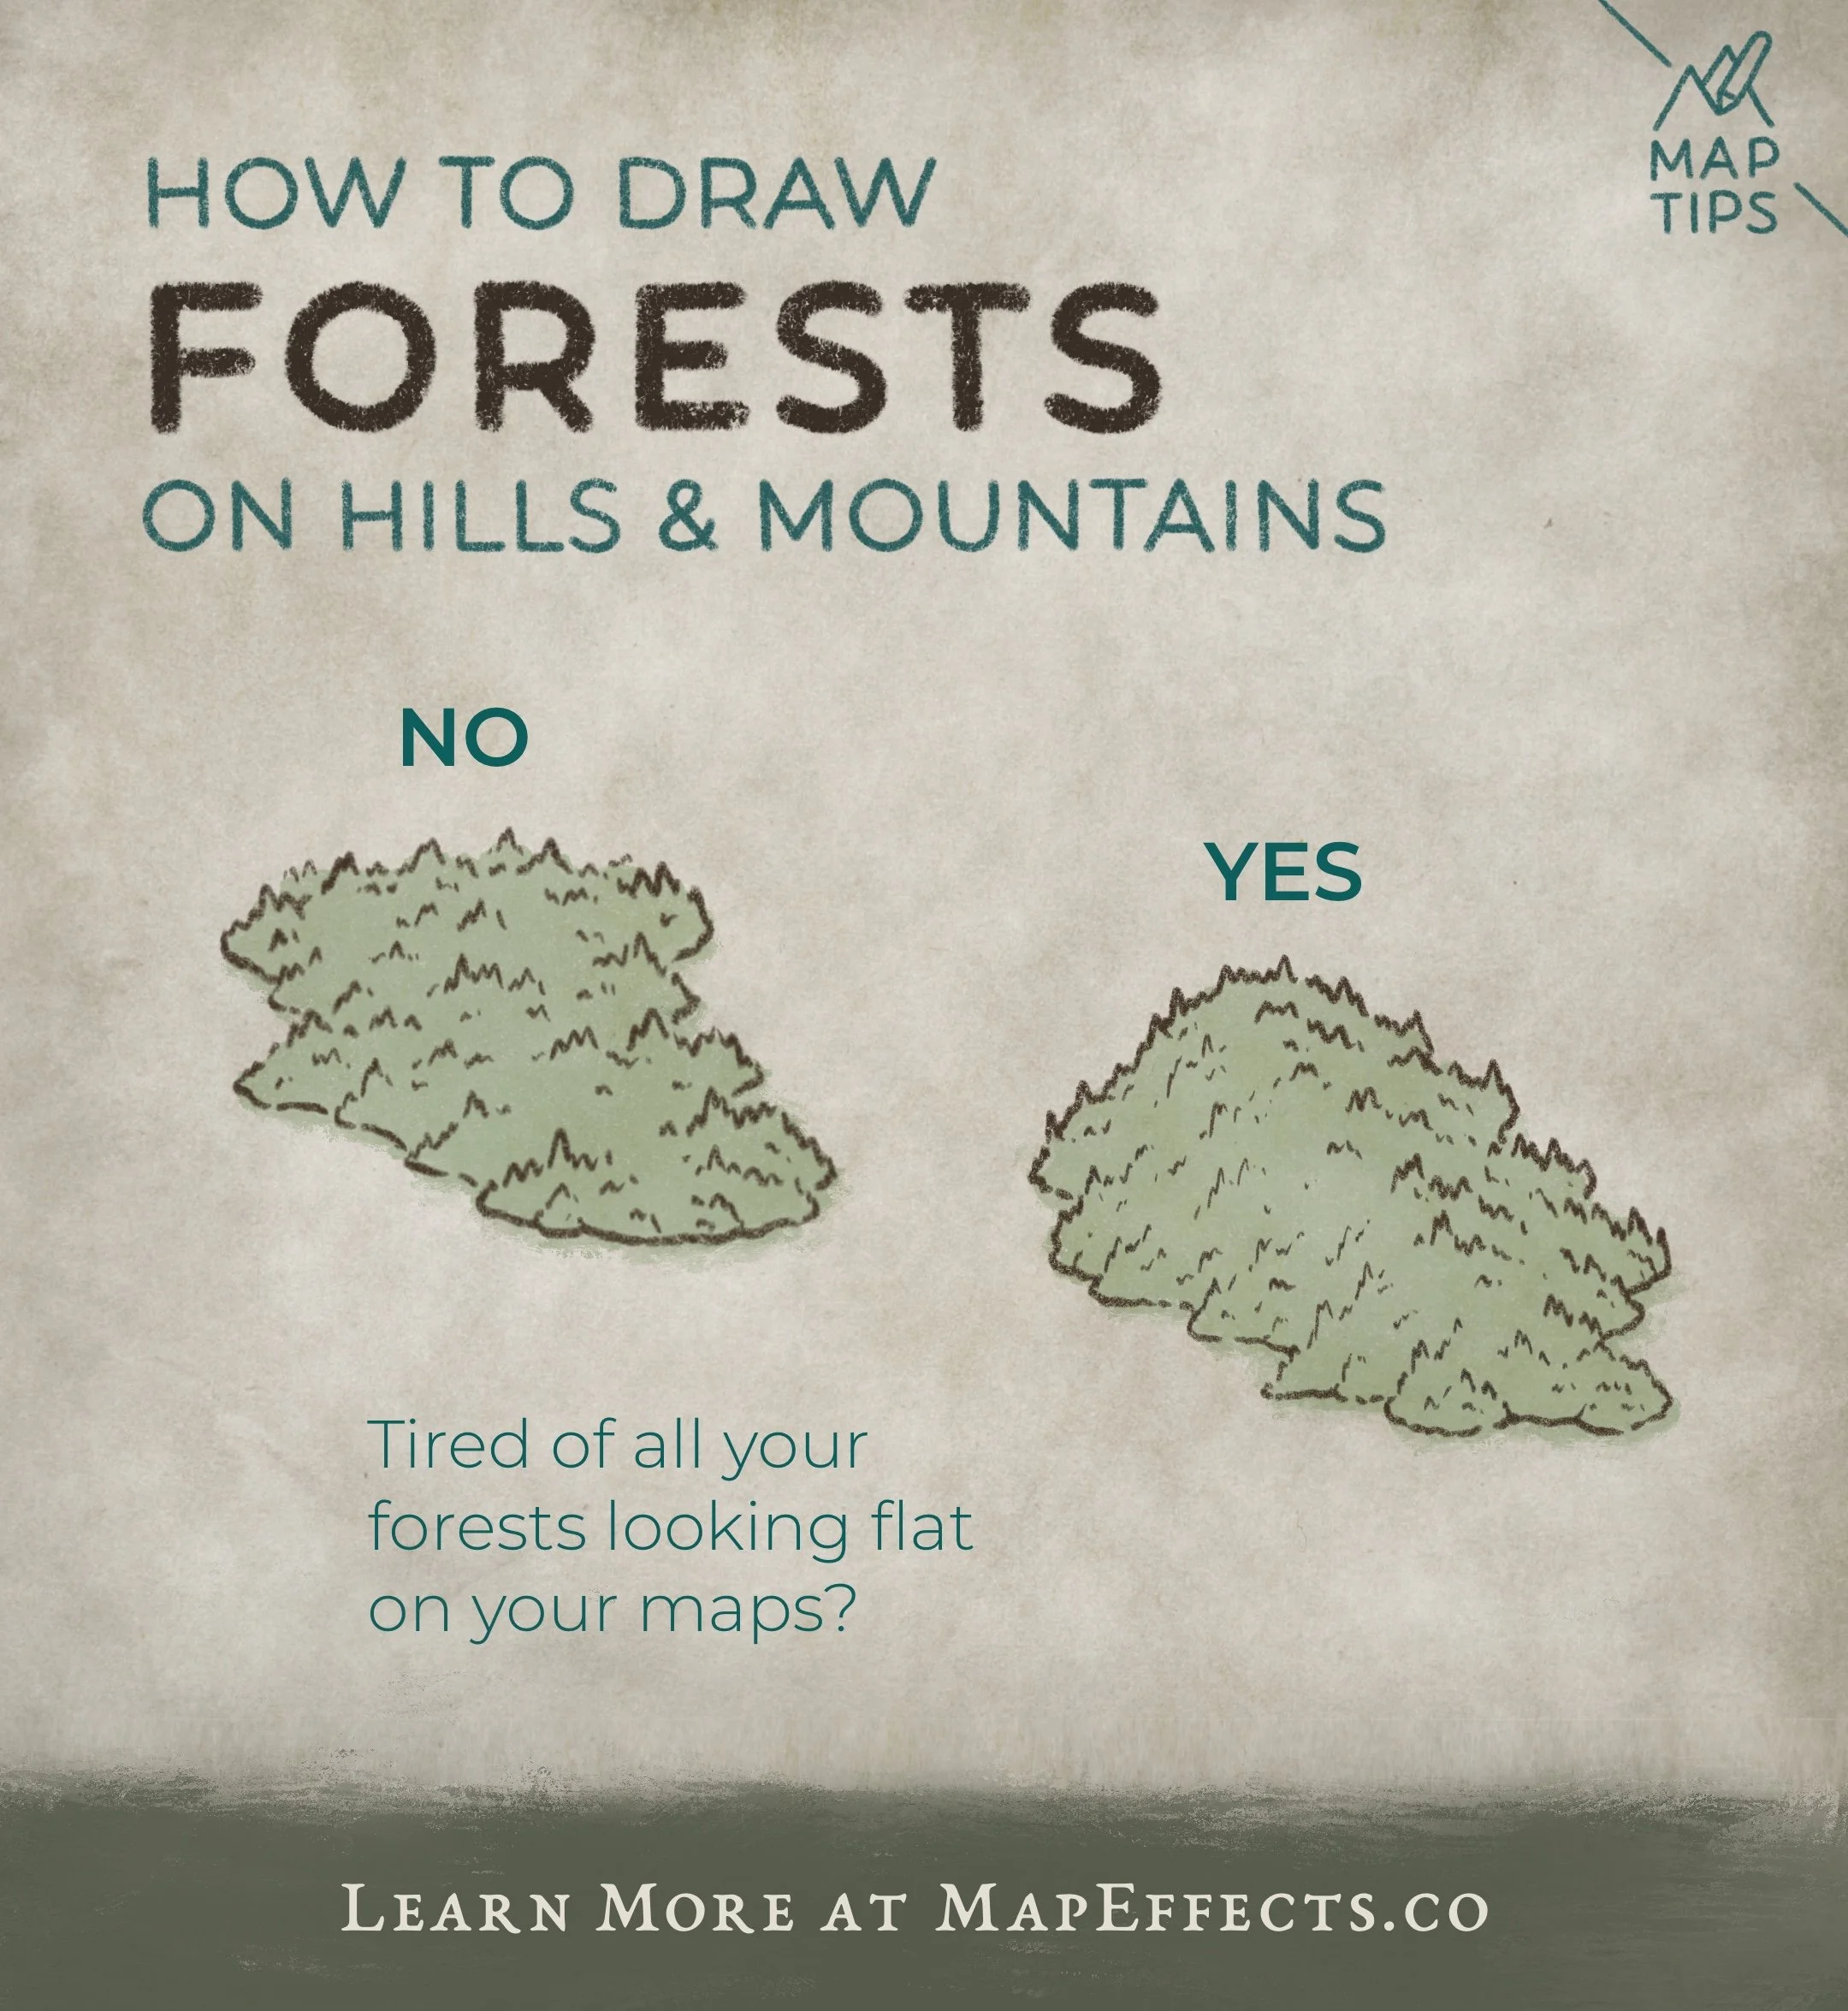
Follow the Shape
With the hills in place, you can now use them as a guide so you know where to place the tops of the trees. The overall silhouette of the forest should have a pretty good arc to give a sense of the underlying topography.
To draw this more sketchy style of pine forest, the key is to use more vertical, broken strokes. You also want to draw pretty loose and not worry about making every line perfect. The subtle imperfections is part of the reasons it works.

Cartographer’s Liner Brush Field Kit
$29 | For Procreate, Photoshop, & Clip Studio Paint
Want the brushes I am using for this Map Tip? The Cartographer’s Liner Brush Field Kit contains 21x unique liner brushes designed to give an analog quality to your digital work.
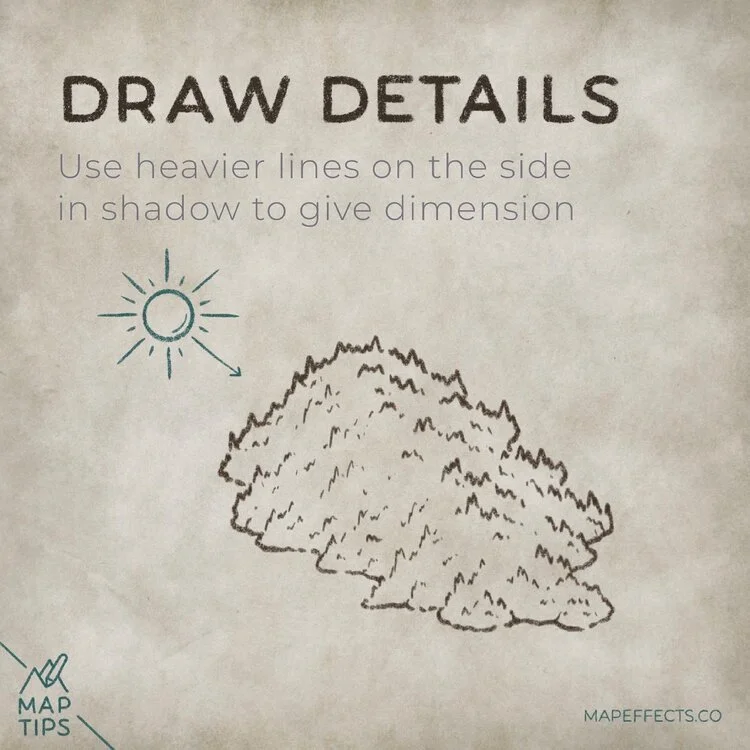
Draw the Details
You can now begin to flesh out the rest of the forest. Continue to add rows of tree tops and try to vary their size so it doesn’t become to uniform.
To add a greater sense of depth you’ll want to determine your light source. In this case I used the standard position of having it in the upper left. This means you want to use heavier lines on the right side of the forest which would be in shadow. You can also play with the number of details on each side to give more dimension.
Bonus Tip on Practicing
If you’re struggling to draw this style of forest, I would encourage you to print or save the image here and literally trace it a few times. Tracing for the purpose of learning is extremely helpful because it force your mind to slow down and notice.
I hope you found this little Map Tip helpful in your journey to map your story. If you want to support Map Effects and help other map makers, be sure to share this with someone who will find it helpful and pin it to save for later!
Happy Mapping!
- Josh