
Creating a River On Your City Maps with The City Map Builder

What is the best way to create a river on your map using the City Map Builder? Adding buildings, forests, and other features is pretty straight forward, but how do you add something like a stream flowing through your settlement? In this tutorial I’ll walk you through my favorite method so you can easily add some interesting rivers to your maps!
All the brushes in this tutorial are available in The City Map Builder for Procreate & Photoshop, Clip Studio Paint, & Affinity Photo

Shoreline Stamp Brushes
Open The City Map Builder, navigate to the “Terrain” section and select one of the shoreline brushes.
While you can also use the river brush that’s included in the “Water” section, that brush works better on a map with a smaller scale where you couldn’t be able to see the details of the shoreline. This method will give you a more detailed, hand-drawn feel.

Create a River
Now combine the different shoreline stamps to create both sides of the river. Don’t be afraid to mash pieces of different stamps together to create something unique. Just use your selection tool to grab what you want and put them all together!

Add Wave Lines
Use the Wave brushes to follow the shorelines to give the water some additional texture. If you find that the waves aren’t quite following the curve of the shoreline the way you want, try using the Liquify tool to slightly change the bend of the waves.
More Tutorials You May Enjoy
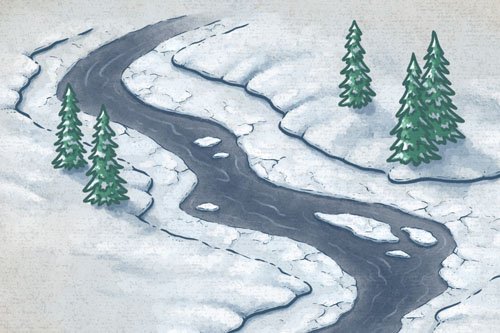
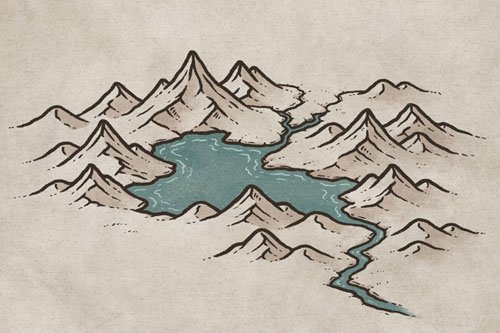

Overlap the River
You can now start adding some features to overlap the edge of the river and add a sense of depth. Just make sure you create a new layer above your river layer when you add these features. By using a temporary layer you can then easily erase away any part of the river that would be obscured by the features above.
Using temporary layers when using The City Builder is key. I will often add several features, move them around until I’m happy, and then flatten them onto the same layer. Then I will create another temporary layer and begin adding more features and repeating the process.

Add More Features
You can now add additional buildings, trees, roads, and other features to fill in the landscape around the river.

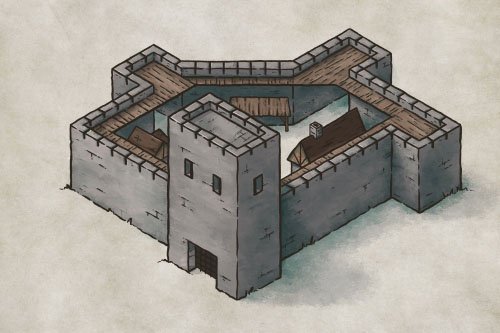
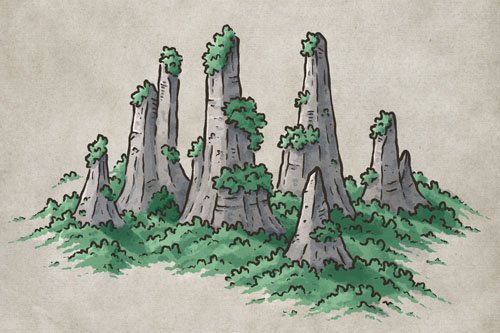
Get 100 New Trees - City Map Builder Upgrade
$10 | For Procreate, Photoshop, Clip Studio Paint, & Affinity
Adding some basic trees around your city map is a simple way to give it a little more personality. But, what if your story takes place in a tropical setting with palm trees, or somewhere in the mountains where conifers would grow? With this upgrade for The City Map Builder, you now have a much greater range of options for types of trees which will help make your map more immersive.

Color the Water
If you really want to help your map pop, but are intimidated by the idea of getting into shading, then simply coloring the water is a great way to do it. It will add some contrast, and all you need to do is create a new layer and color the river to match the palette of your map.
Last but not least, set your line art layer to “Alpha Lock” and recolor the wave lines a lighter color. This will help the map stand out and look more professional.
You’re done! If you found this tutorial helpful be sure to follow MapEffects on Instagram and tag me with the map you create and I may feature your work. Thank you, and I look forward to seeing your map!
Josh
