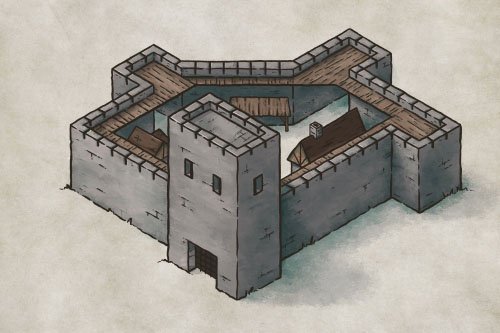
How to Draw a City Block
City maps can be a lot of fun to draw, but they come with their own unique set of challenges. It’s one thing to draw individual buildings that are completely isolated from one another; it’s another to draw a city block where everything is more mashed together. In this tutorial I’ll walk you through my process to sketching, inking, and finally coloring a city block so you can add them to your own fantasy maps!
All the brushes used in this tutorial are available in The Cartographer’s Liner Brush Field Kit for Procreate.

Sketch the Shape of the City Block
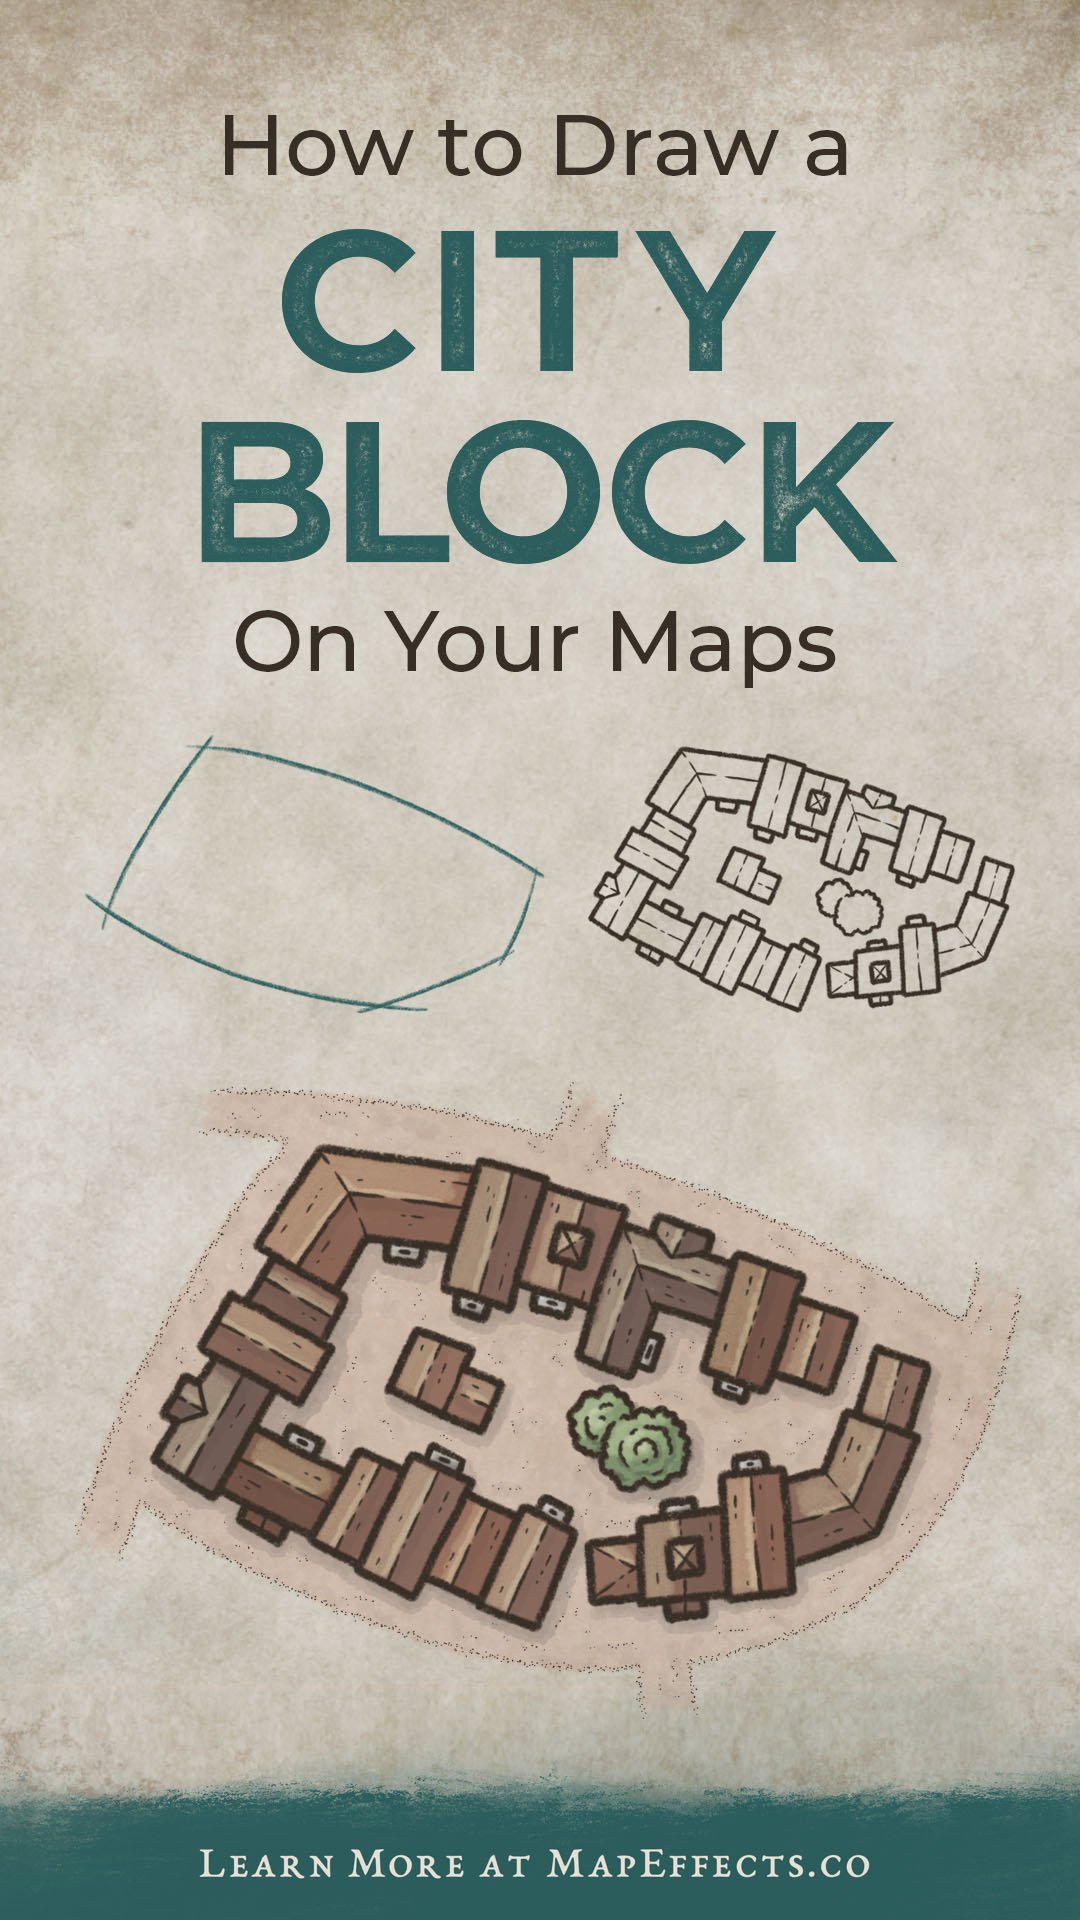
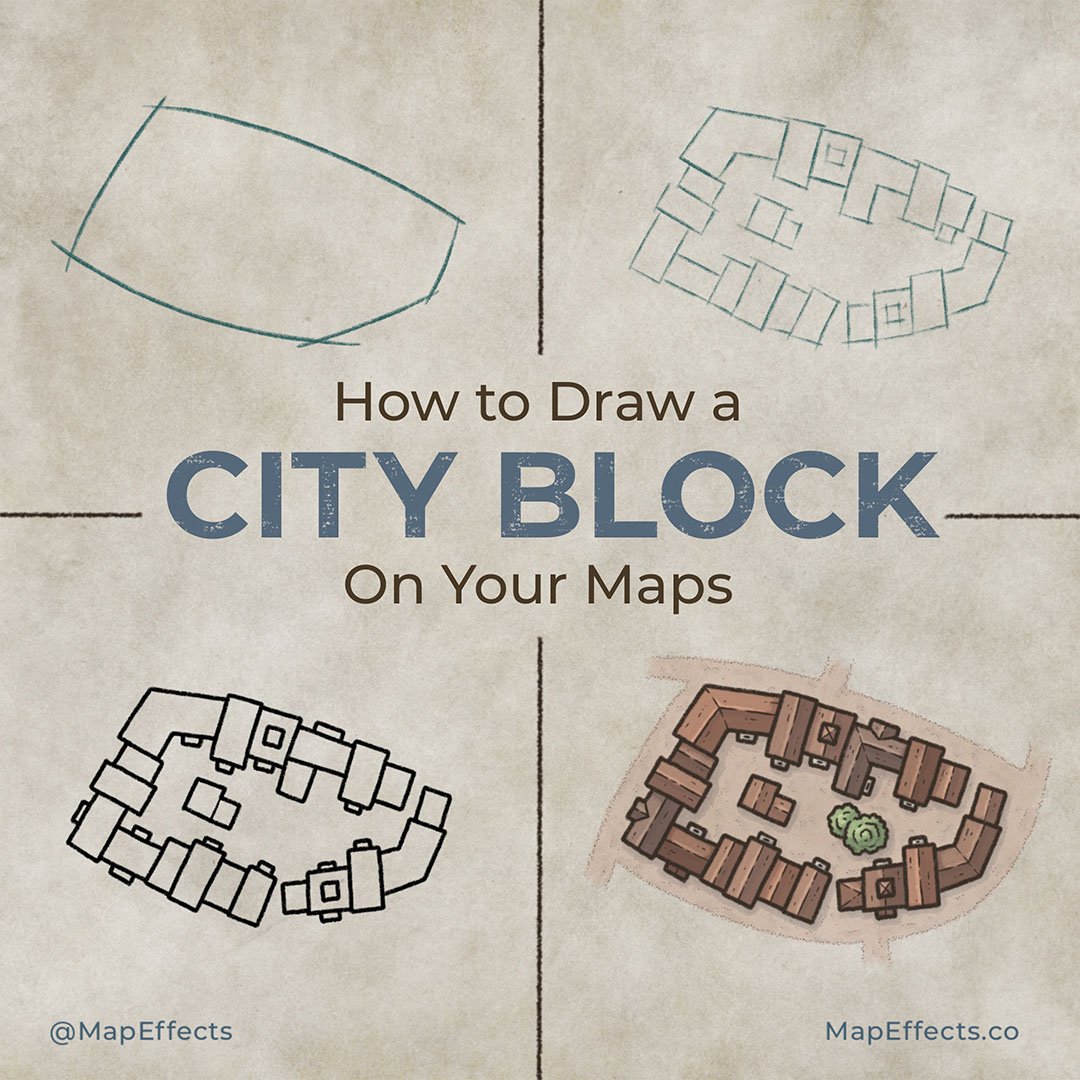
The first thing you’ll want to do is create a simple sketch for the shape of your city block. You can experiment with different shapes as you get more comfortable, but for now something that’s vaguely rectangular is a good place to start.
Don’t be afraid to let your lines curve a bit. This is a simple way to give a little more personality to your city so it doesn’t look too perfect and grid-like.
Rough in the Buildings
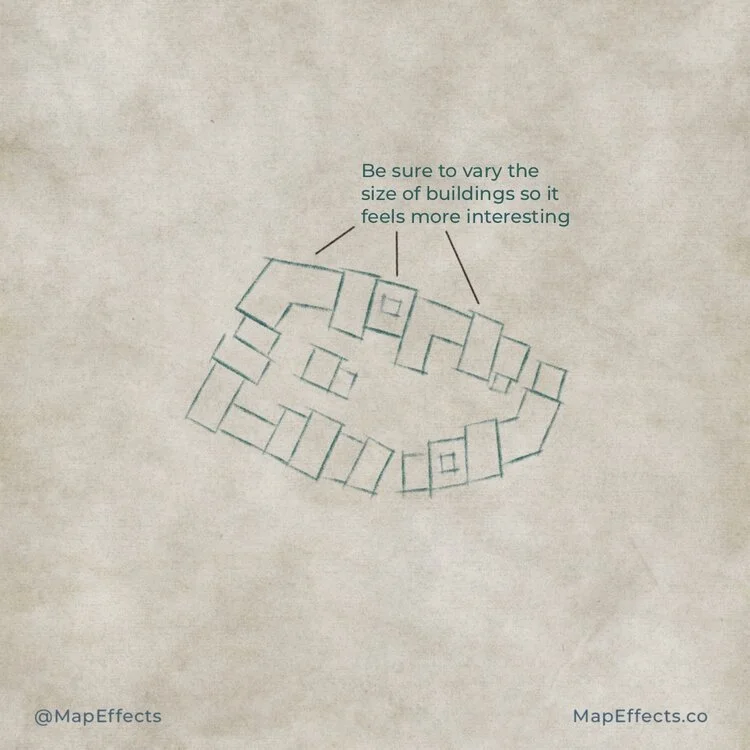
You can now rough in some of the buildings that will make up your city block. Try to vary the size of the buildings so it feels more interesting. You’re really striving for a uniform cultural style but giving personality by mixing up the dimensions and layout of the buildings.
Ink the Building Shapes
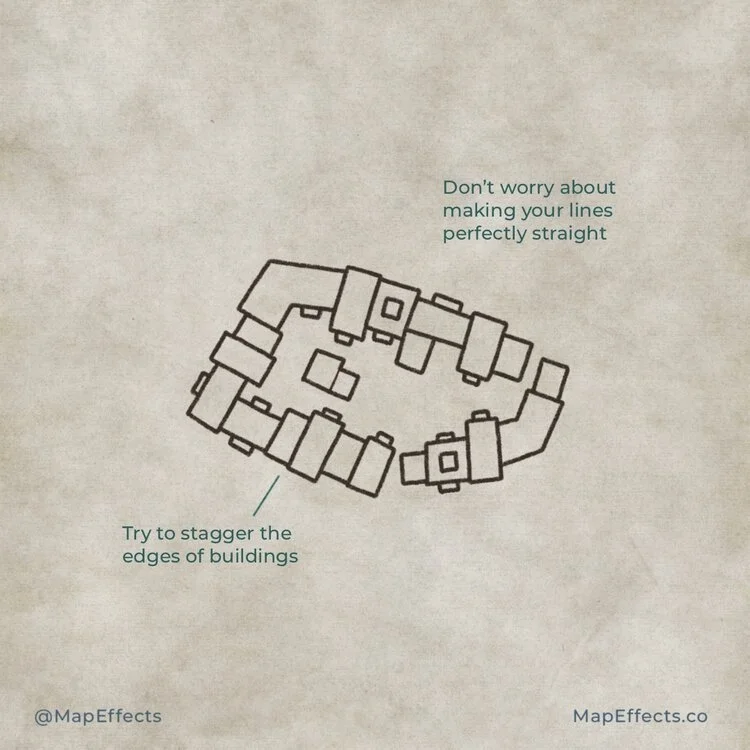
Now that your sketch is done, you can create a new layer and ink in the line art for the shape of the buildings. Don’t worry about making your lines perfectly straight; remember we want them to have a little personality and subtle imperfections. You can also do this by slightly staggering the edges of the buildings so they never perfectly align with their neighbor.
For this phase of inking I am using the Fine Ink Liner Brush to have a uniform line weight for the outside edge of the buildings. It may be hard to see at small scale but it also has a slight texture to the edge so it feels like it’s being drawn on paper.

More Tutorials You May Enjoy

Add the Roof Top Ridges
It’s now time to start adding some more details to the buildings. The trick is to use a variety of broken lines to add the ridges on the rooftops. Try to mix up the number of breaks from building to building. It’s easy to start repeating a pattern without realizing it!
For the remaining line art I have switched to my Ancient Stone Brush because it’s pressure sensitive so it’s easy to very the line weight like you would with a tradition brush pen. Once again there is a little texture baked into the brush so it looks and feels more like traditional tools.


Give the Impression of Roof Tiles
There’s a variety of ways to do this, but for this style I want to give the impression of roofing tiles without drawing every single one. You’d be surprised what a few subtle dots and dashes can do to add some texture.
For this style just make sure your dashes are parallel with the roof ridge. Unless of course you want your roofs to look more thatched!
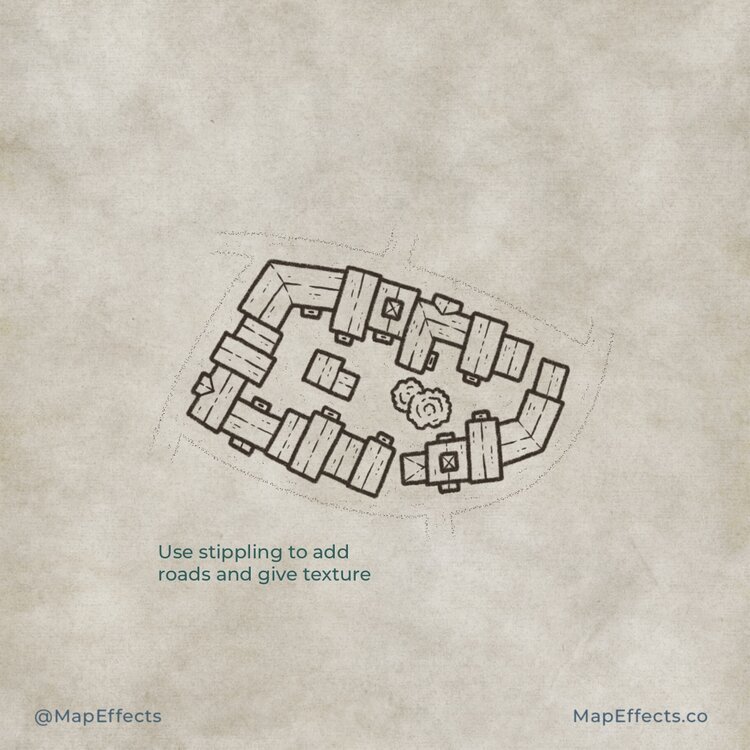
Add in the Roads
The last step in the line art phase is to add some roads around the city block. I wanted it to be a subtle dirt road that didn’t draw too much attention to itself. After all, this is about the buildings, not a road! So I used the stipple technique where you make individual dots to draw a line and the little details on the road just to give some texture.
Admittedly though, I cheated, because stippling is notoriously time consuming. I switched to my Vintage Stipple Brush that you can see below. This really make the process a lot faster as I really just had to draw lines and the brush did the rest!

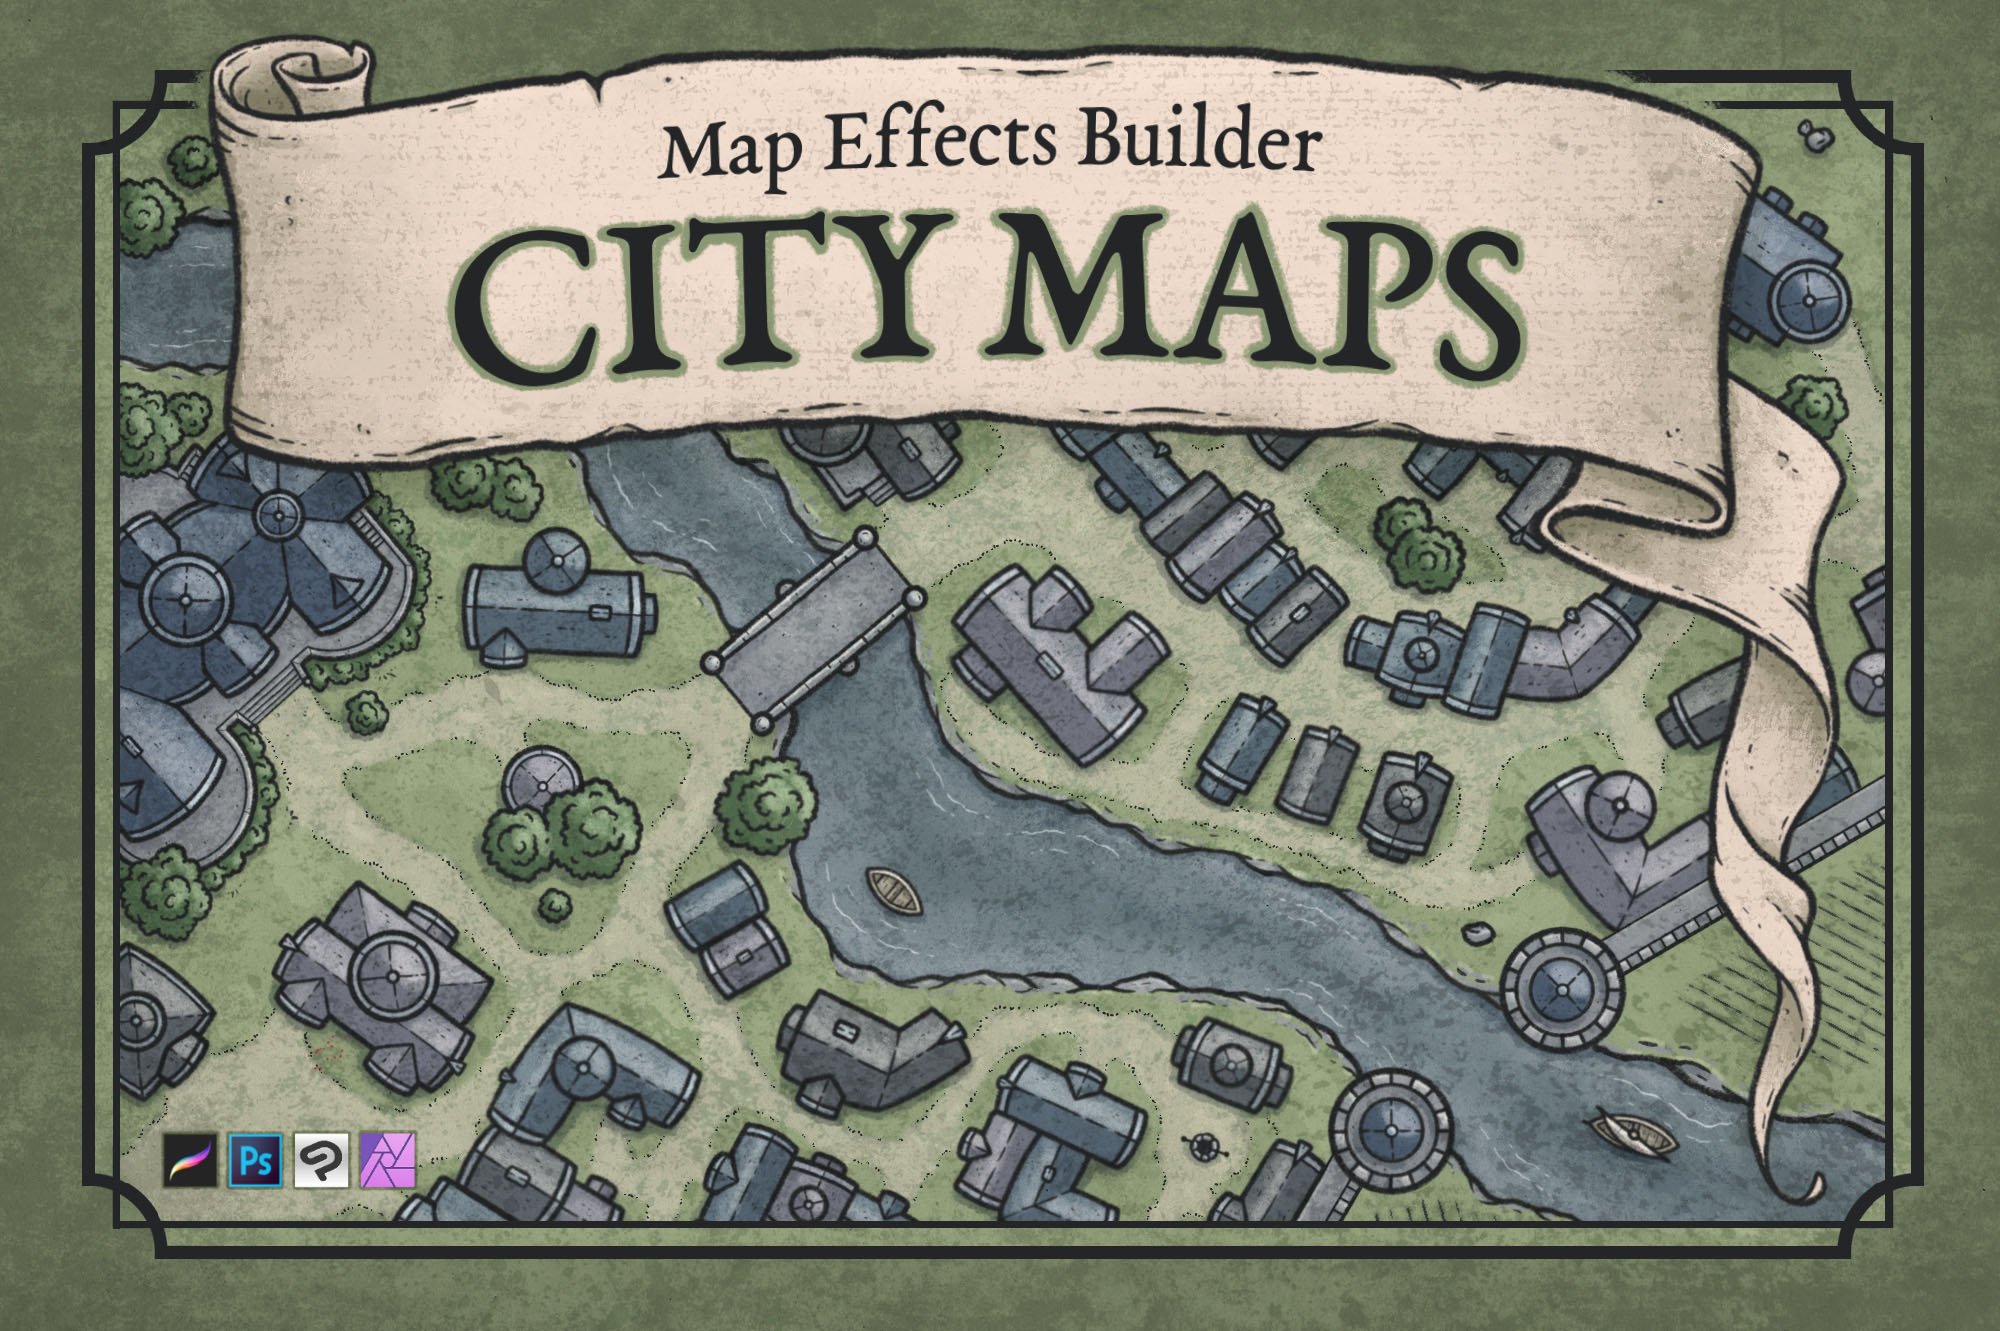
The City Map Builder
$34
For Procreate, Photoshop, Clip Studio, & Affinity
Want to create your own hand-drawn city map with a few clicks and a little imagination? With the City Map Builder you will get over 300 features to quickly make a map for your story. Click the button below to learn more!

Block in the Colors
If you are working digitally, create a new layer below your line art and begin coloring the rooftops, roads, and in this case trees. If you could use a uniform color for the roofs, but if you really want to take your map making up a notch then I recommend mixing it up a bit!
If you look at buildings in real life, you’ll see subtle shifts in color, brightness, and saturation. Even two rooftops made from the same material will have slight differences just due to weathering.
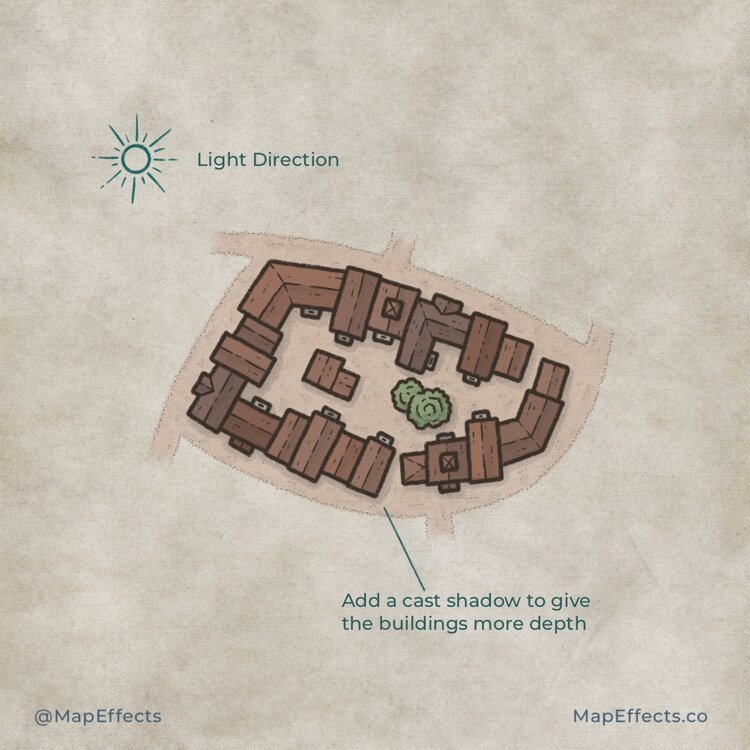
Paint the Base Shadows
Create another new layer above your color layer and set the blend mode to “Multiply”. Then select a color around 70% gray or even something with a little blue in it to mimic the ambient light from the sky. In this example, the light source will be in the upper left, which means you’ll paint your shadows on the right side of the roofs, as well as along the right side of the buildings themselves to give a little drop shadow.
I am using the Heavy Marker Brush because I like that the opacity is pressure sensitive so you can gradually build up the shading. Plus, it has a bit of paper texture built into it so you don’t lose your background texture.
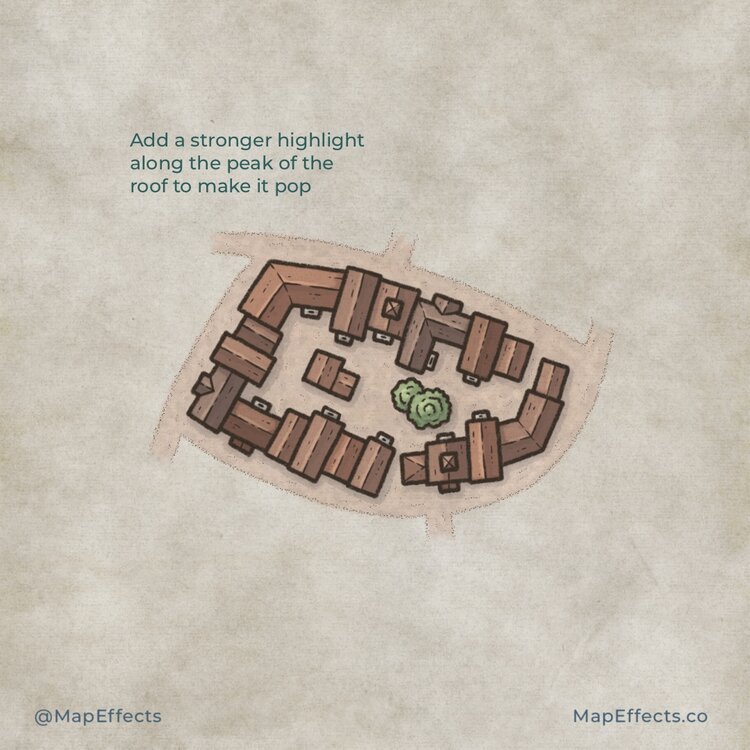
Add in the Highlights
For the highlights, create another new layer and set the blend mode to “Add”. Select a color around 30% gray, or shift the hue slightly toward yellow to mimic the light from the sun. Now, you will paint highlights on the opposite side of the building from what you did in the last step.
Go back through with another pass and add a stronger highlight along the peak of the roof to really make it pop. You can also add some subtle highlights randomly to the road to give a little texture.
If you found this tutorial helpful be sure to follow MapEffects on Instagram and tag me with the map you create and I may feature your work. Thank you, and I look forward to seeing your map!
Josh